Educational Animatic Explainer: How Tides Work
"Educational Animatic Explainer"- After Effects 2024, 1920 x 1080
For this project the ultimate goal was to go through the full animation pipeline from creation to post production utilizing programs like the Adobe Suite: Audition, After effects including Angela Duik Software, Illustrator, Photoshop, and Premiere Pro. I began thinking about how much I loved Ted talk animations and decided to try and make my own educational animatic explainer on the topic of how ocean waves work.
Pre-visualization
Here are some images of the first steps from the projects pipeline. To begin, I started off researching my topic of how ocean tides work by creating a mood boards, mind map, and a quick slide show of my ideas and initial progress.
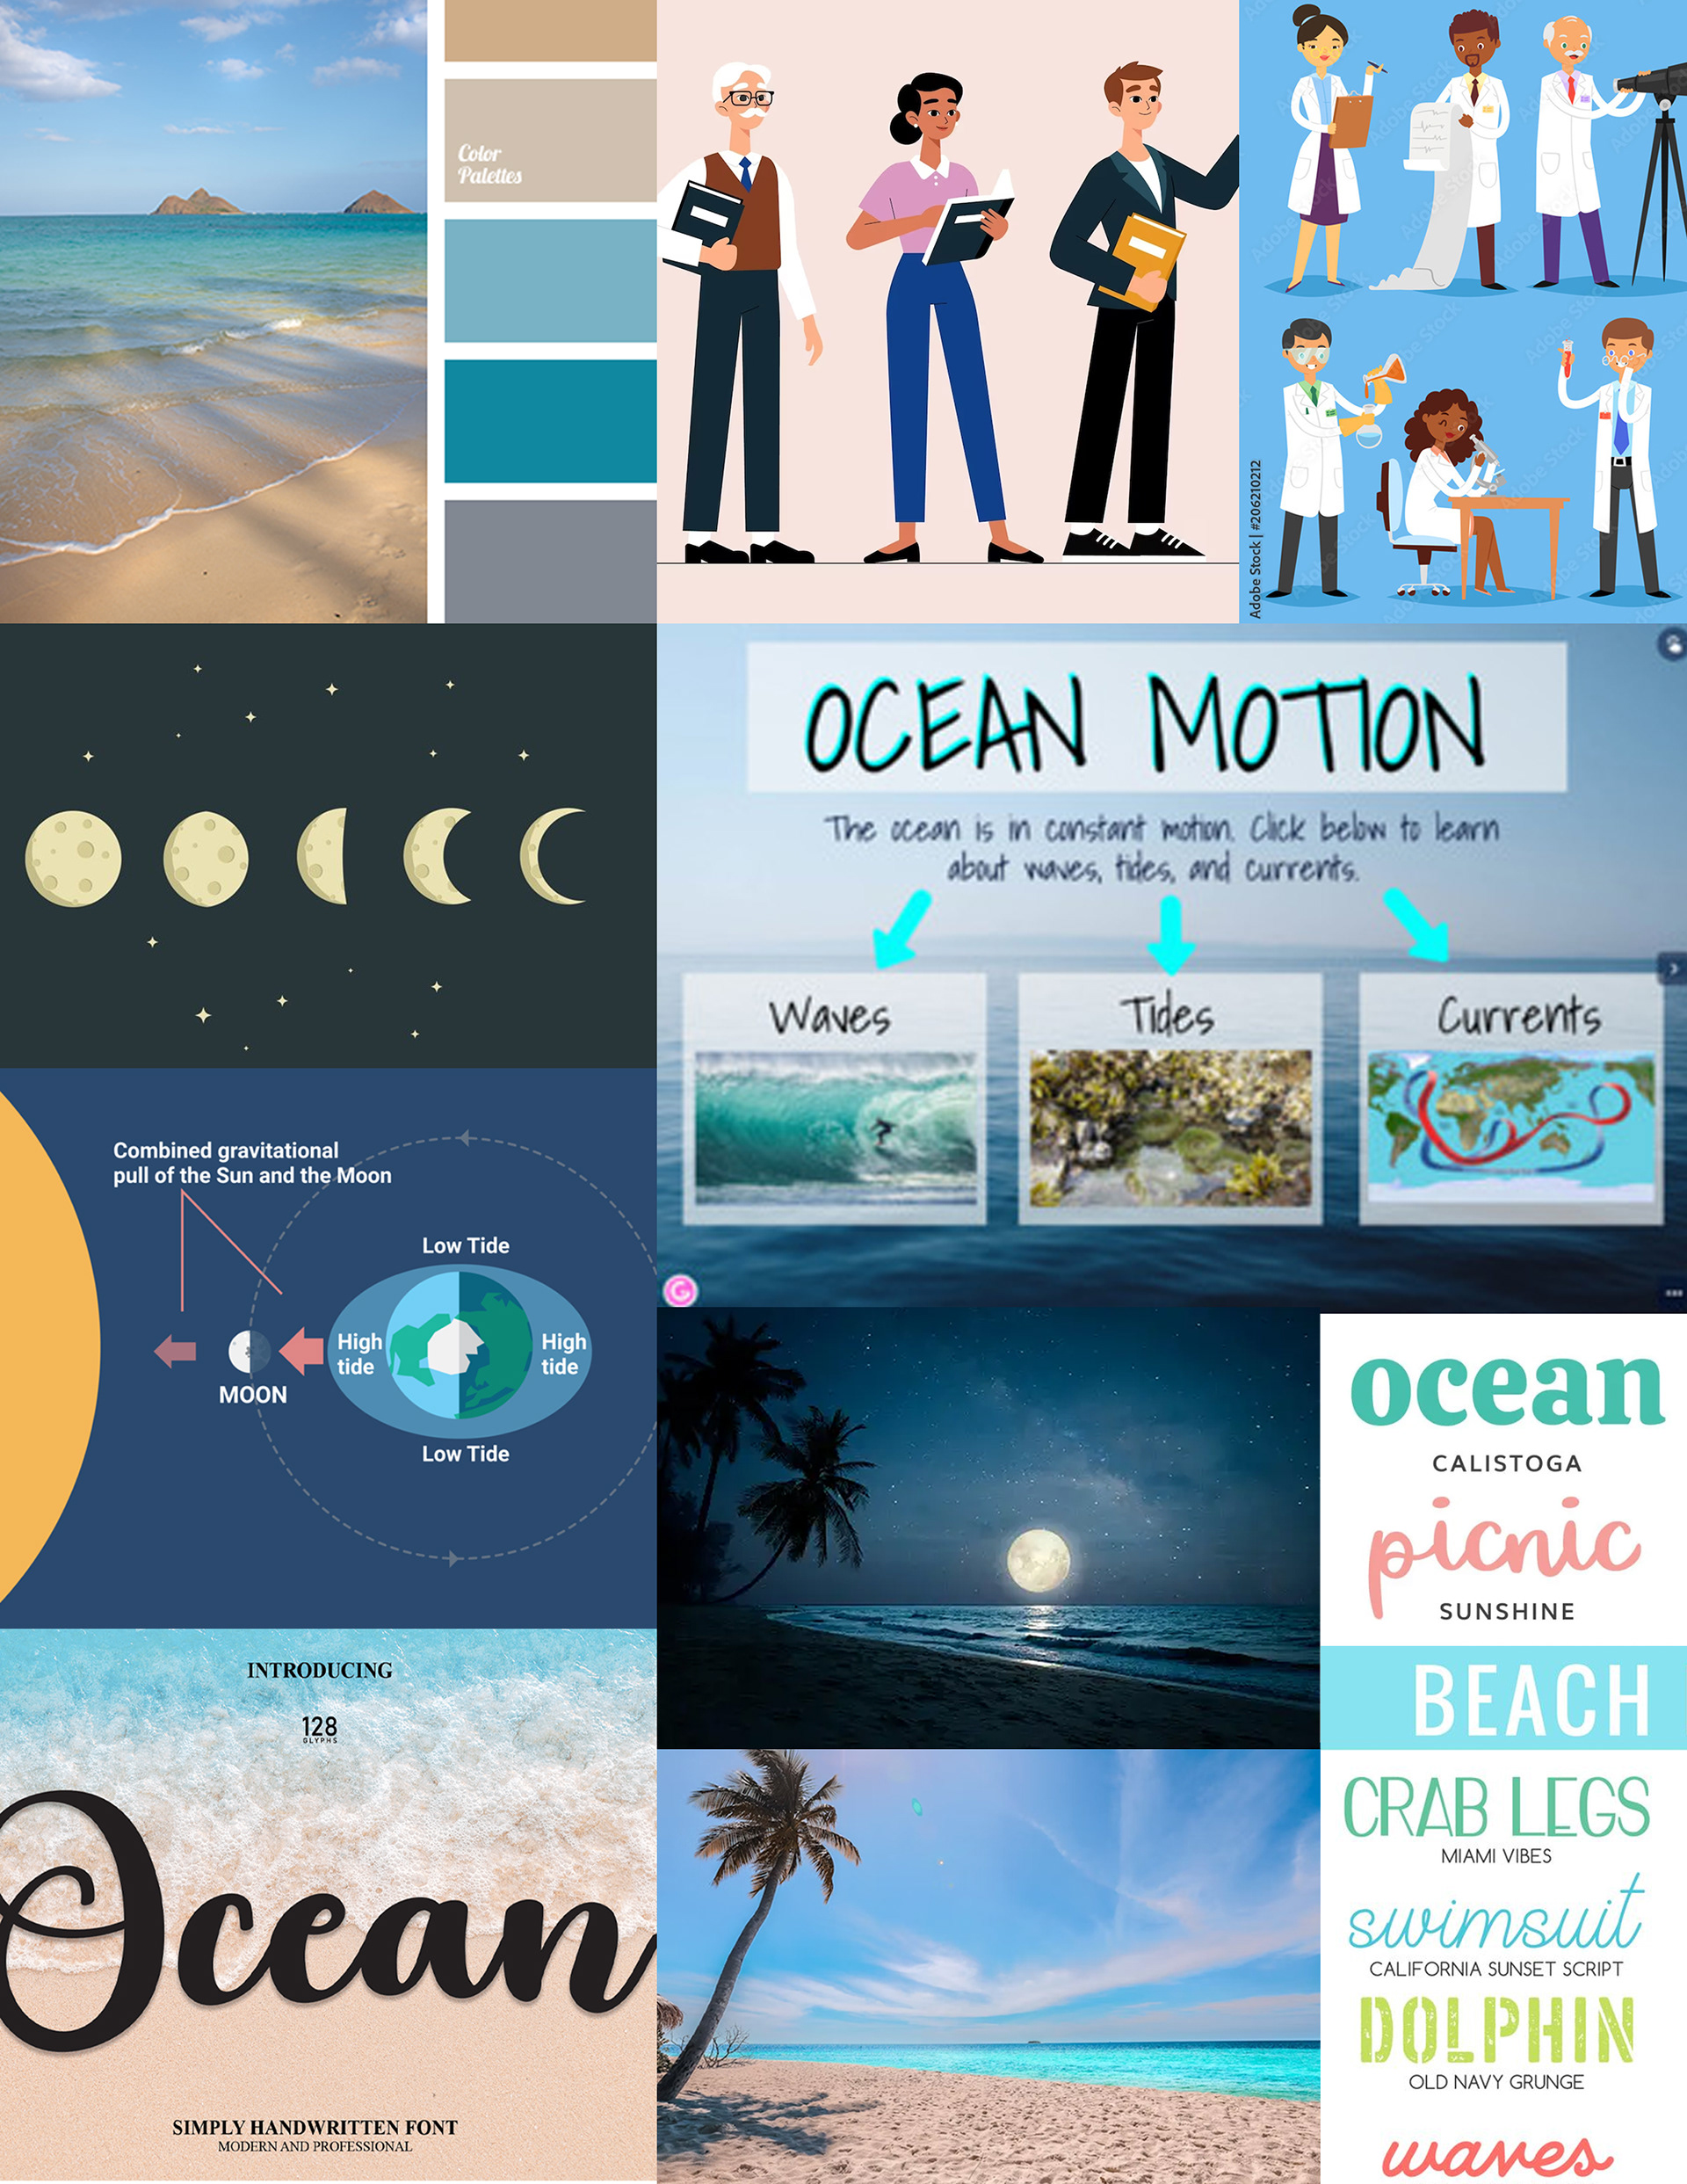
Mood board

Mind Map
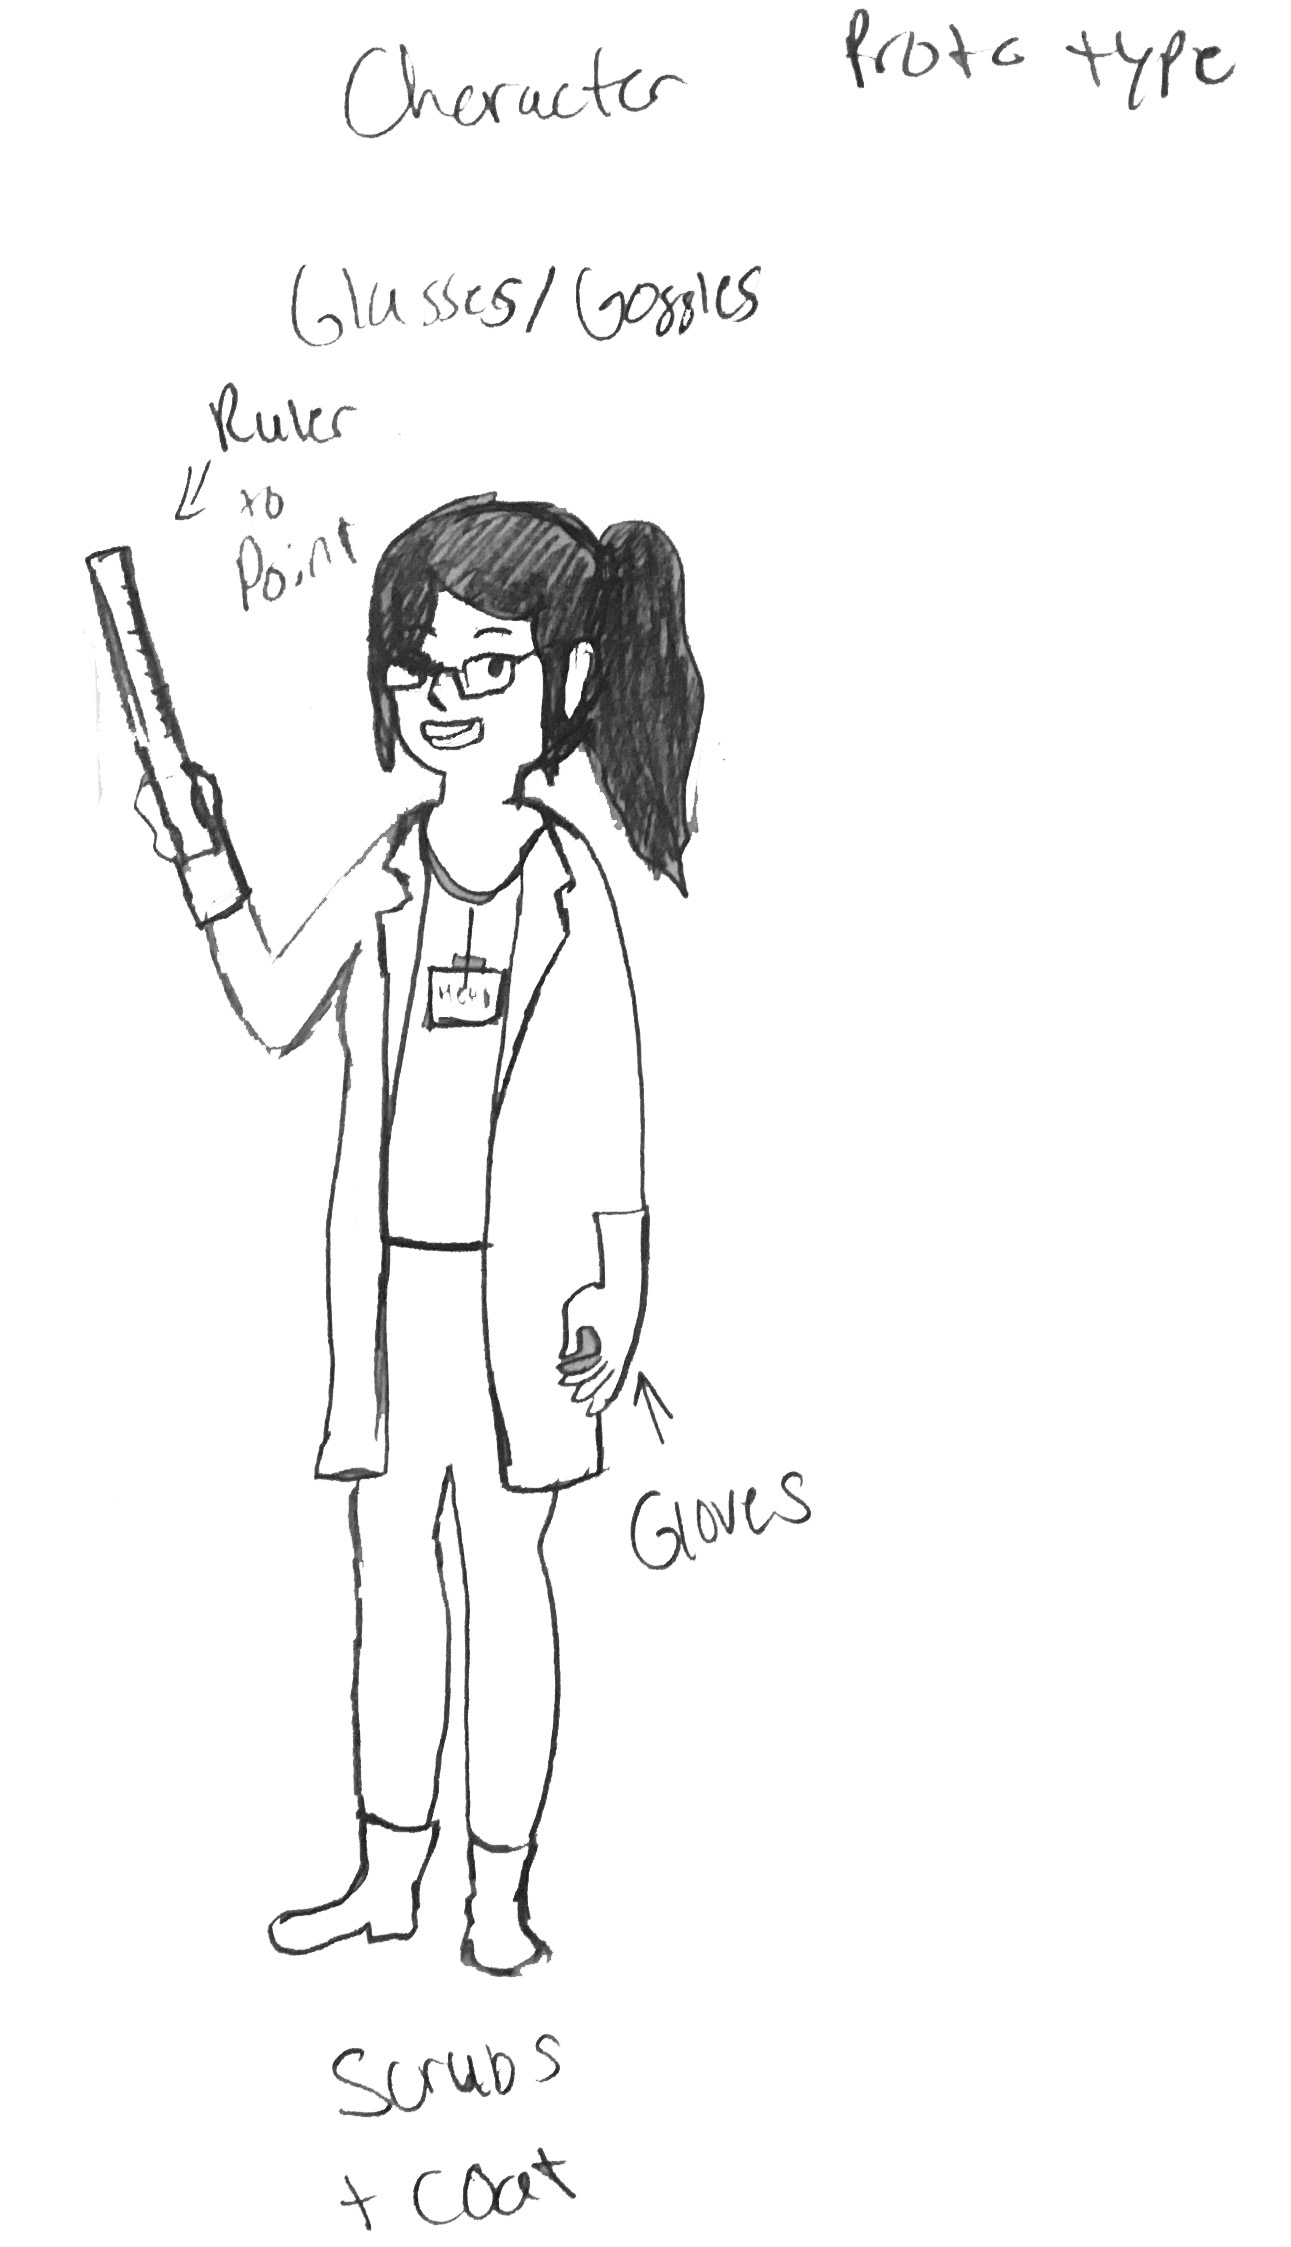
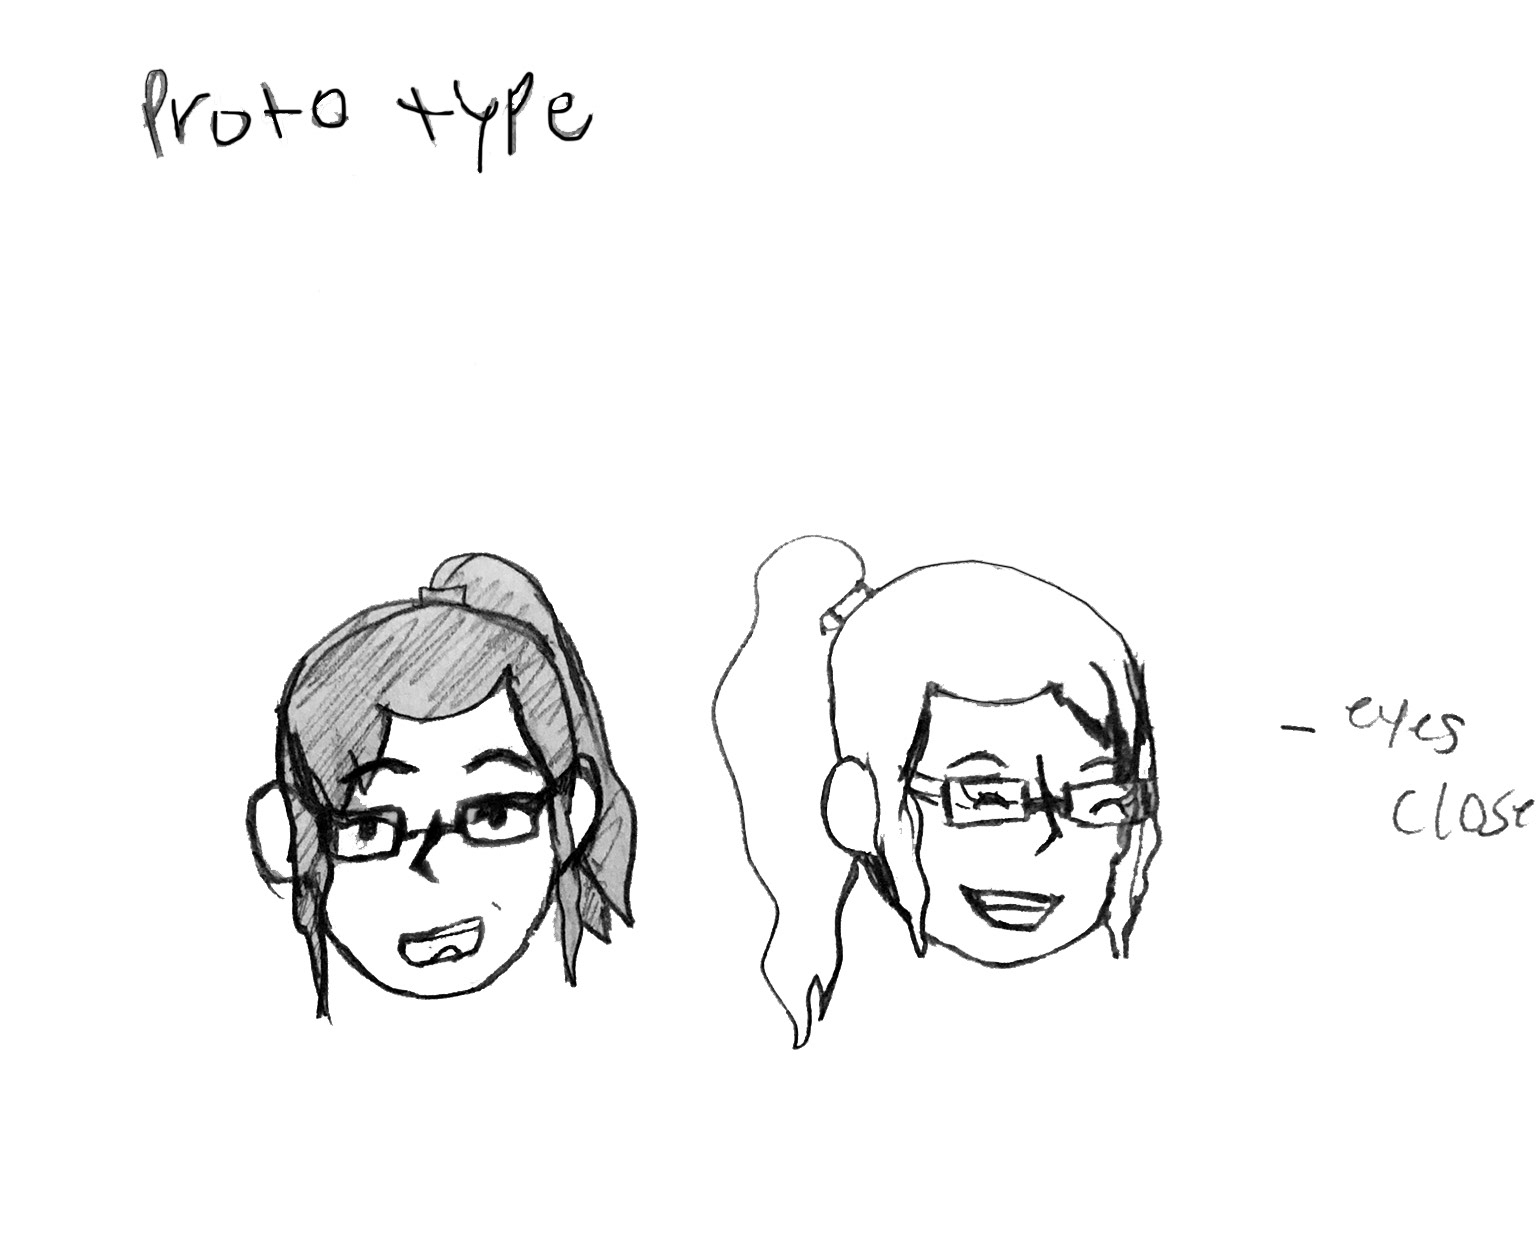
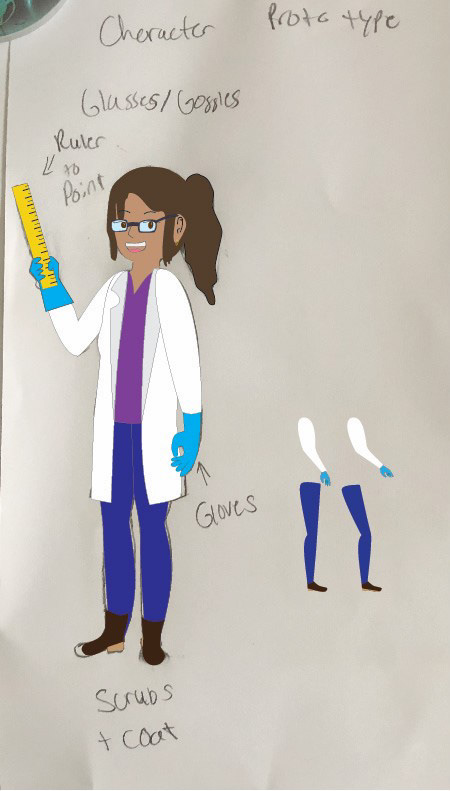
Character Prototype
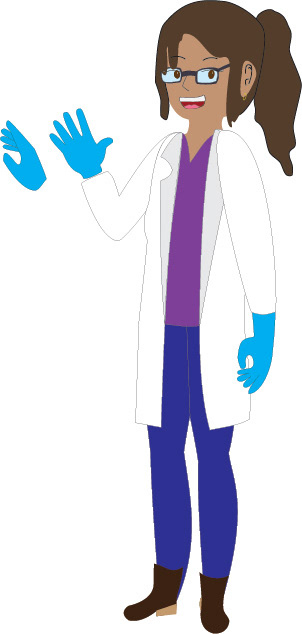
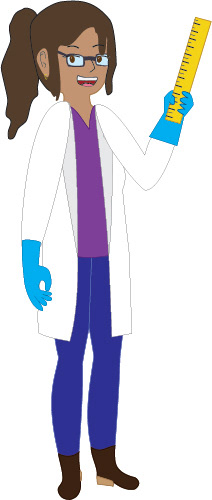
After creating initial sketches of a science themed character, I decided on a design I labeled as 'Scientist Lisa", featuring a scientist character with a coat, gloves, glasses, and a ruler to give her more personality and animatable objects. I then illustrated the character and prepped her for export and rigging in After effects.
Side view 1
Head poses front view and tilting
Character building
Side view 1
Side view 2
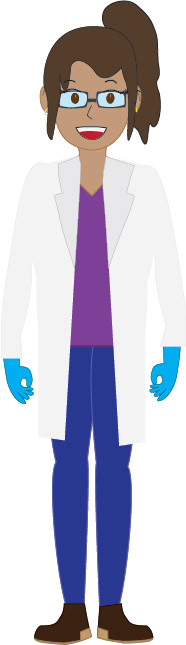
Front view
After figuring out the character and building some of the assets, I was able to produce a few storyboards to help arrange the animation and figure out how to space out the information evenly without overloading the audience or having the project become dull.
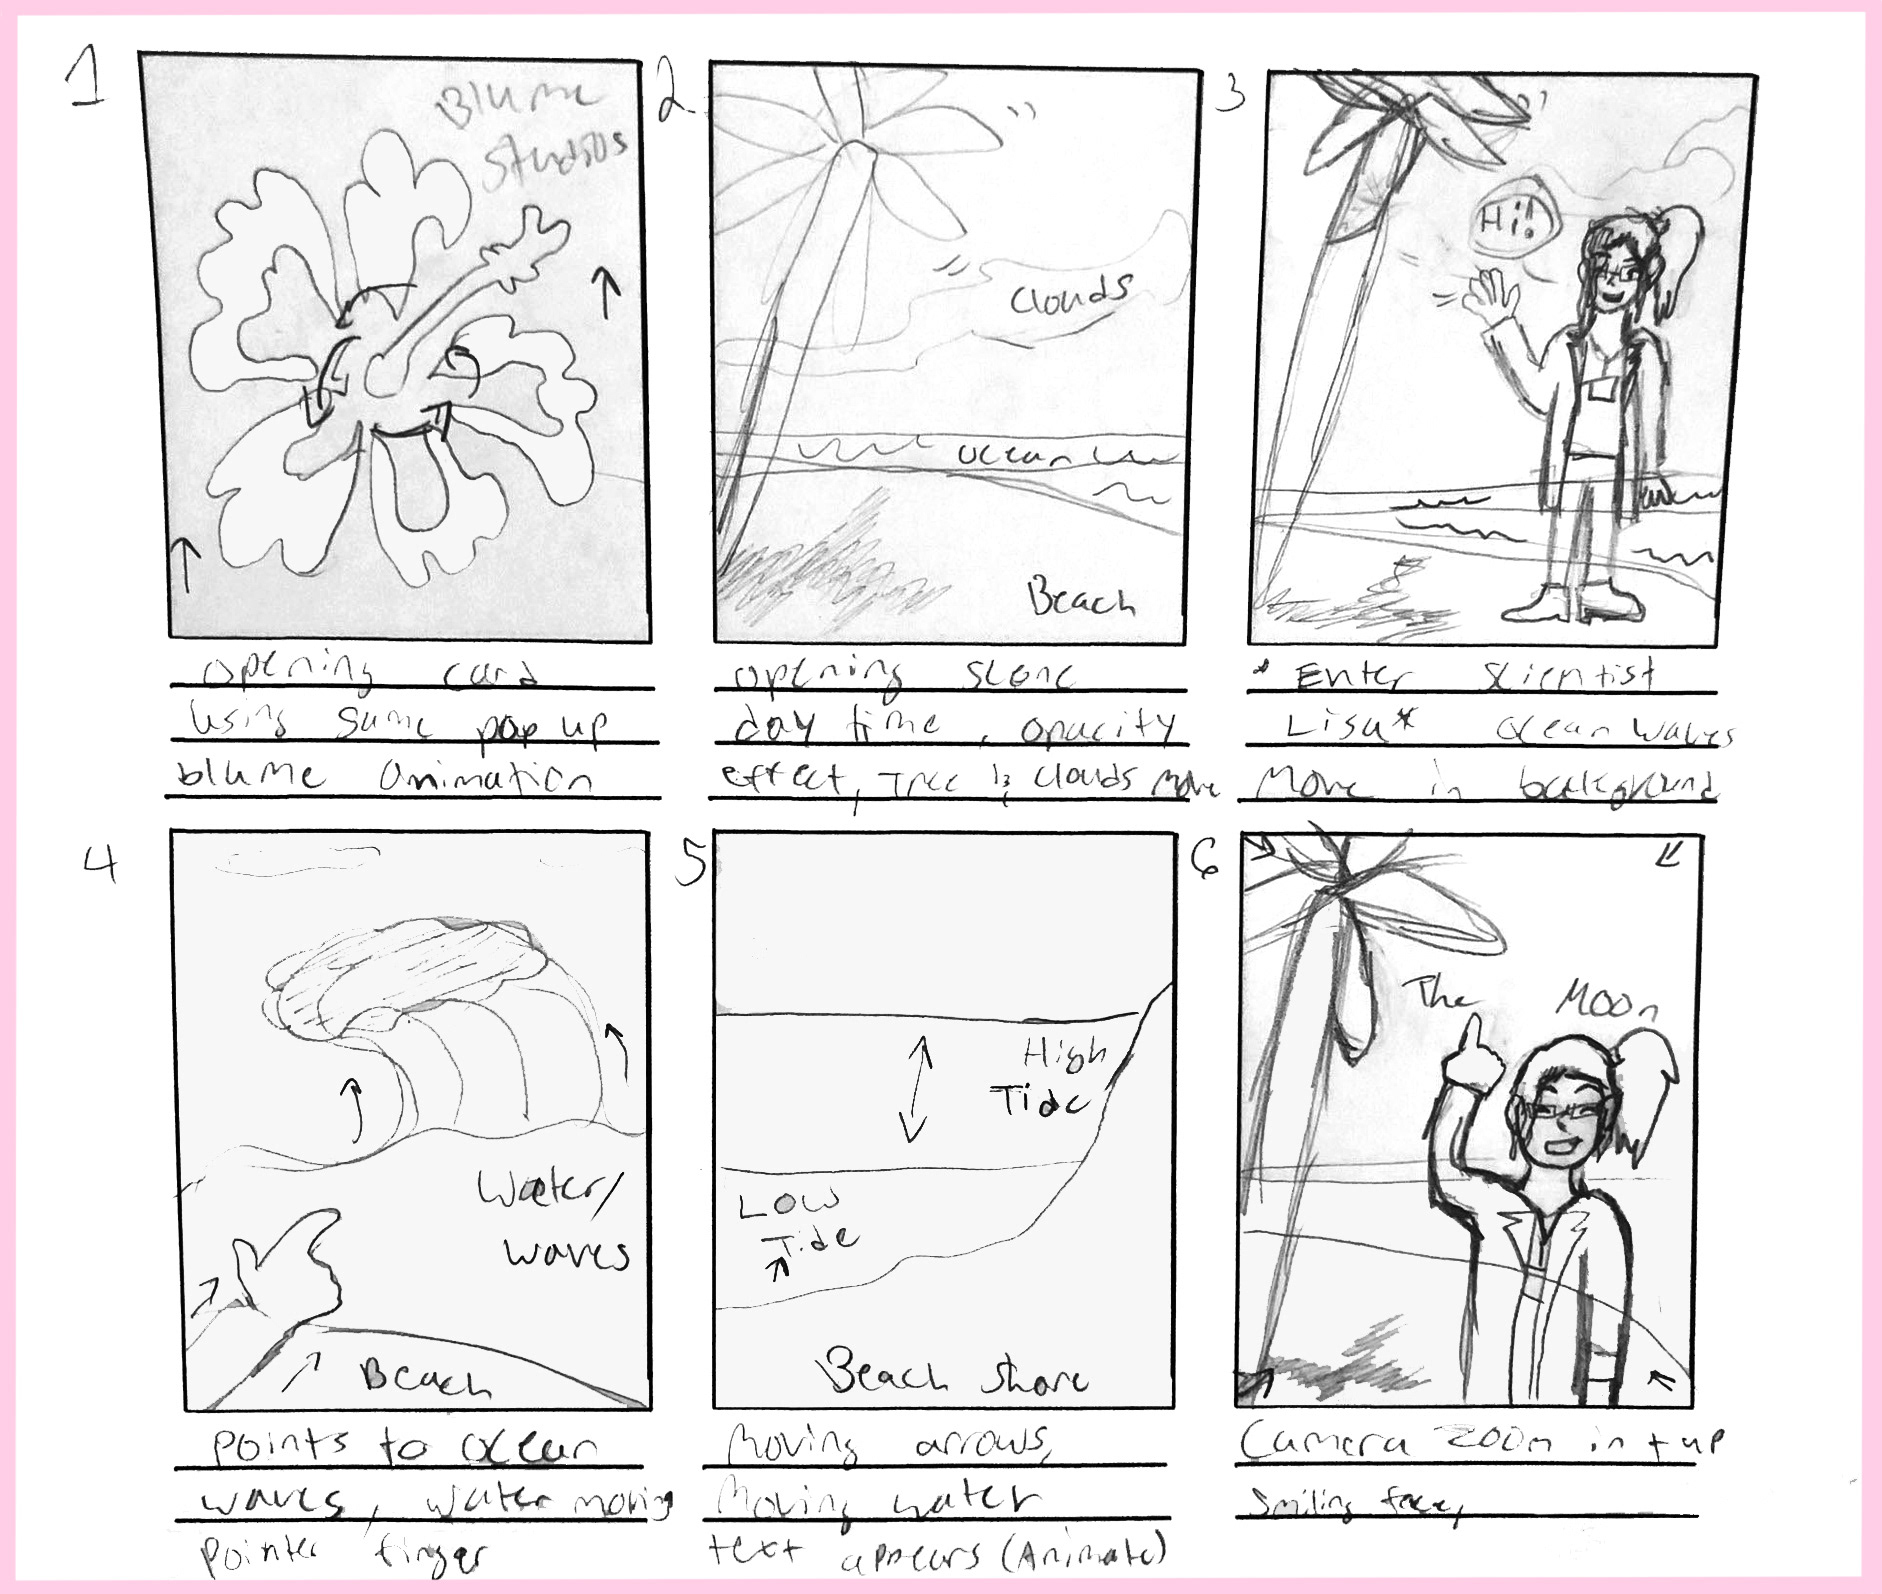
1-6
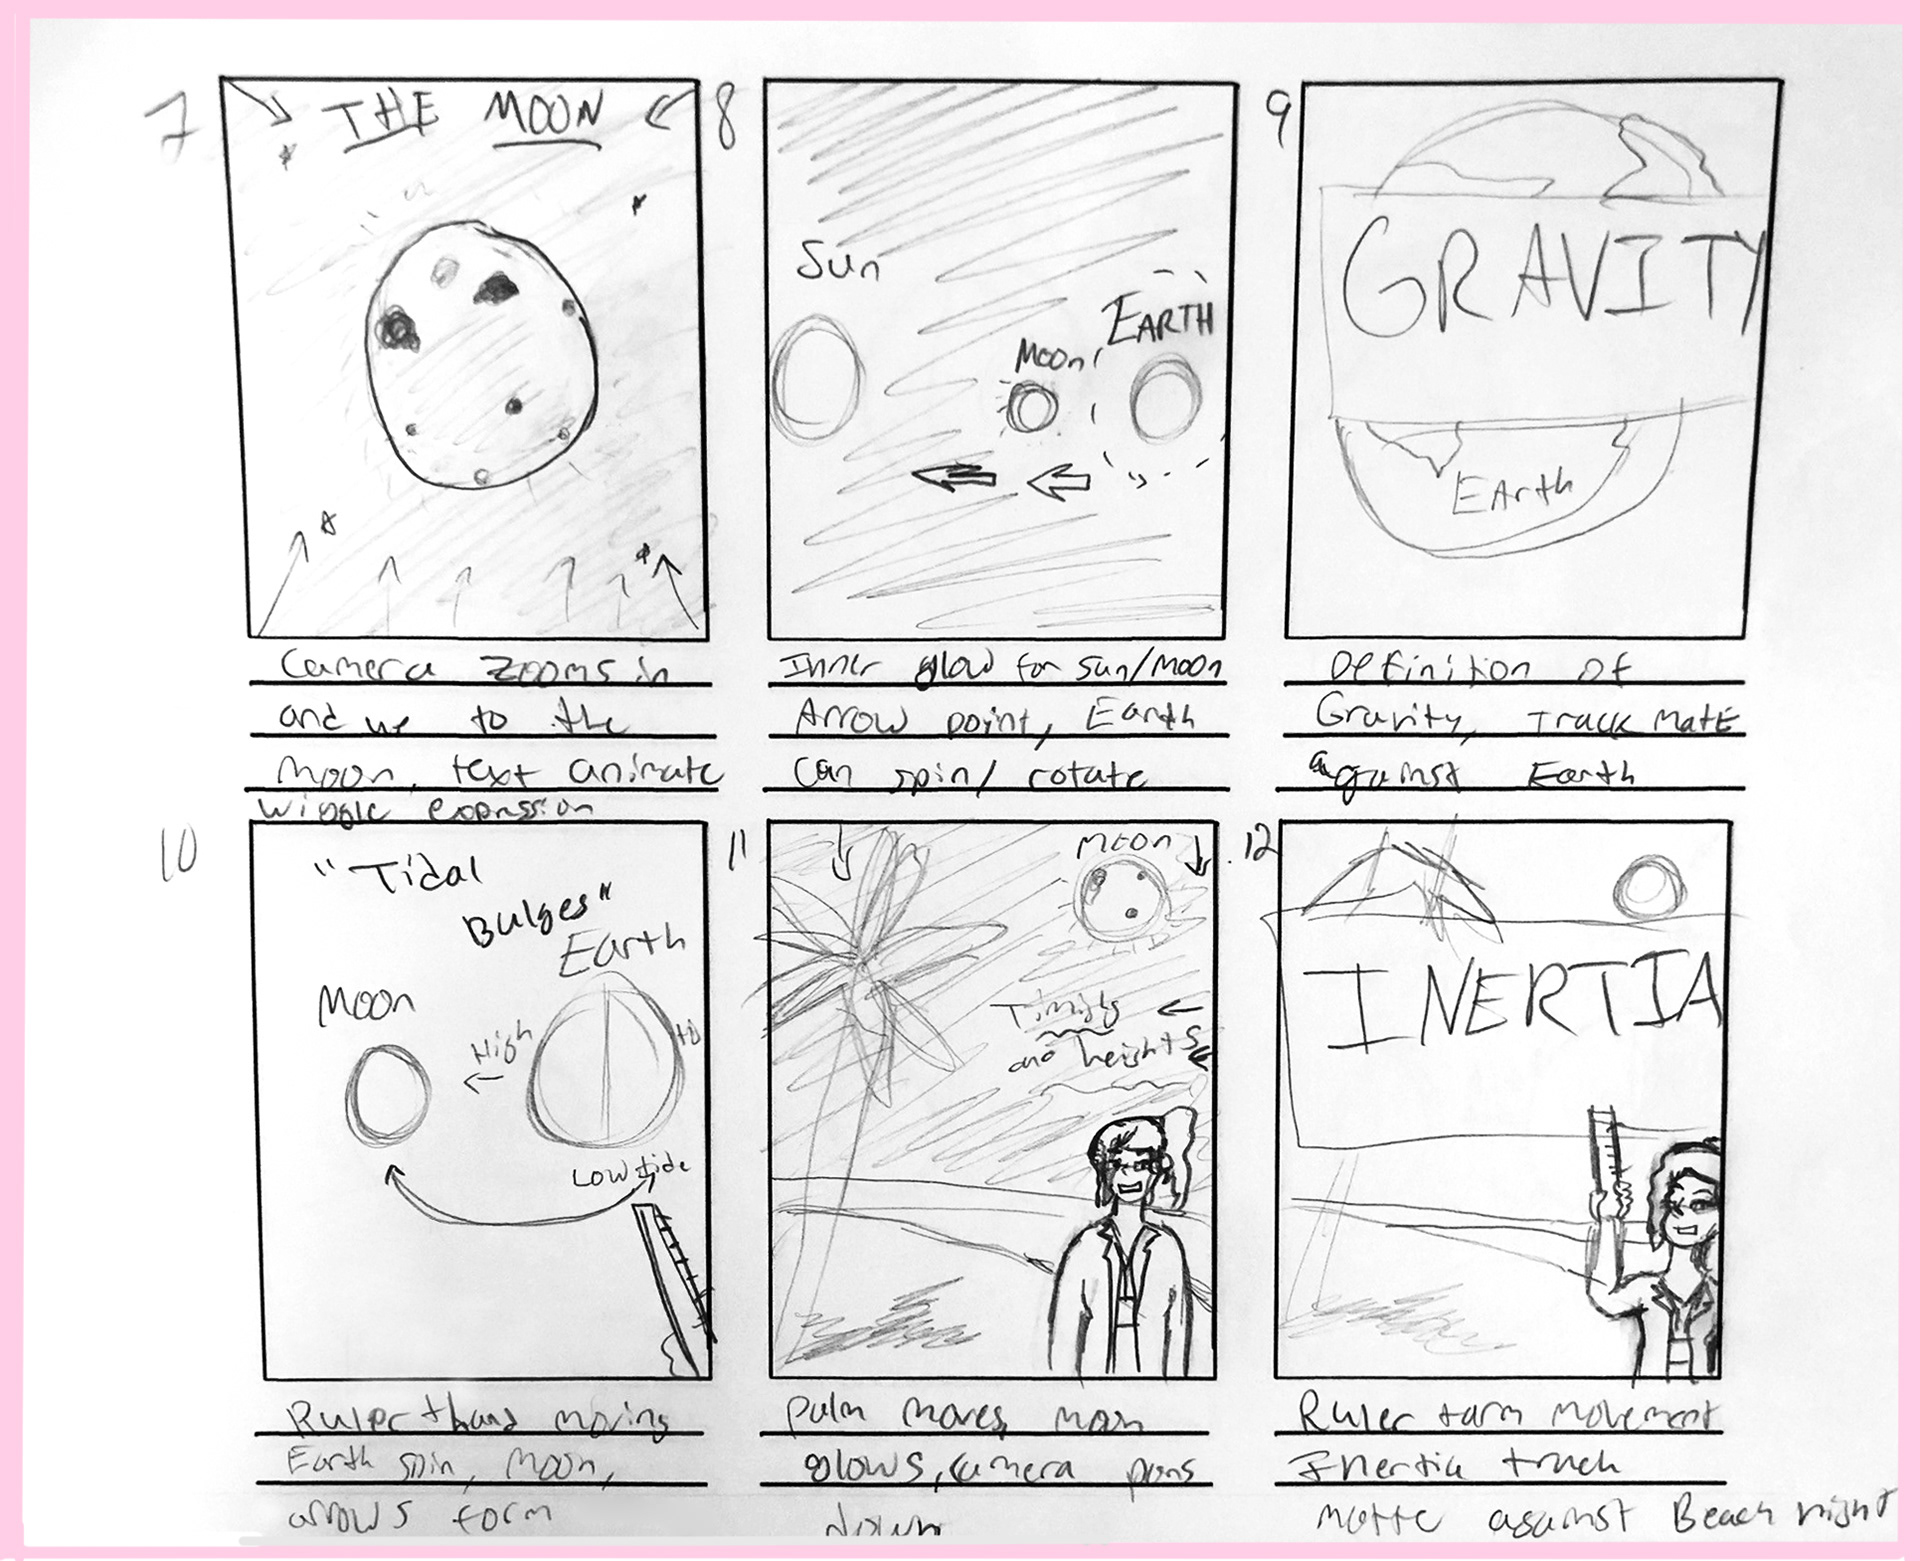
7-12
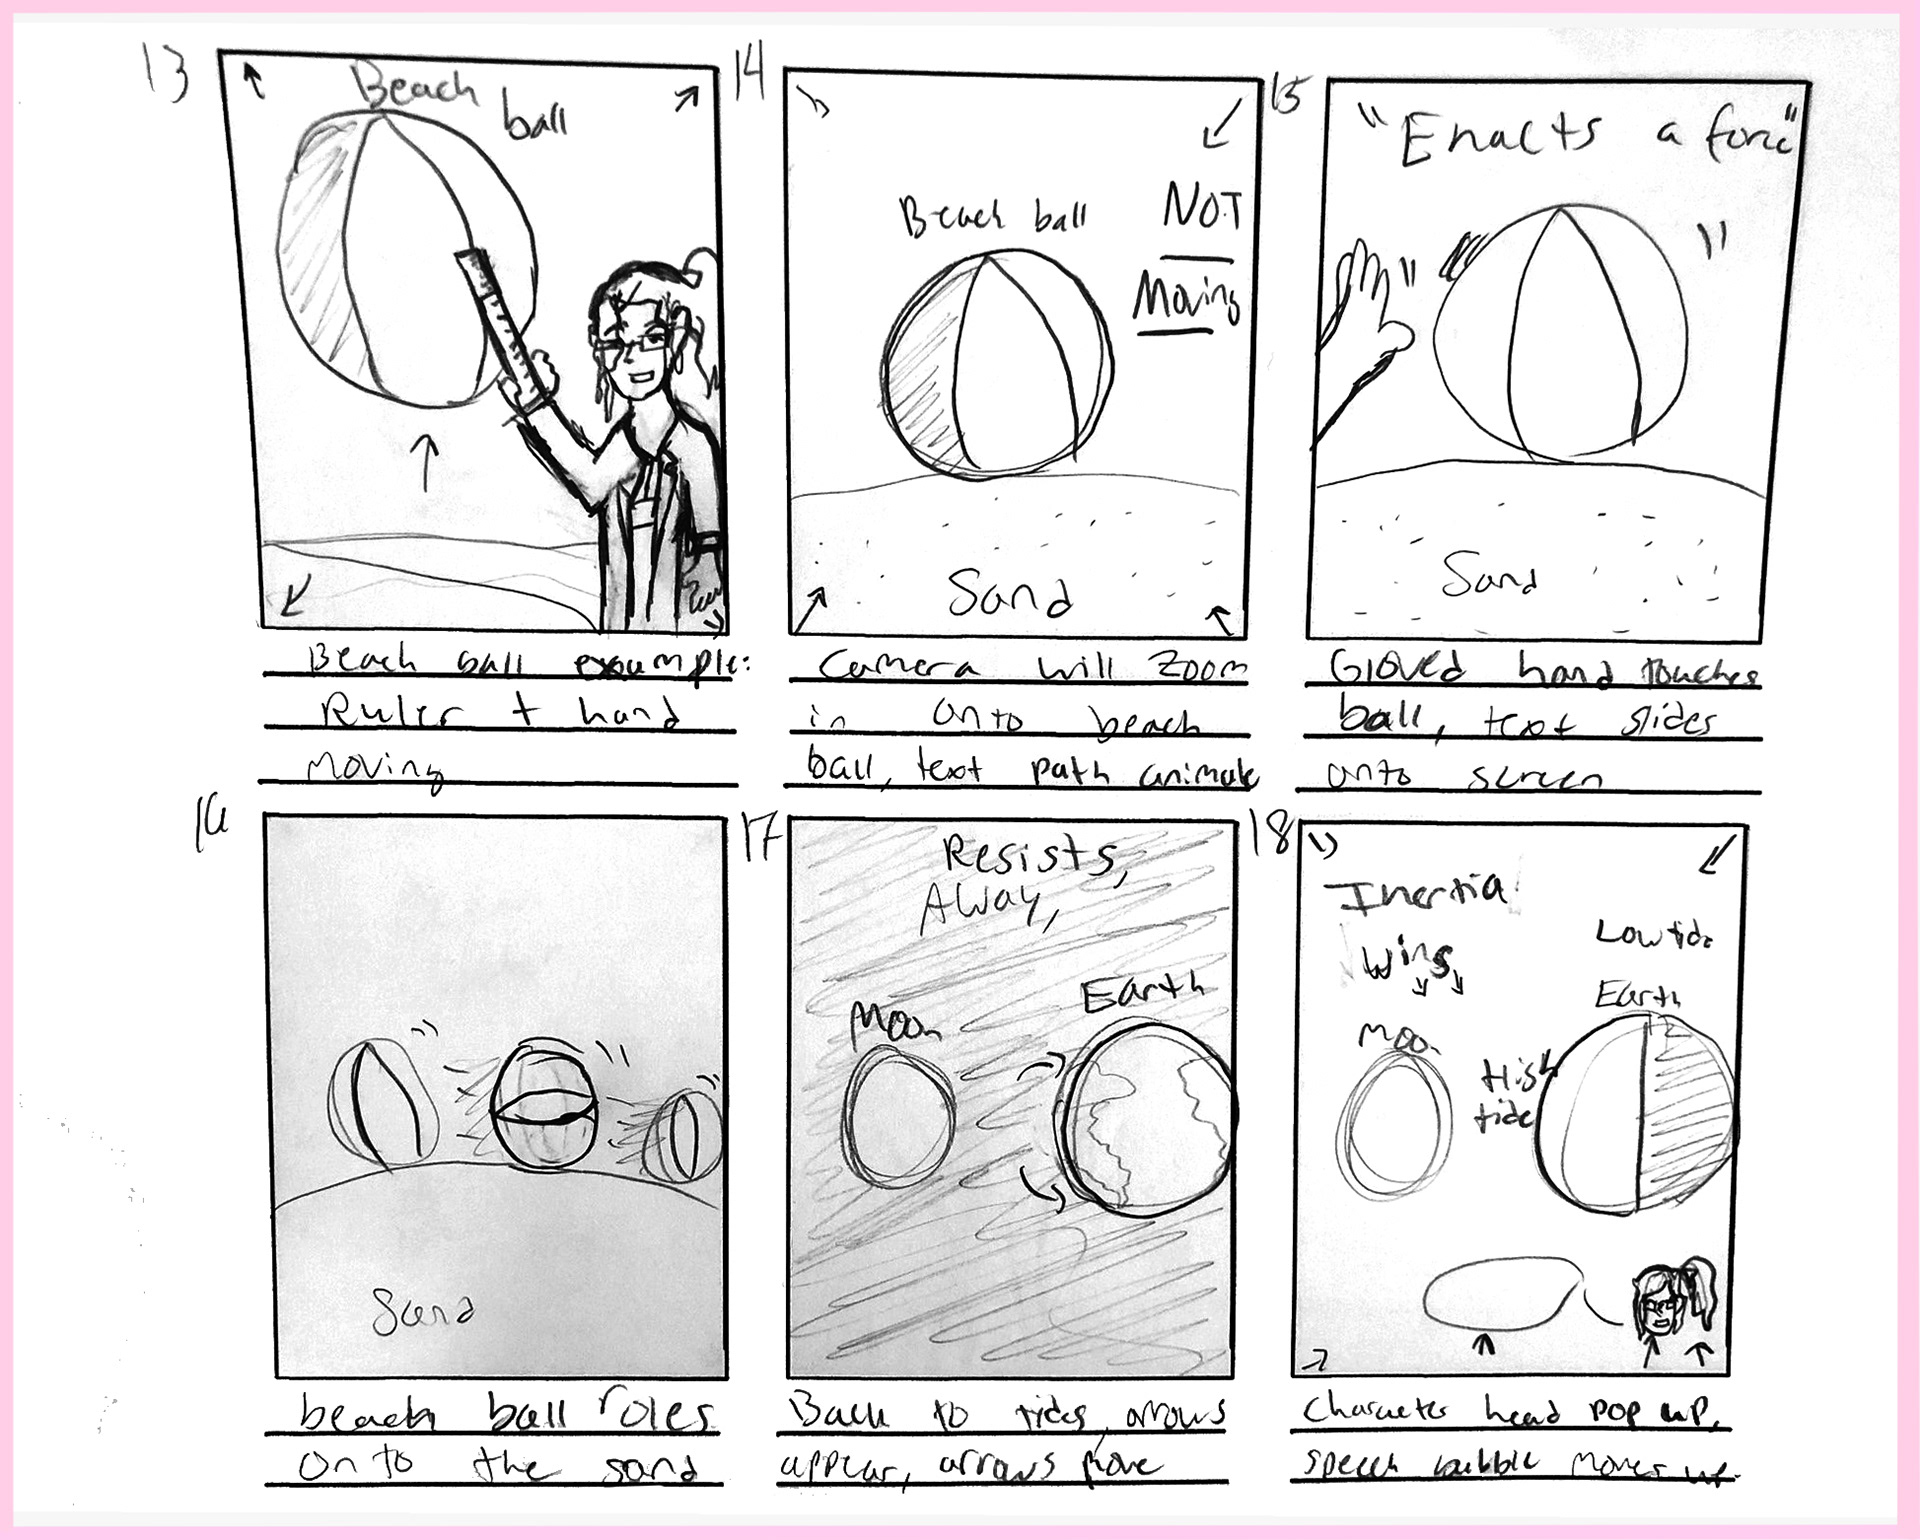
13-18
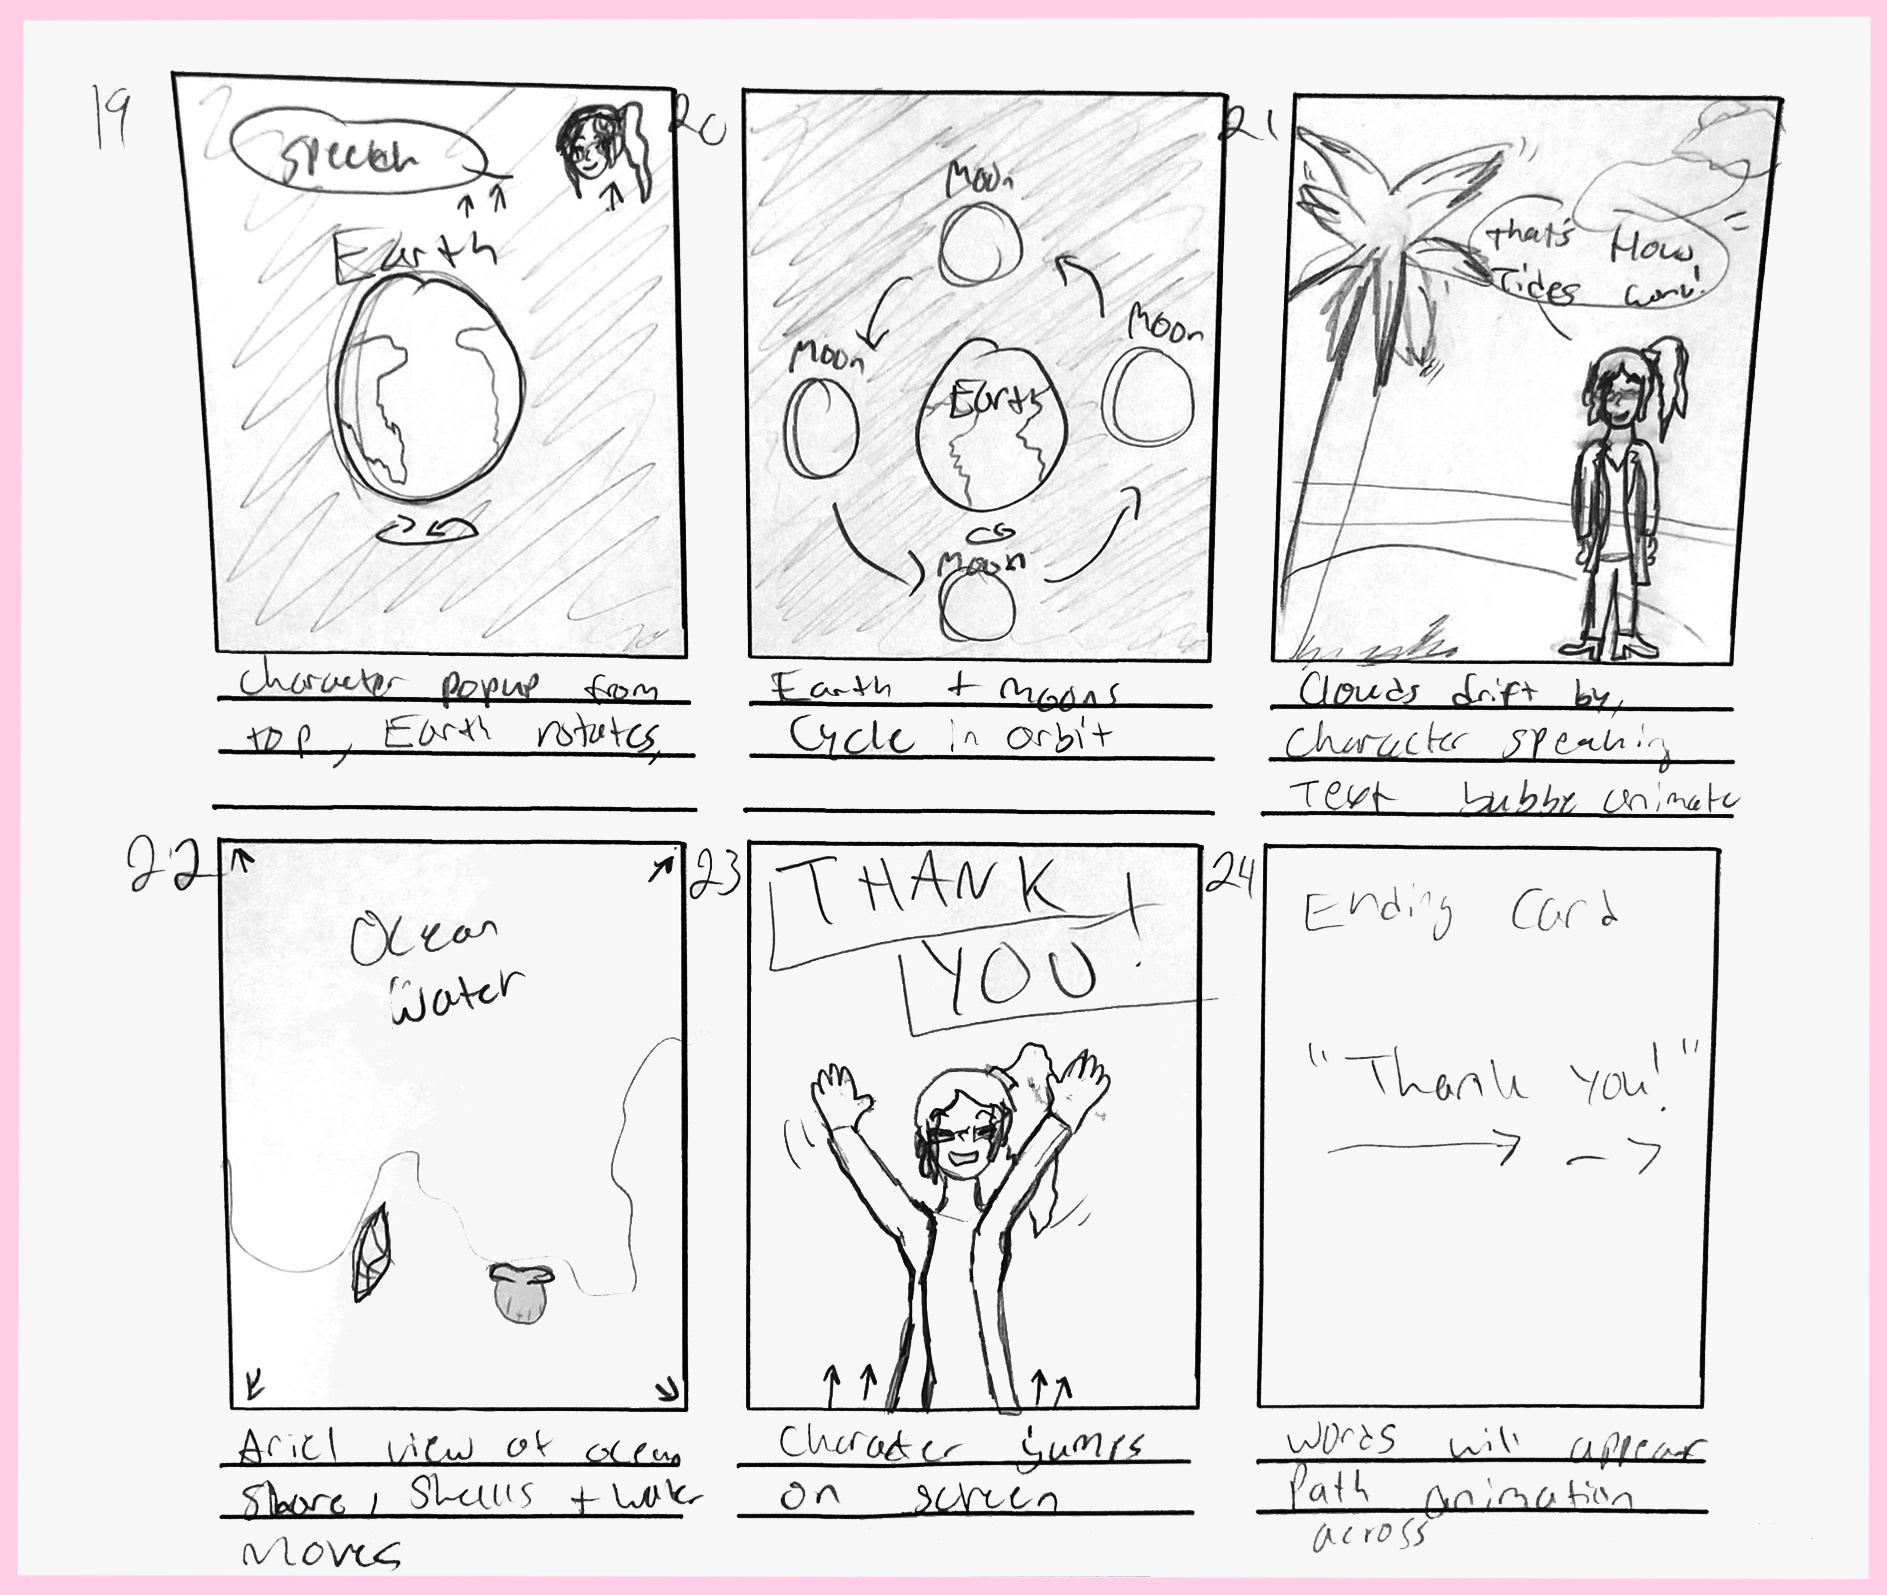
19-24
Storyboards
Production
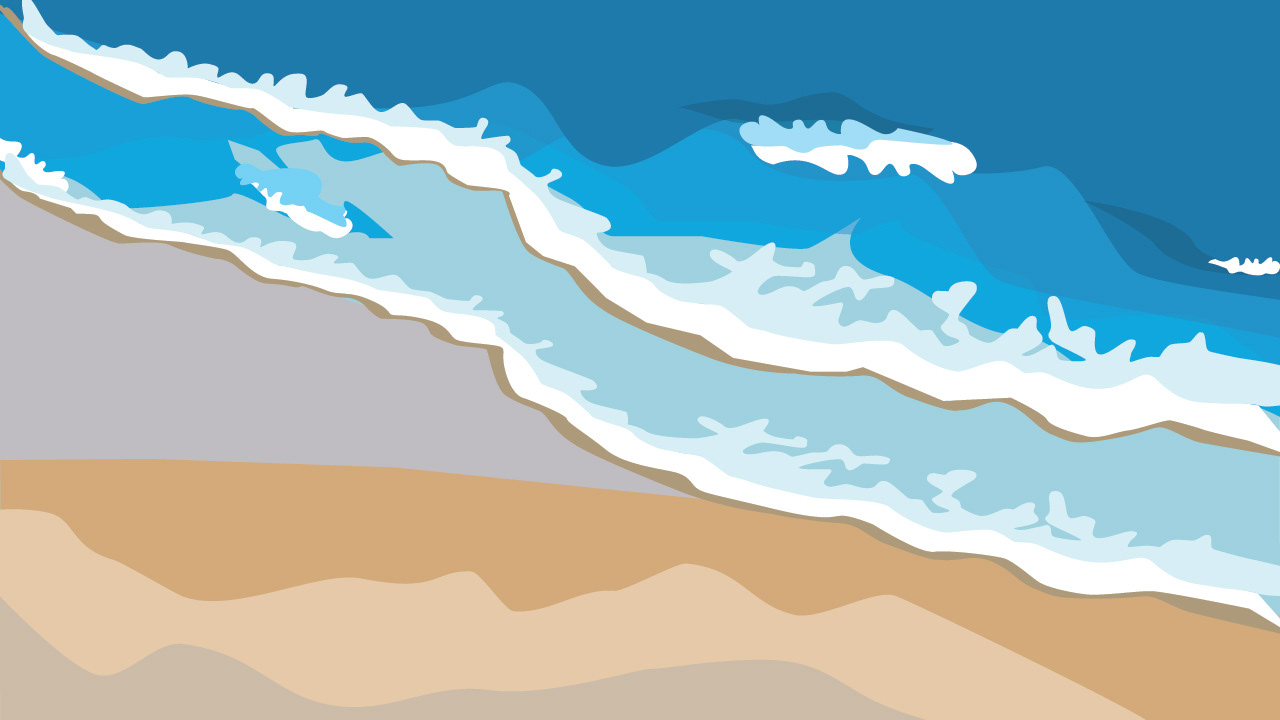
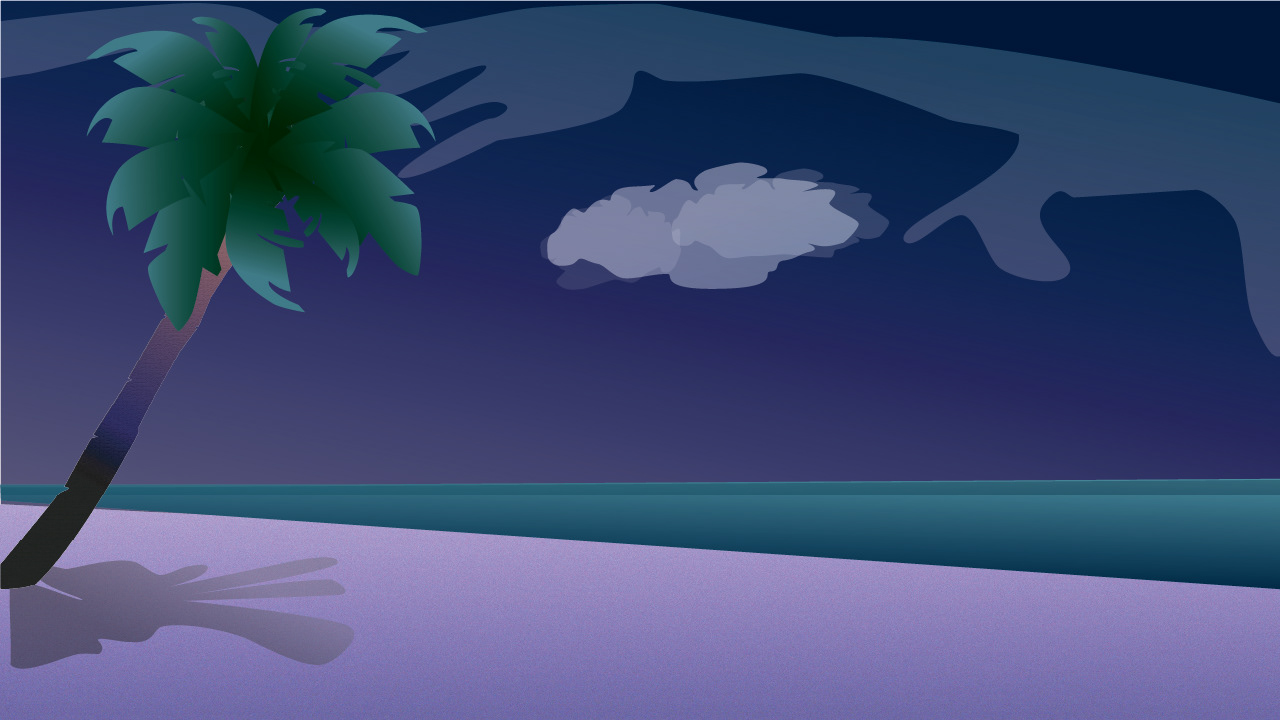
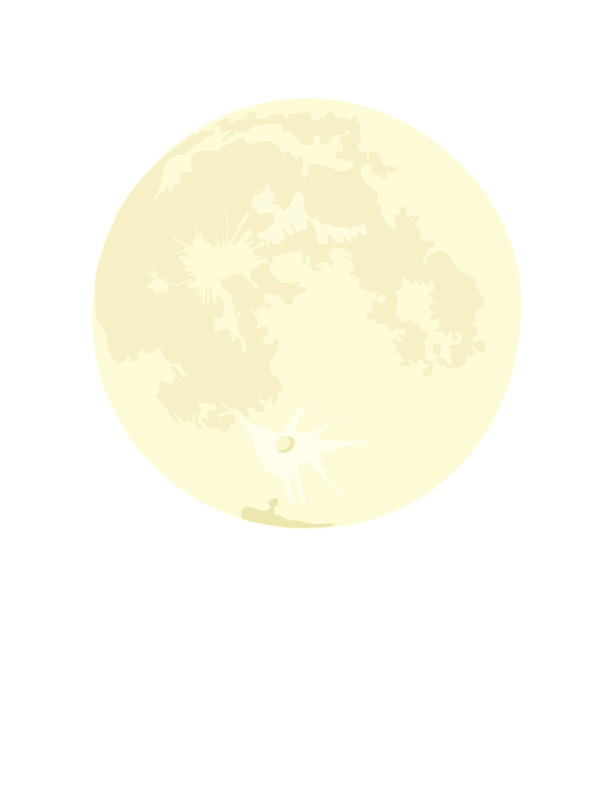
Below are some various stills of the backgrounds, scenes, items, and overall assets that had to be created for this animation. I had a lot of fun designing the different scenes and mostly kept them very close in color, atmosphere, and quality.

Beach day

Ariel View: ocean waves
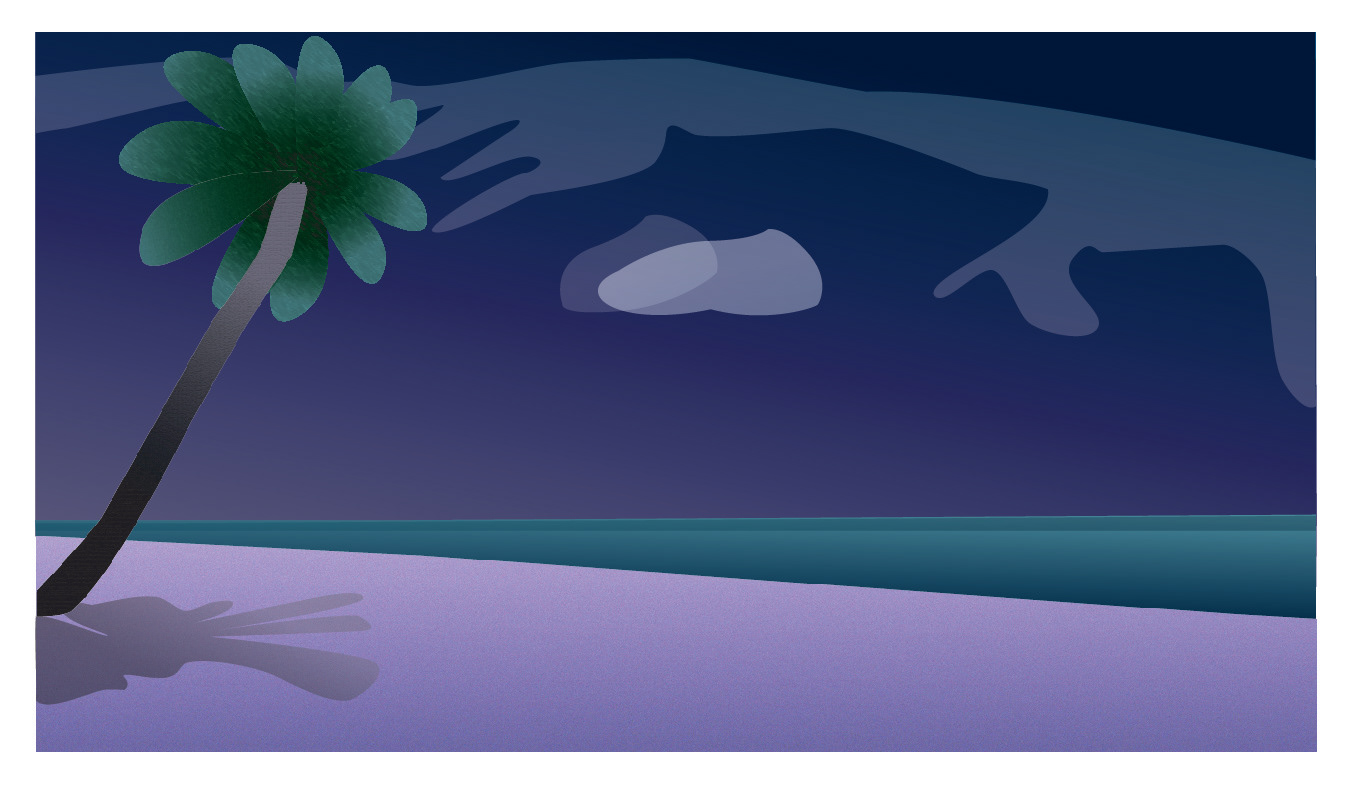
Beach night
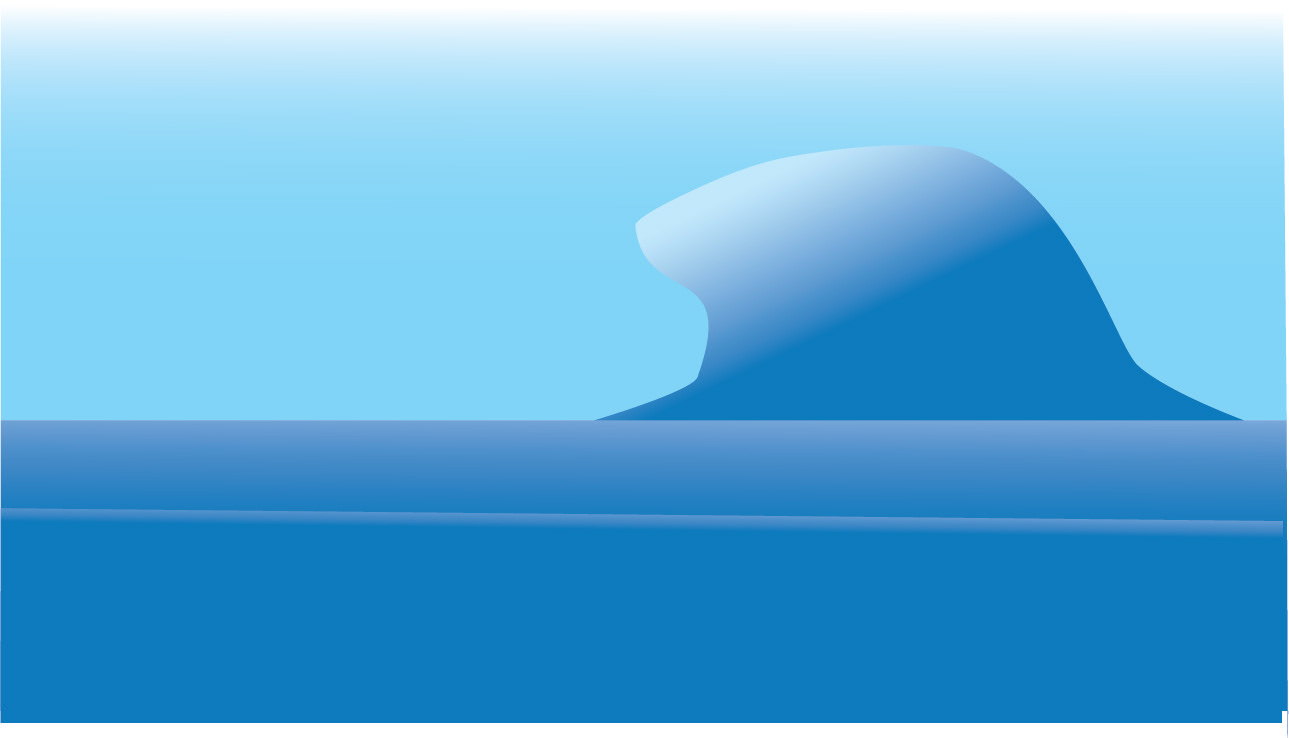
Wave scene
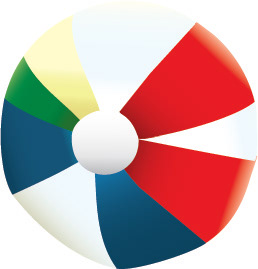
Beach ball

Earth
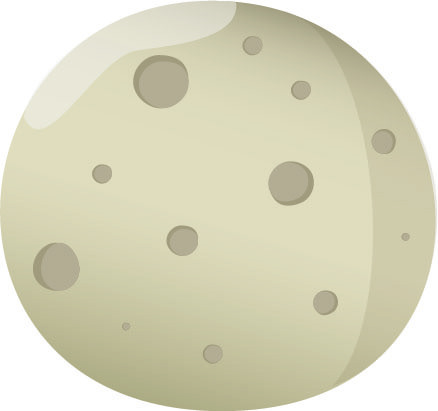
Moon
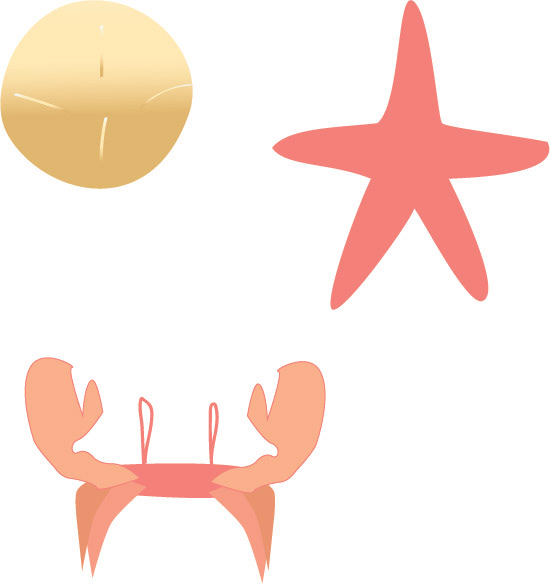
Crab, Starfish, Shell
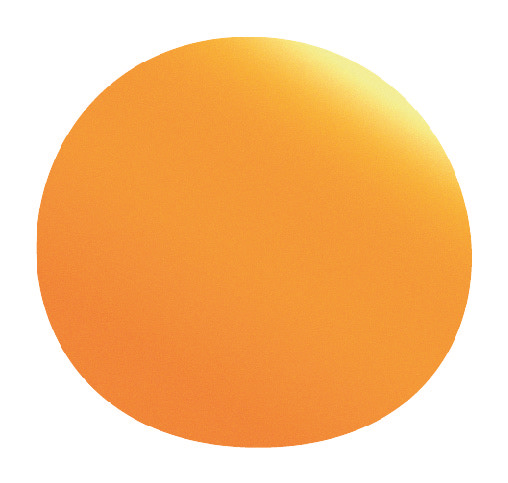
Sun
Renders and Drafts
Render test 1 in After Effects
Of course, the first render is never perfect- so I had to re-render and fix the rigging of the character several times just to see what was working properly and what was broken or malfunctioning. I had this fun issue of Scientist Lisa and her hands going missing or her reappearing in places she was not supposed to.
Full Educational Animatic Explainer, After Effects 2024, 1920 x 1080
I did end up revisiting this piece to upgrade a lot of the graphics, while they matched a family friendly style, they still felt too basic. The shapes were too round and lacked detail for objects like the palm trees, ocean waves, and the beach scene. I also felt the sun was way too basic, as well as the moon and earth design, so I went back in to create in a style that still felt family friendly and show off my illustration skills to make more visually engaging graphics.
Final Product Pre-Revision and Gnatt Chart
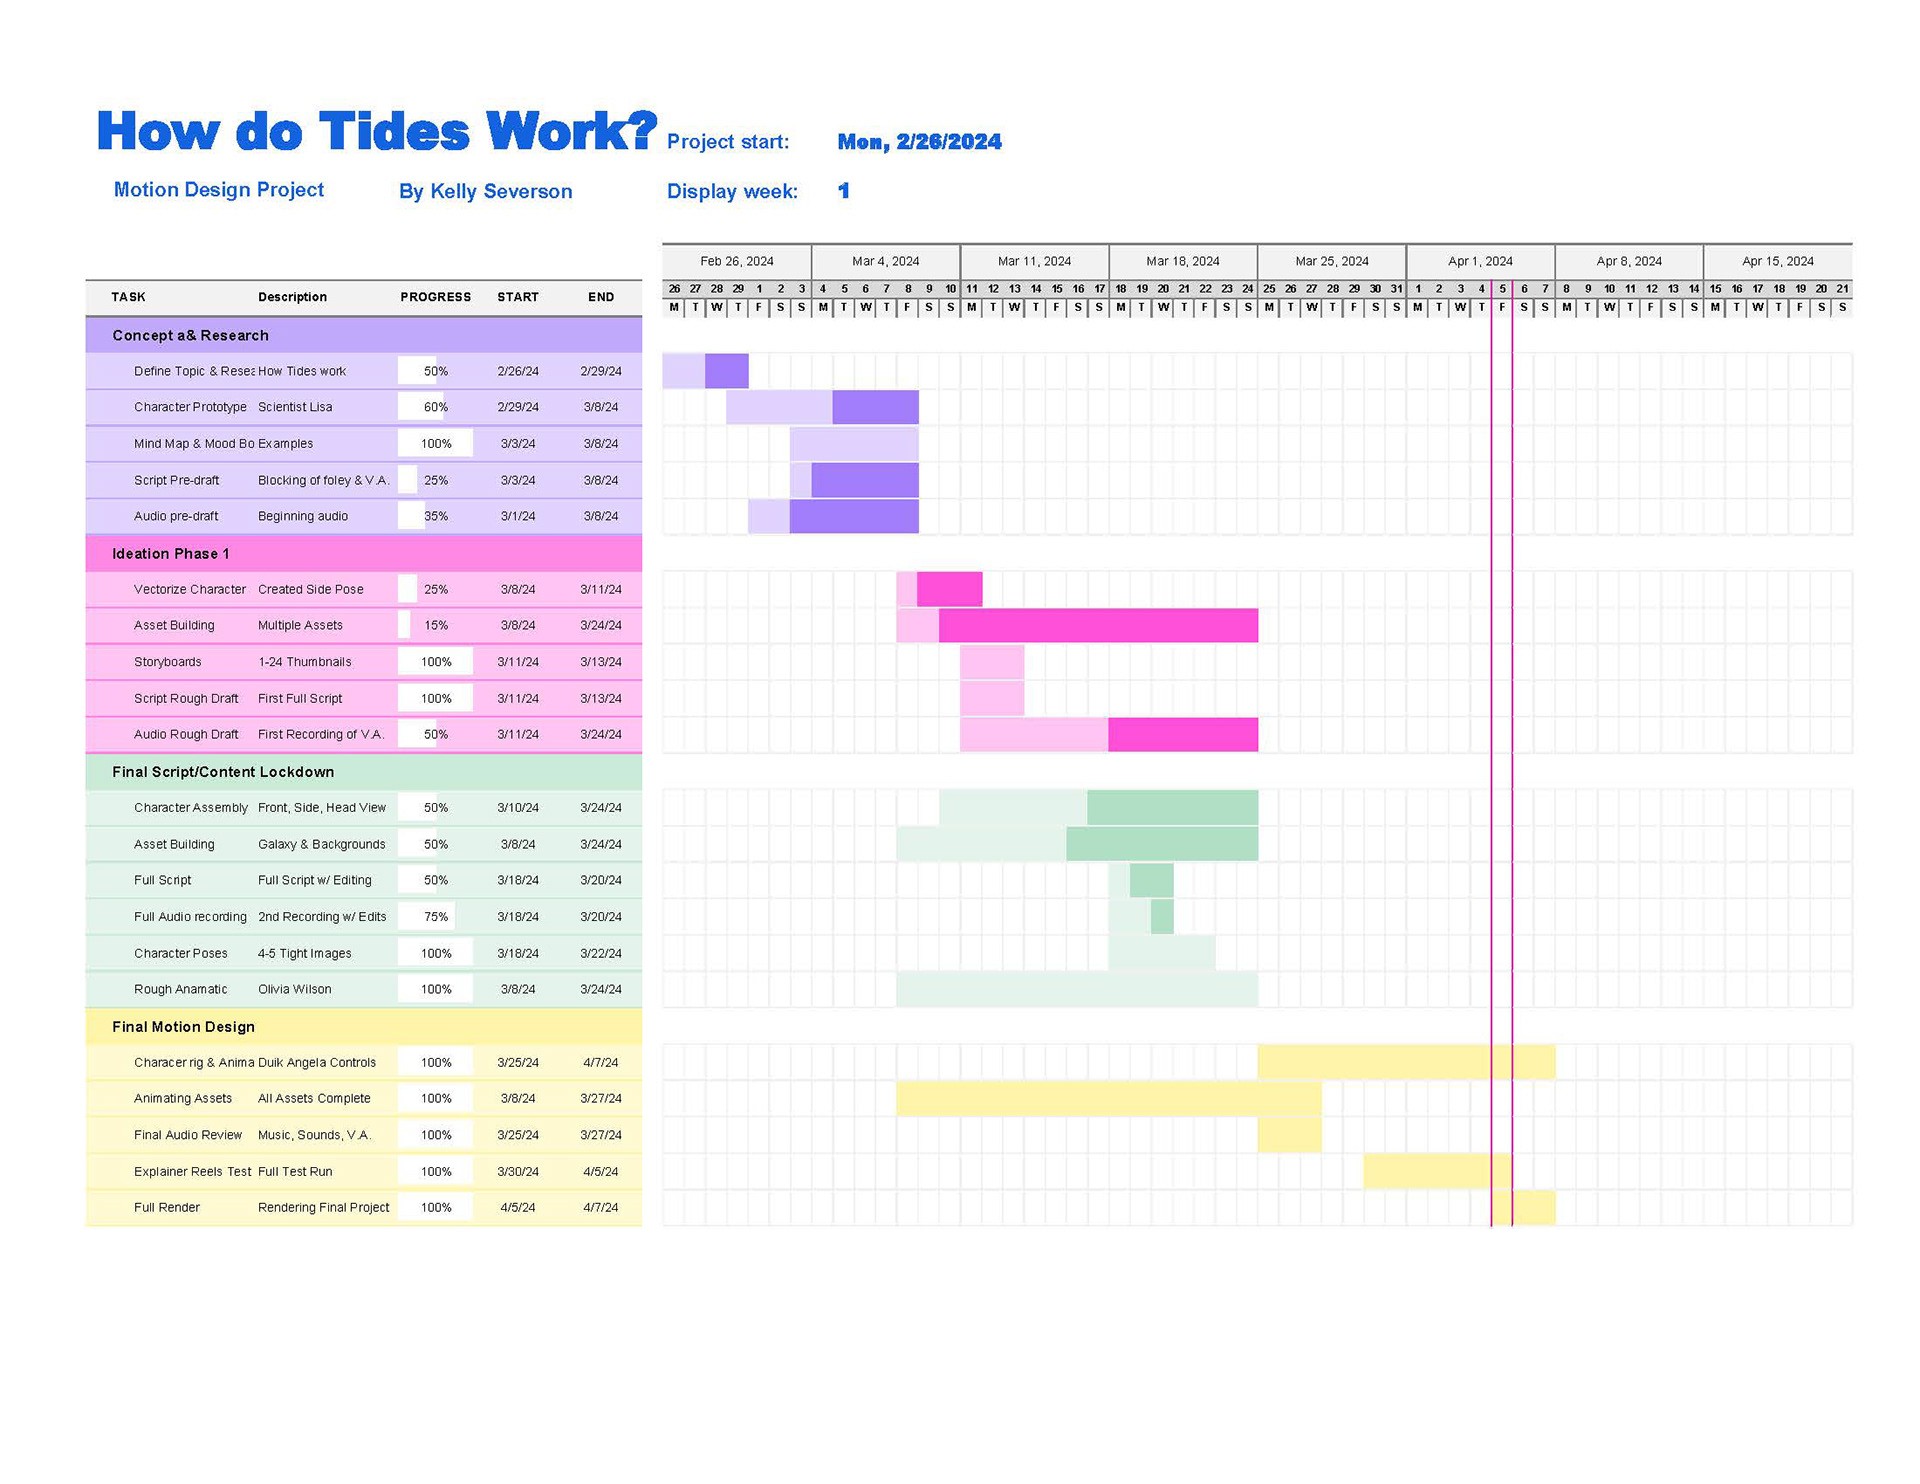
Gnatt Chart
Full Educational Animatic Explainer, pre-revisions
I was very satisfied with this outcome as I was able to fix the hand issues and make changes to make the character animations smoother, fix the lack of detail in the graphics, and I also was able to explore and use more text effects when I re-visited the project recently.
Revisions
Revision arial view

Revisions day scene
Revisions night scene

Revision wave scene

Revised Earth
Revised Moon
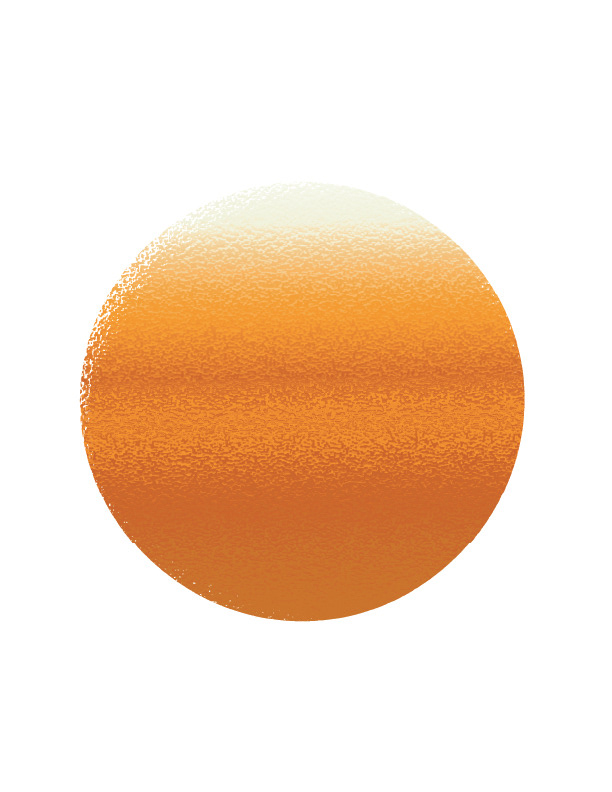
Revised Sun
As apart of my own growth, I wanted to come back to this project in particular because it had so much potential to be a really high quality explainer. While the initial assets were great for a beginner, it was time to go back in to revise them by adding in new layers of colors, shapes, and more moveable layers for further animation in After Effects. I wanted to stay true to the child friendly style of the video and character while also giving the images a lot more detail and quality designs. After doing a bunch of re-designs, I went back into the file to begin fixing animations by adding extra easy ease to the key frames, fixing the pacing of the transitions, and text effects like a glow, drop shadow, and other to make the text and graphic assets pop off the page.
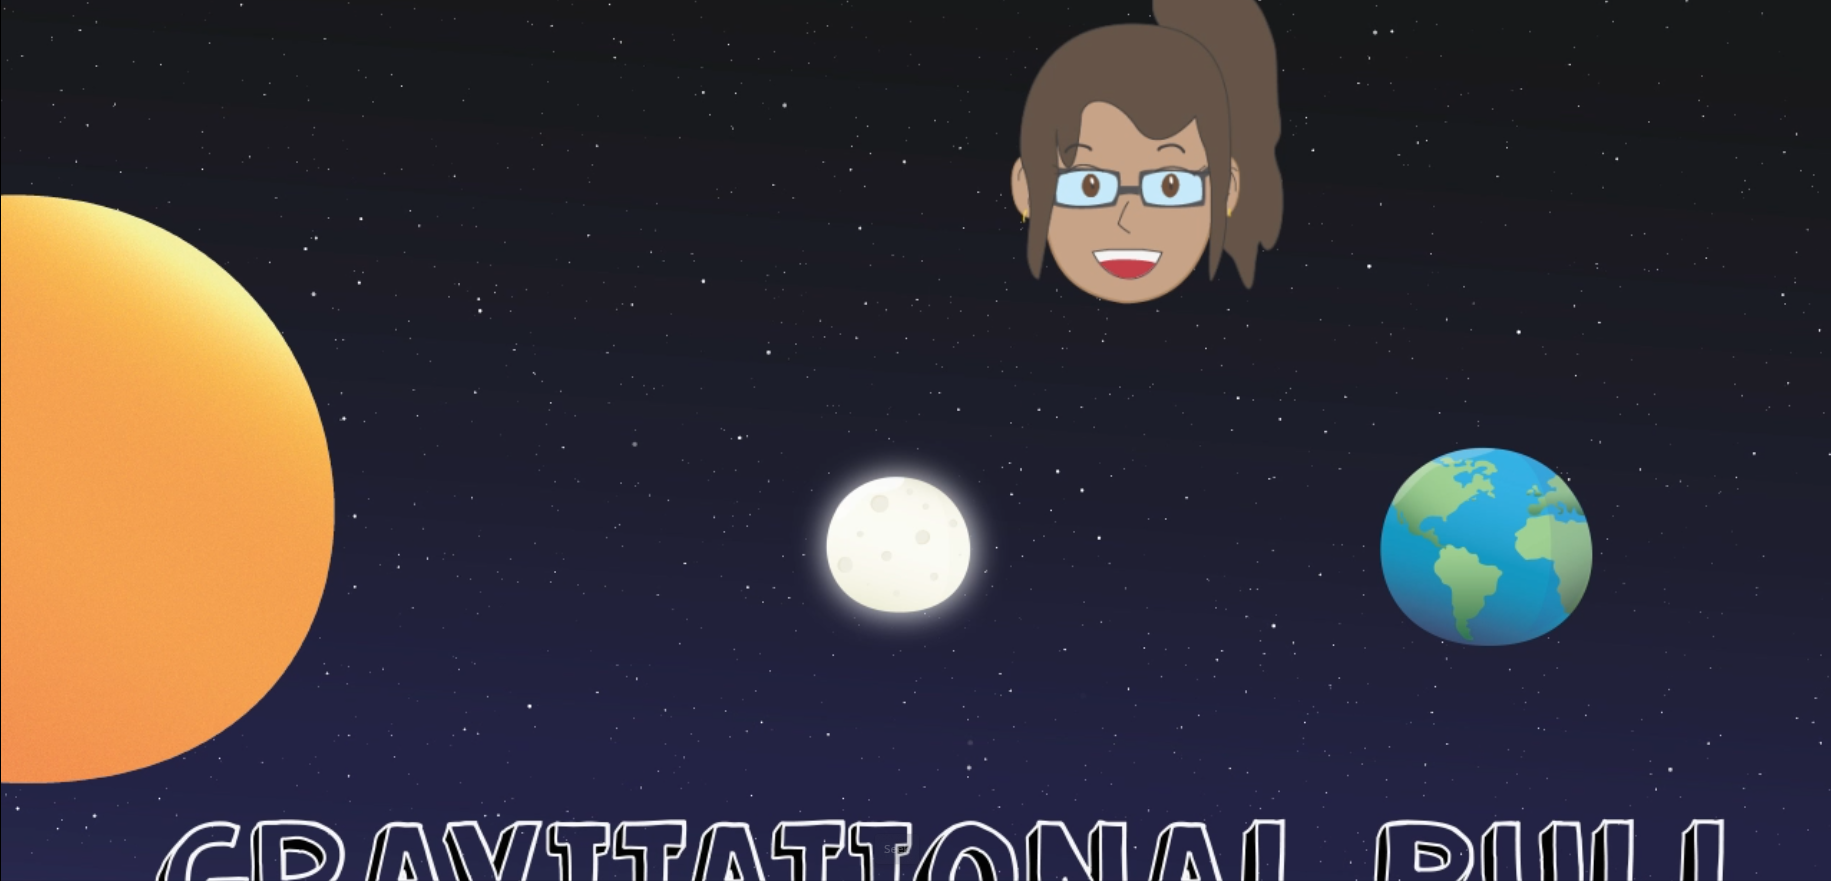
Unedited version
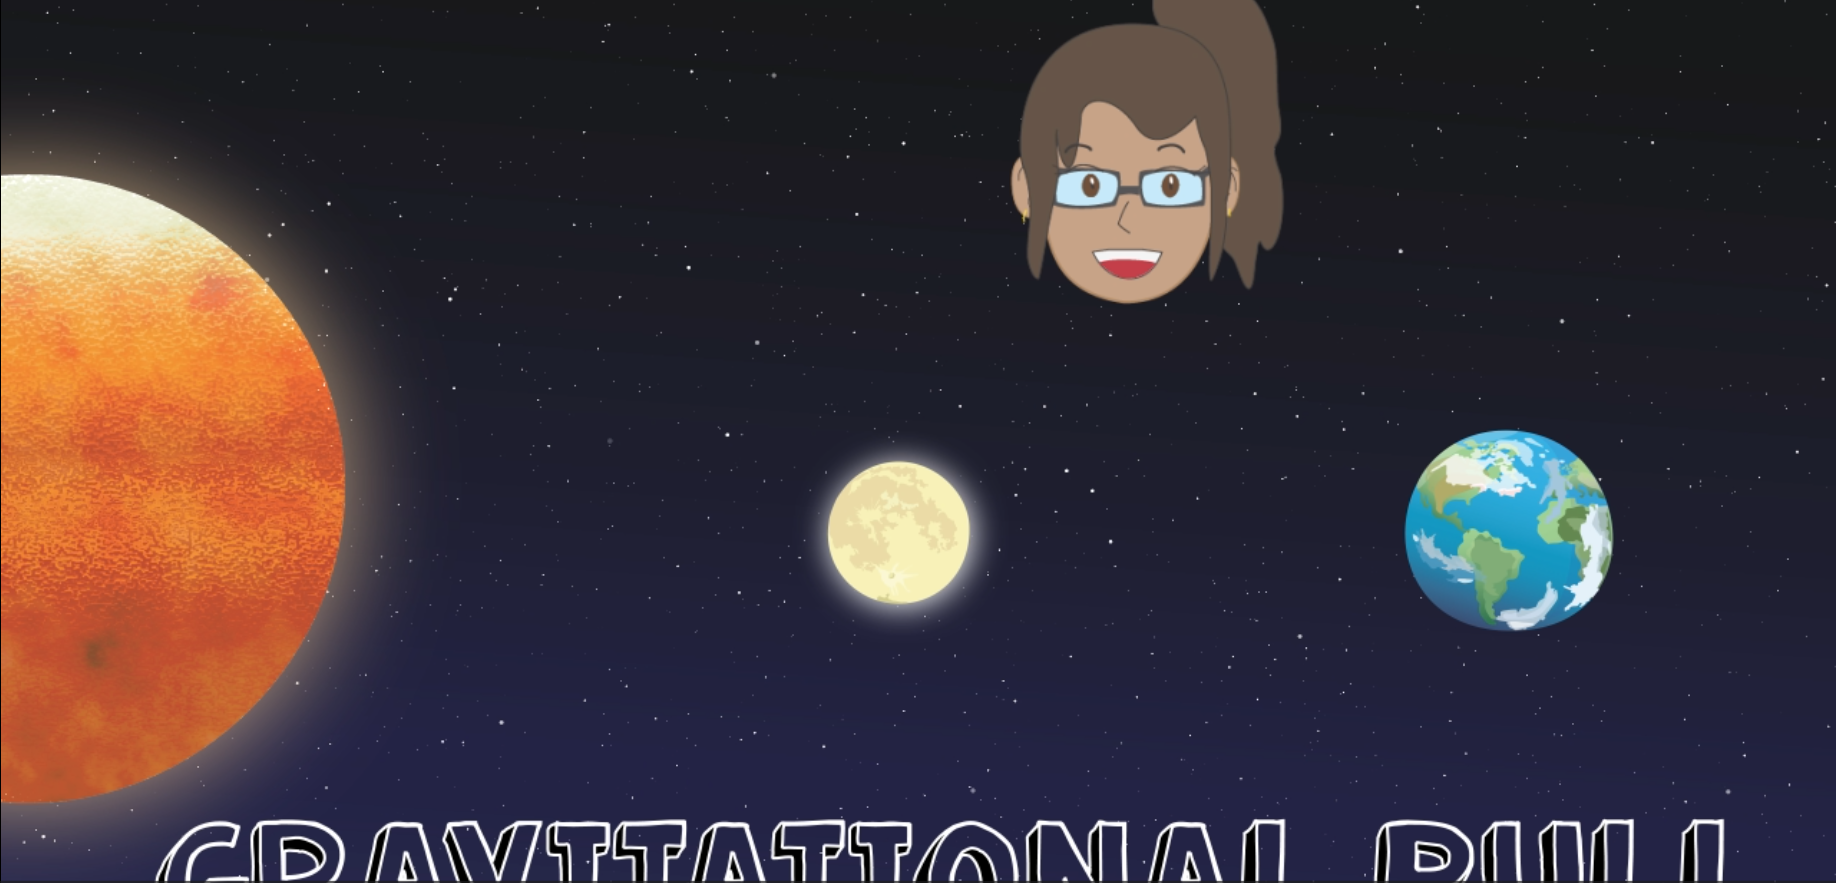
Revision
As a quick comparison, it is easy to see how much more detail and overall high quality the graphics look in the right picture compares to the right side. The planets actually pop off the page more and the sun actually has a much more realistic texture, feel, and quality that was definitely missing.
Final Product
Full Educational Animatic Explainer, Final After Effects 2025, 1920 x 1080
For the final product, I finally felt like the project had reached a professional quality while contributing to the child-friendly atmosphere and informative nature of the explainer. By revising the assets and tweaking motion and animations, I felt like this project reached a capping point where it looks a lot better, smoother, and has all the items it was missing before. I am super proud of how the designs look all together after the major revisions, and feel it is worthy to be apart of my digital portfolio.