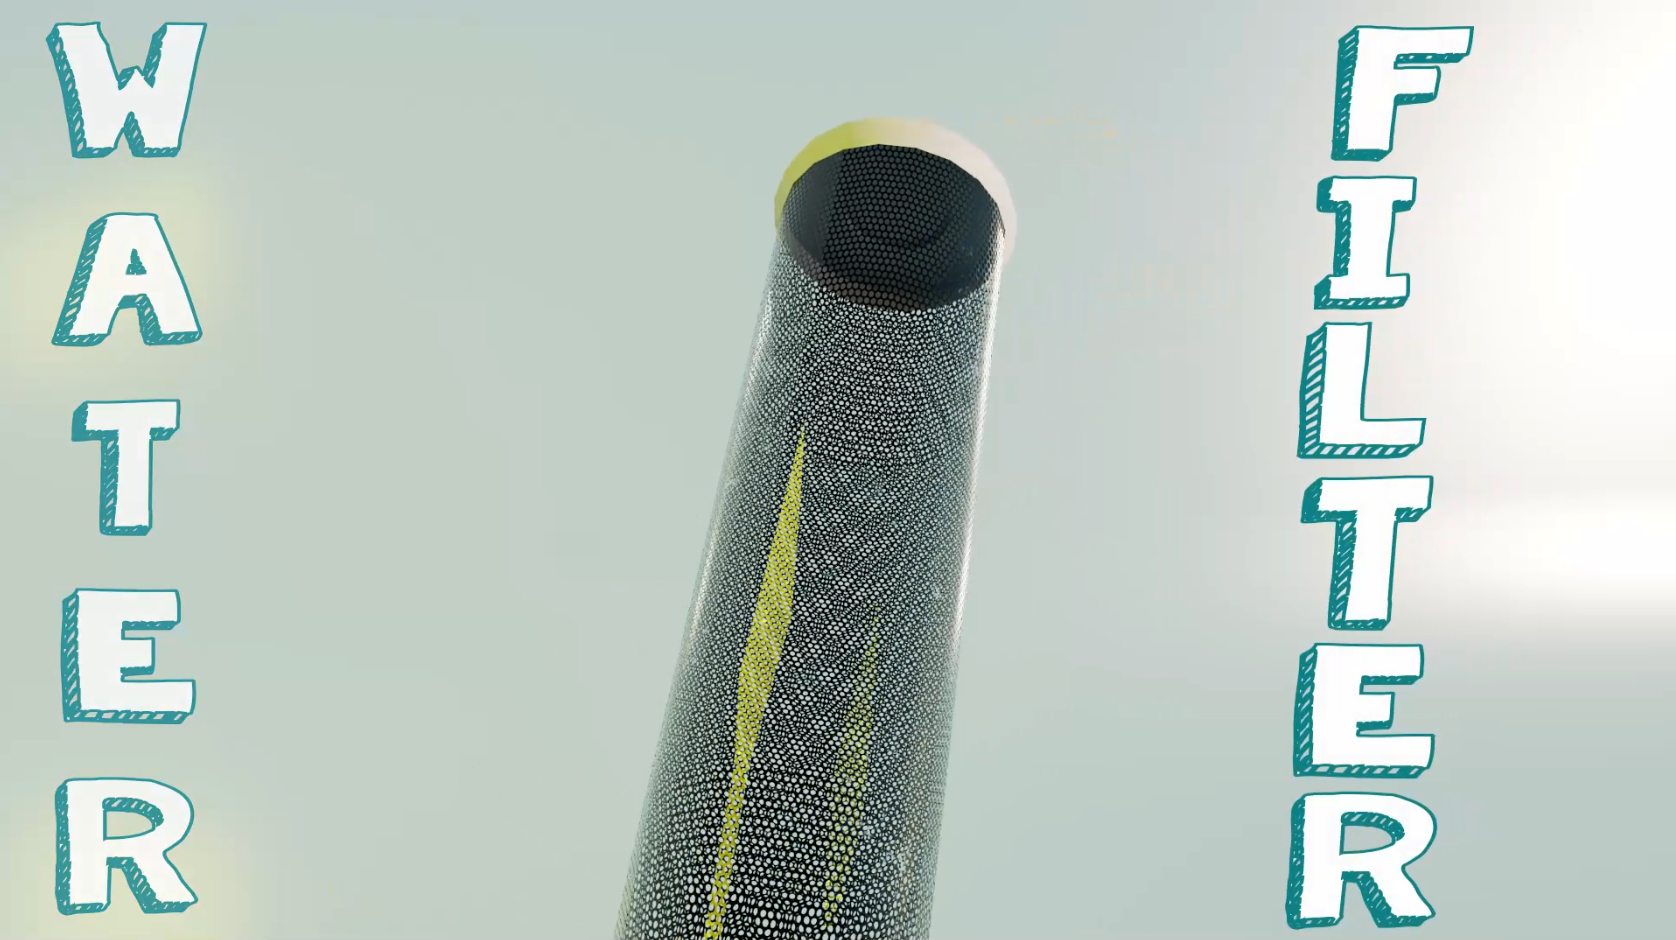
Permeable Mesh Water Filter
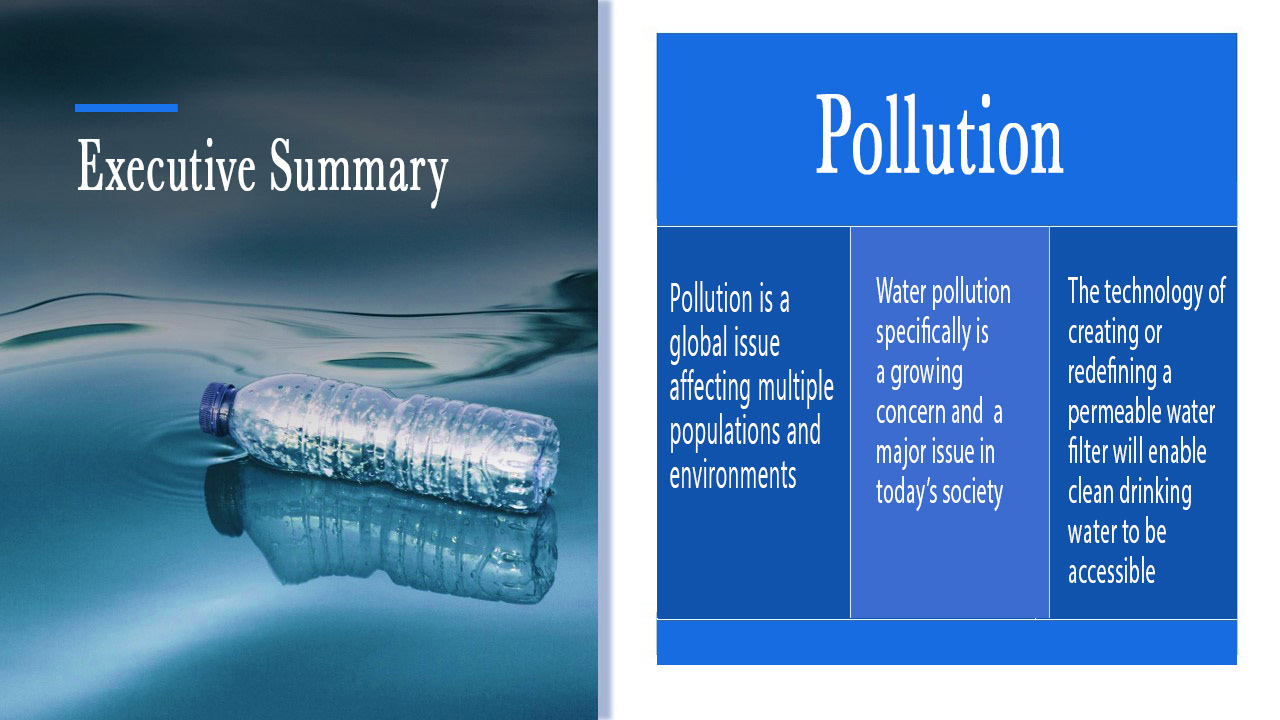
For this project, the concept was to build on a technical solution to any kind of current climate or weather issue. I ended up choosing to focus on water pollution and creating a new type of permeable mesh water filter that could filter and strain out micro-plastics in industrial and home settings. The project also required a built prototype which was created in 3D space and skills such as animation, motion design, lighting, texturing, shading, rendering, and post production work.
Pre-visualization
To start the project, I created a mind map of various climate-related issues I could tackle and decided on water pollution as my main focus. I utilized Canva to create this simple mind map.
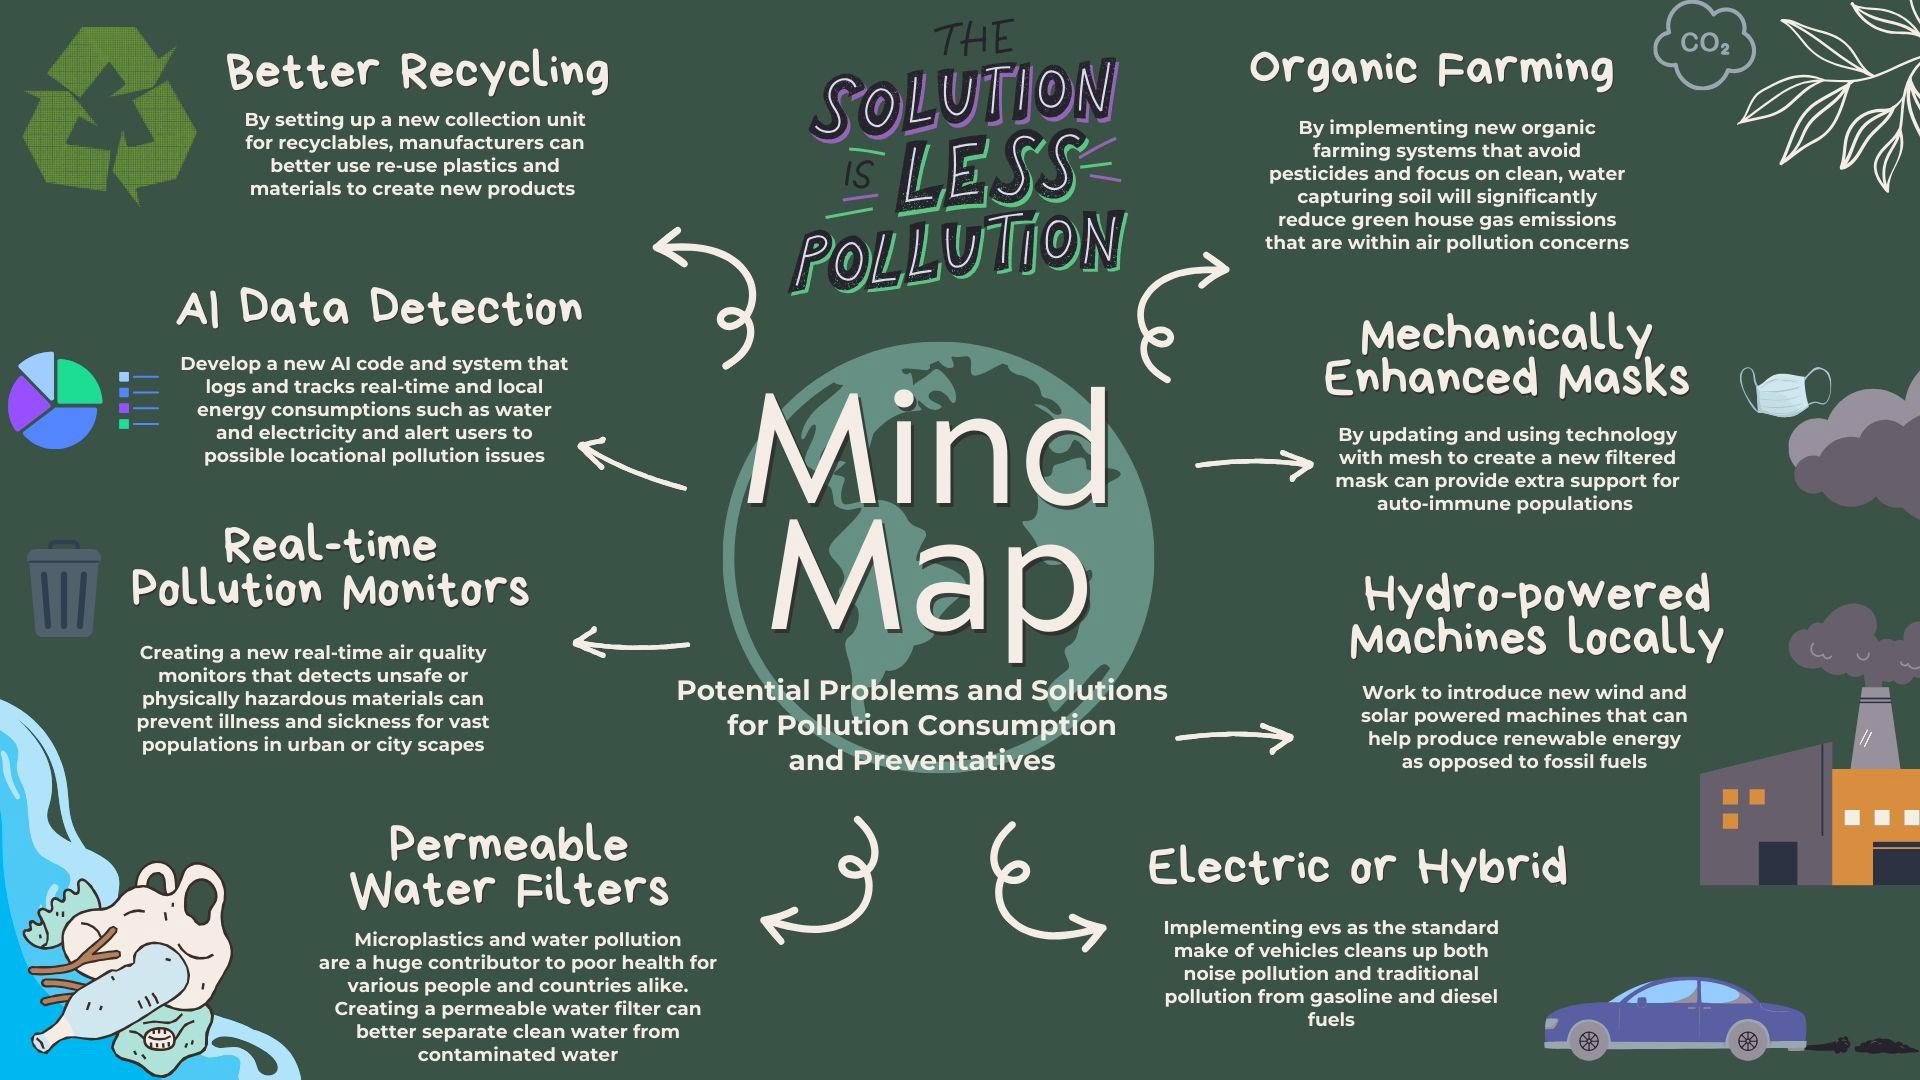
Mind map
Next, I began crafting mood boards to get a feel for the visual art style I wanted to build on as well as some scientific research to explain how modern filters work so i could create an accurate project.
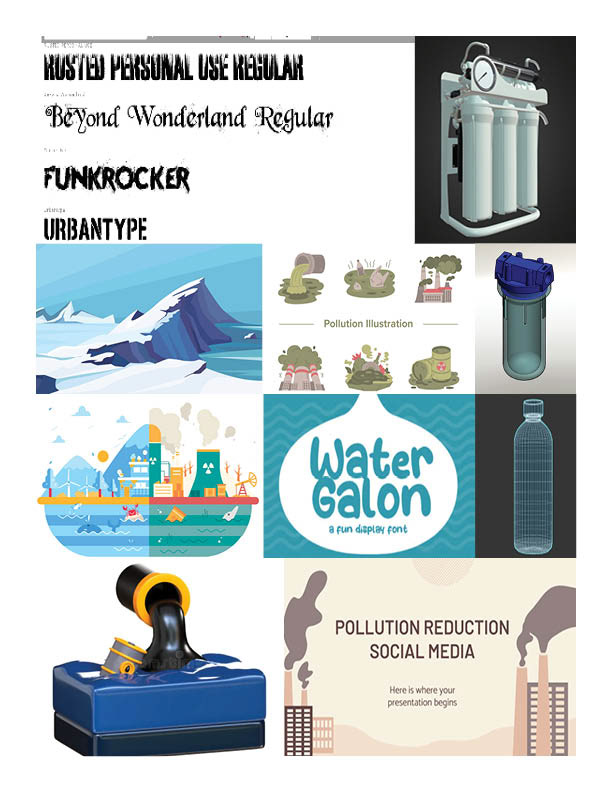
Moodboard 1
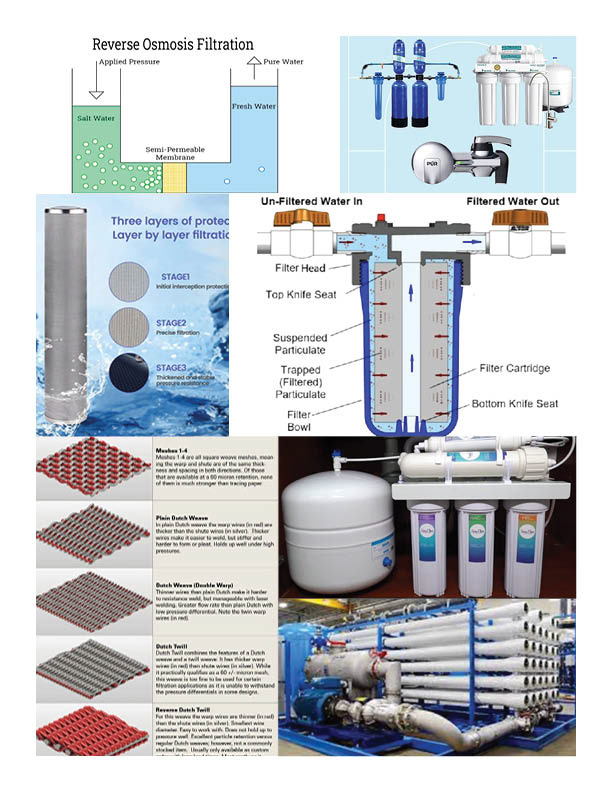
Moodboard 2
Mood boards
After getting some inspiration for the art style, look, scientific method, and visual identity, I began drafting storyboards to demonstrate how this permeable mesh filter will work. I also drafted concepts for how the overall story would progress including graphic assets, camera angles, and how the animation will follow. I did also re-edit this project to upgrade the storyboard, graphics and other materials for a more polished appearance.
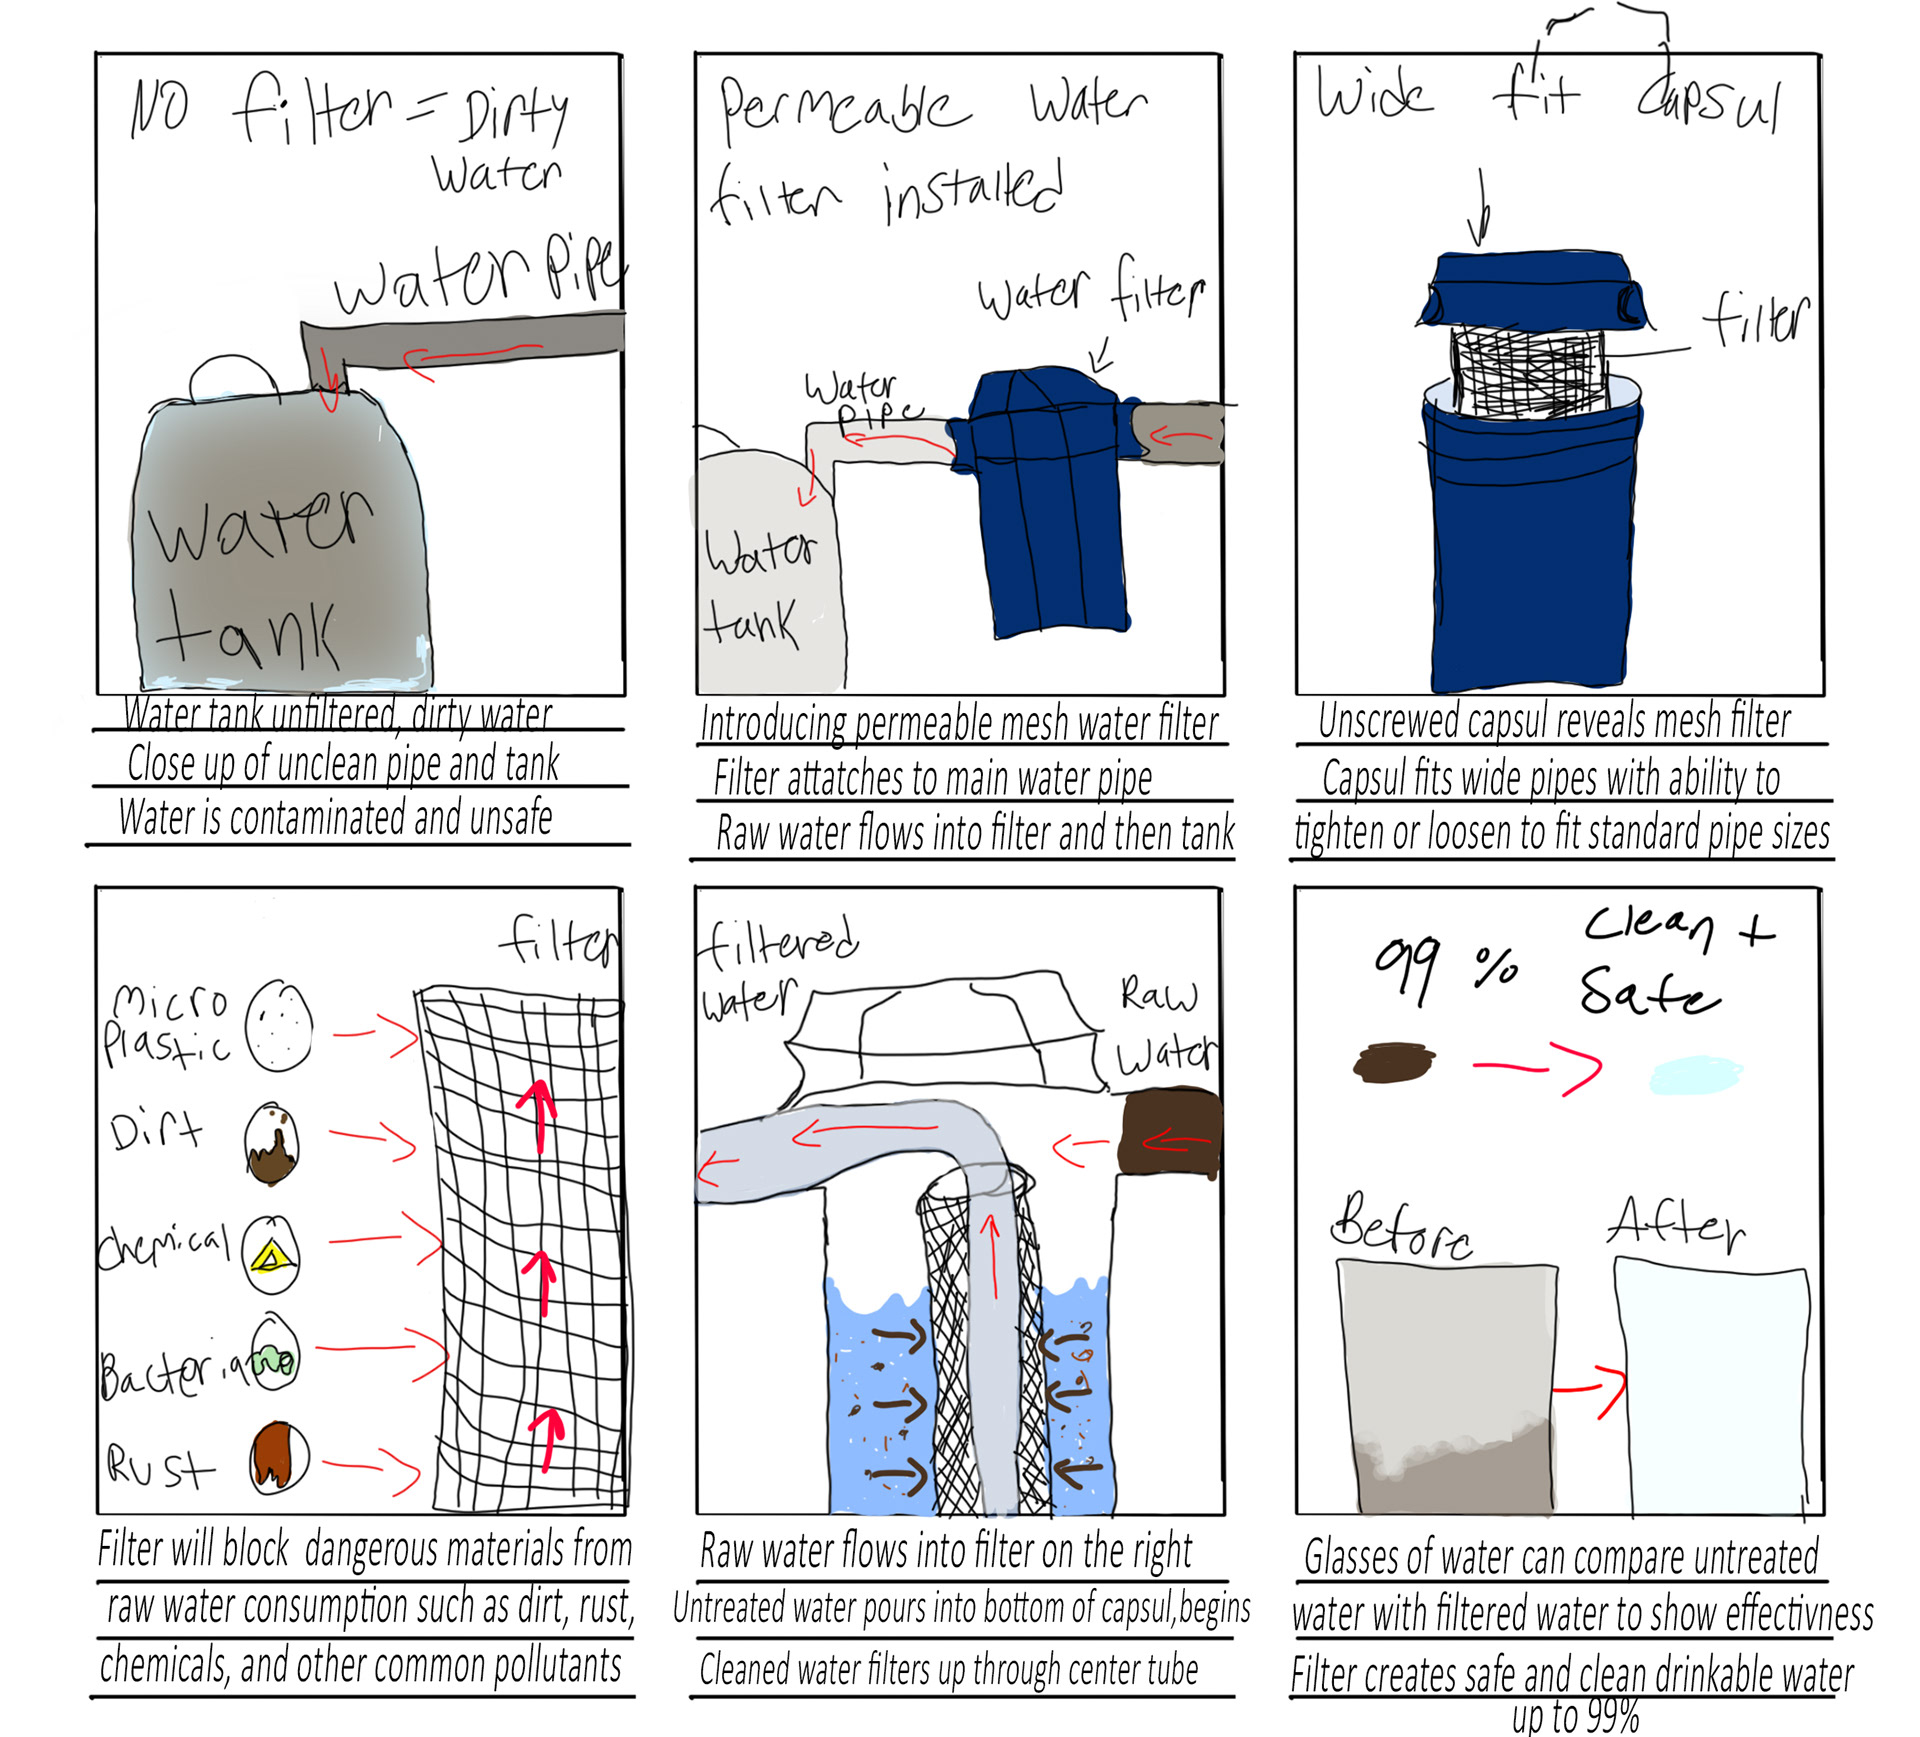
Story board 1 non edit

Story board 1
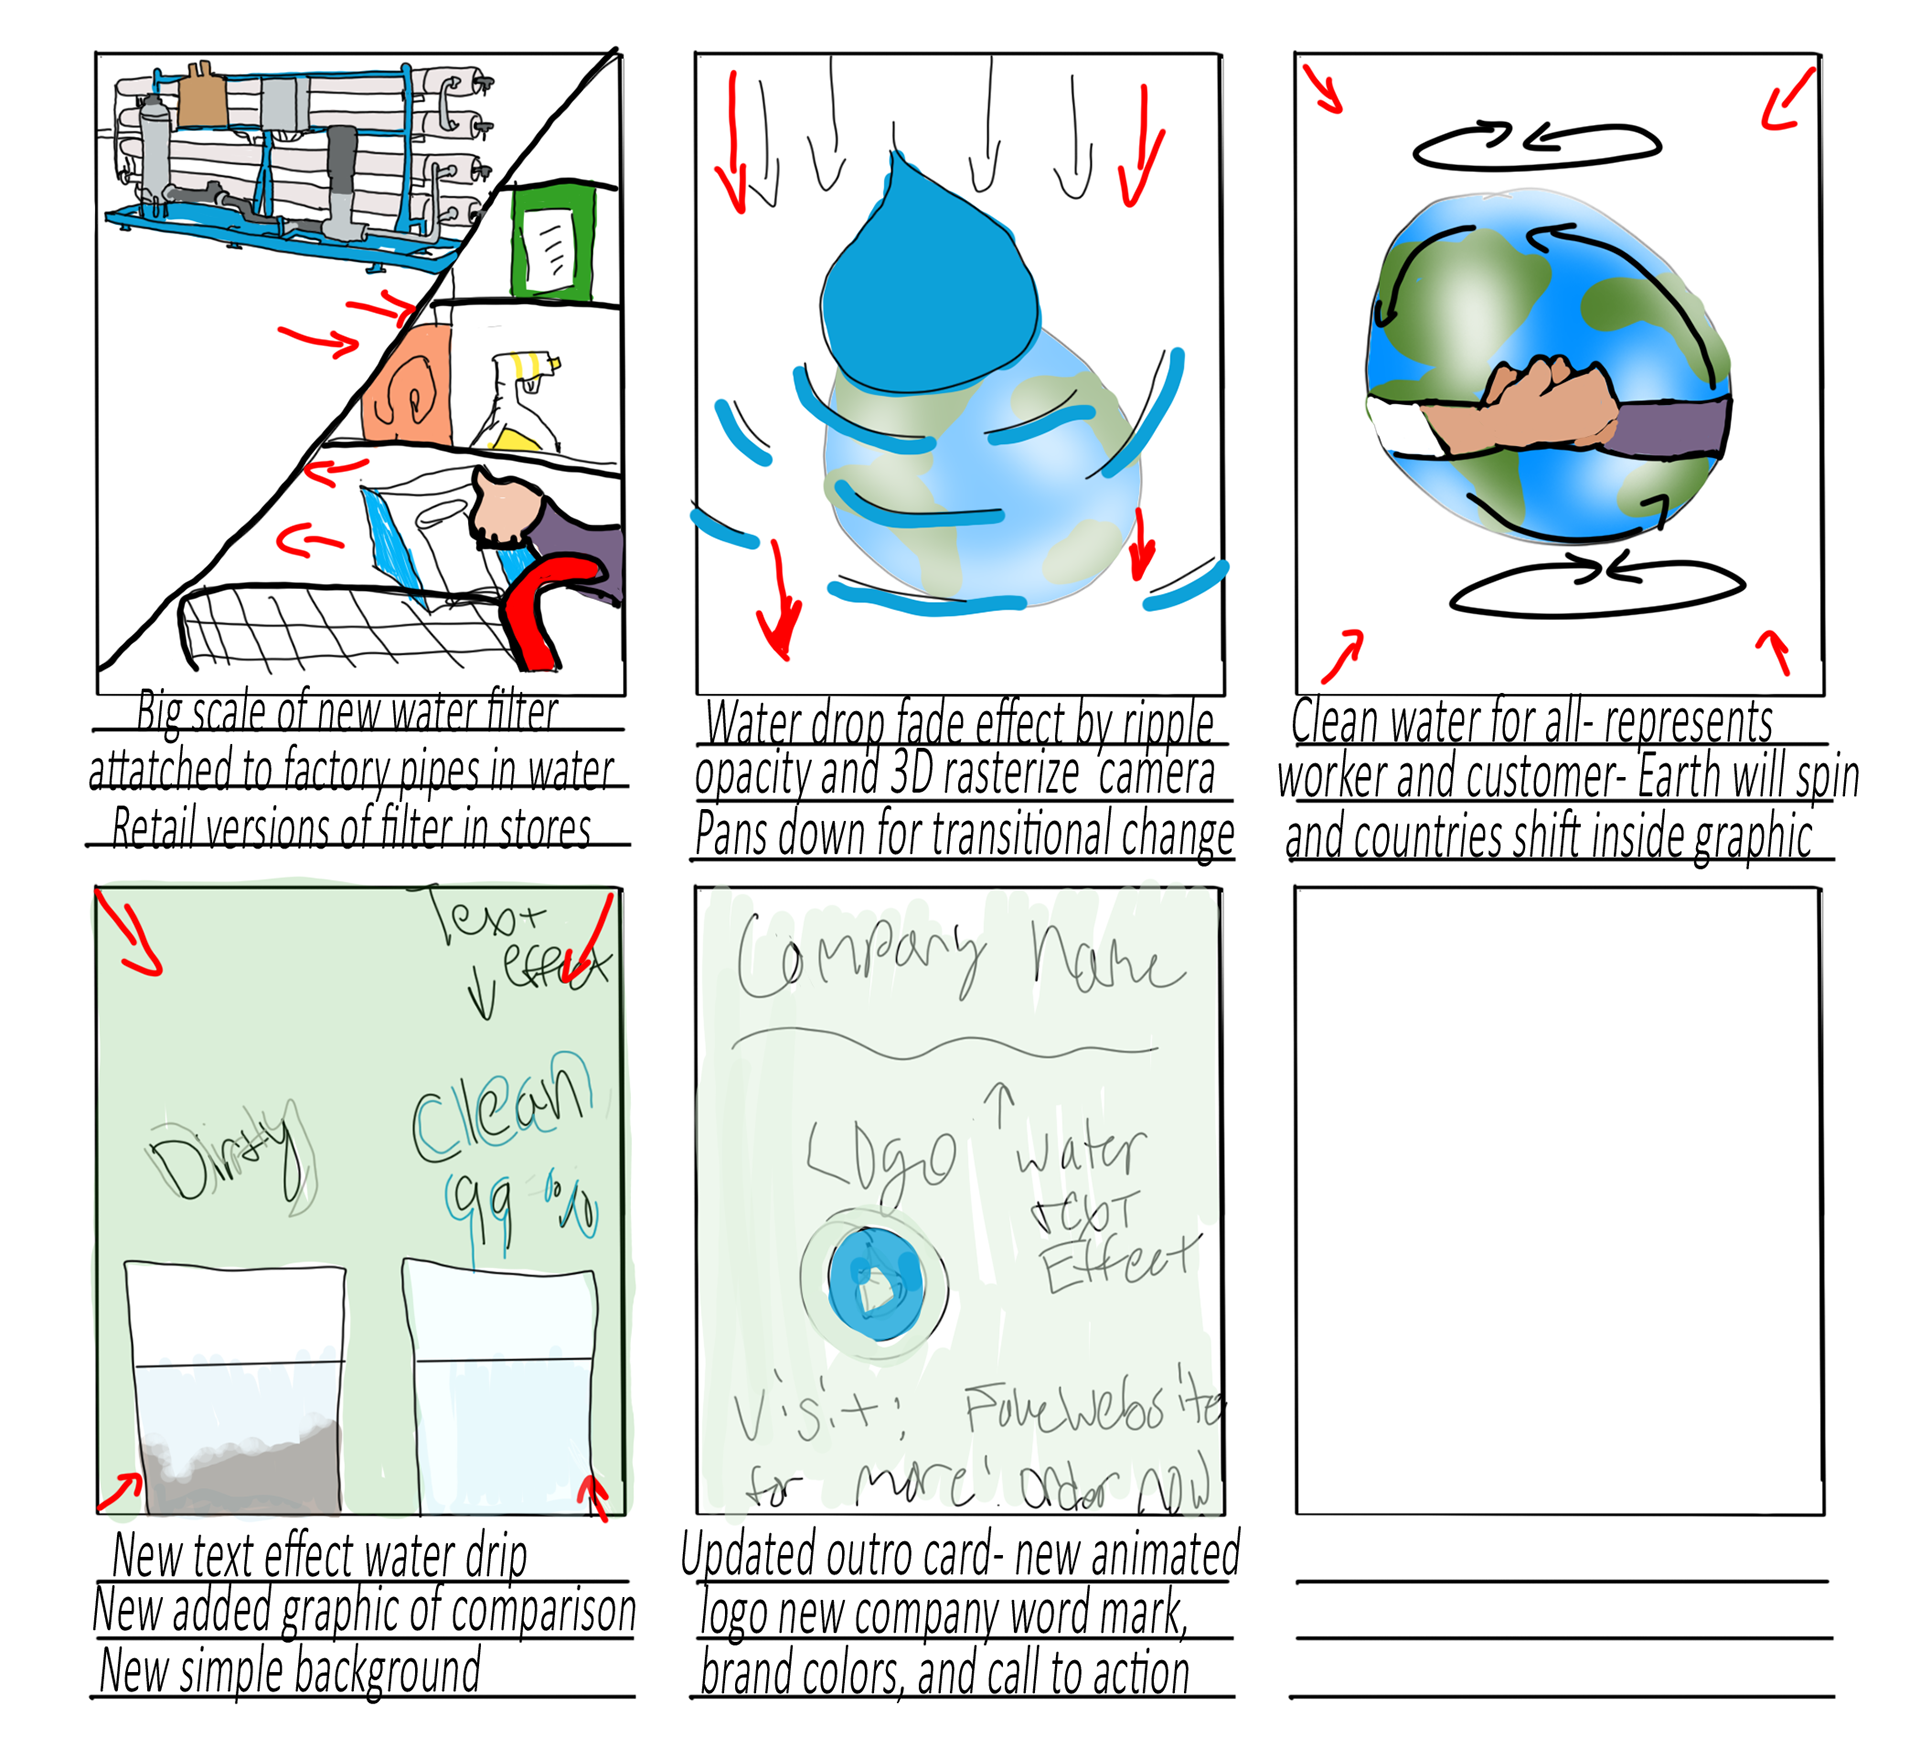
Story board 2 re-edit
Story boards
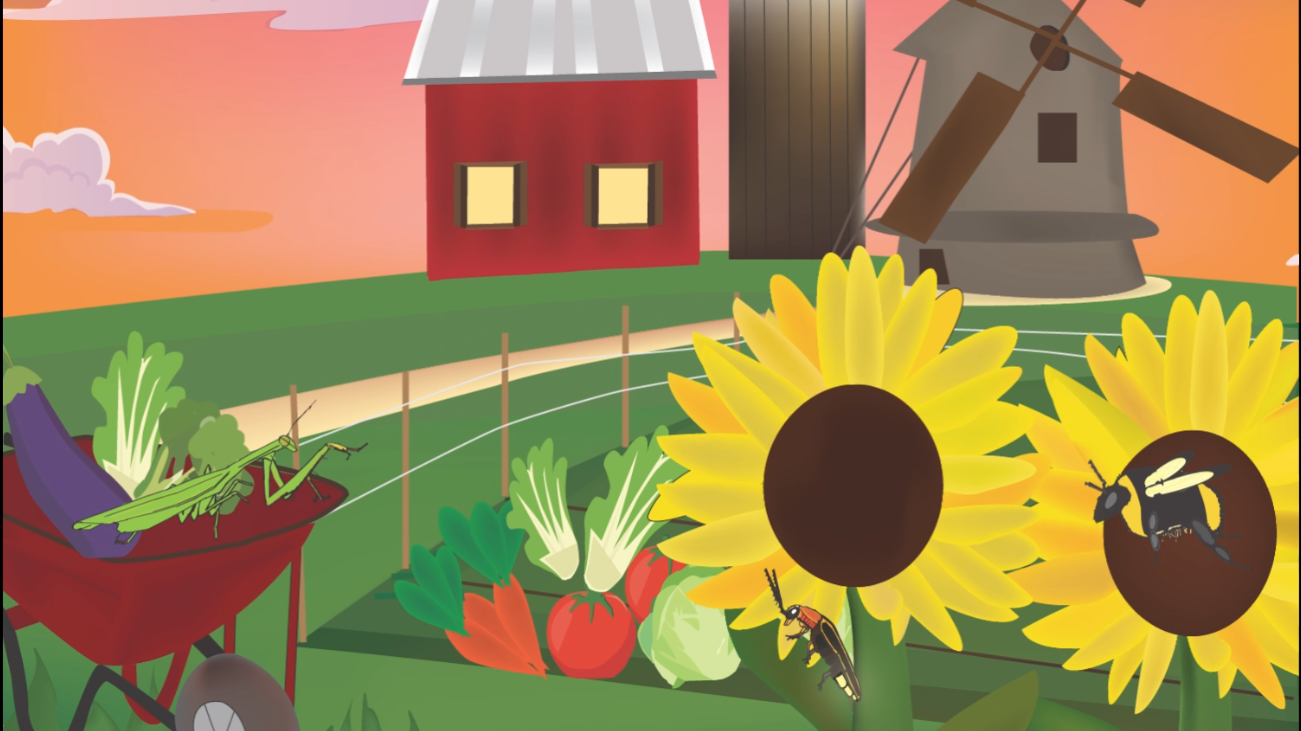
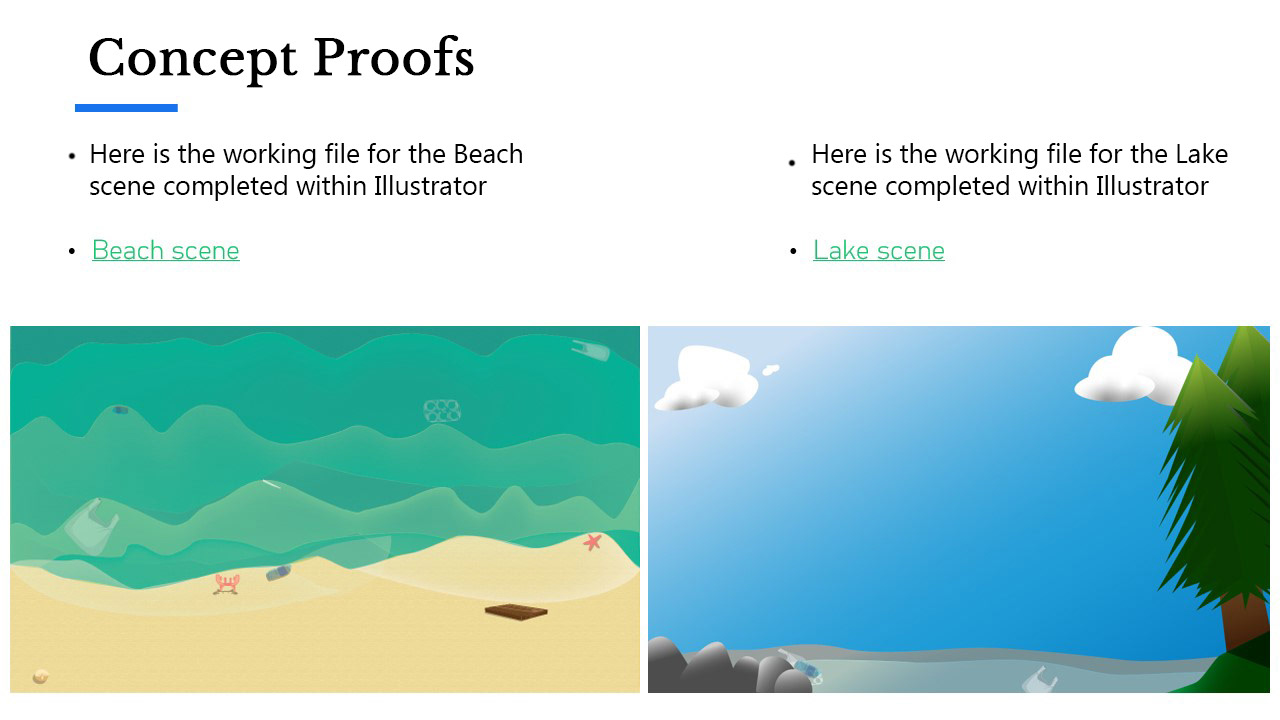
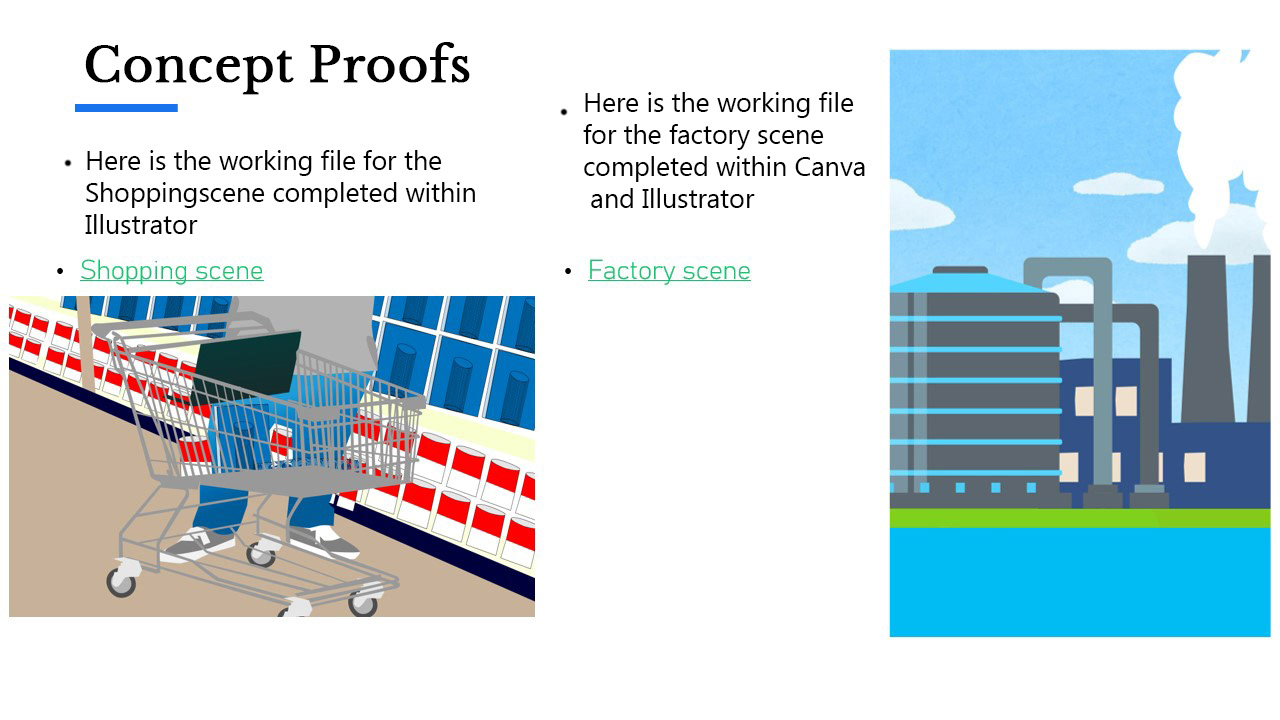
After drafting the concept, I began creating the graphic assets in illustrator, making a lake, beach, shopping center, and factory scene with all parts animatable (later brought into After Effects).
Production
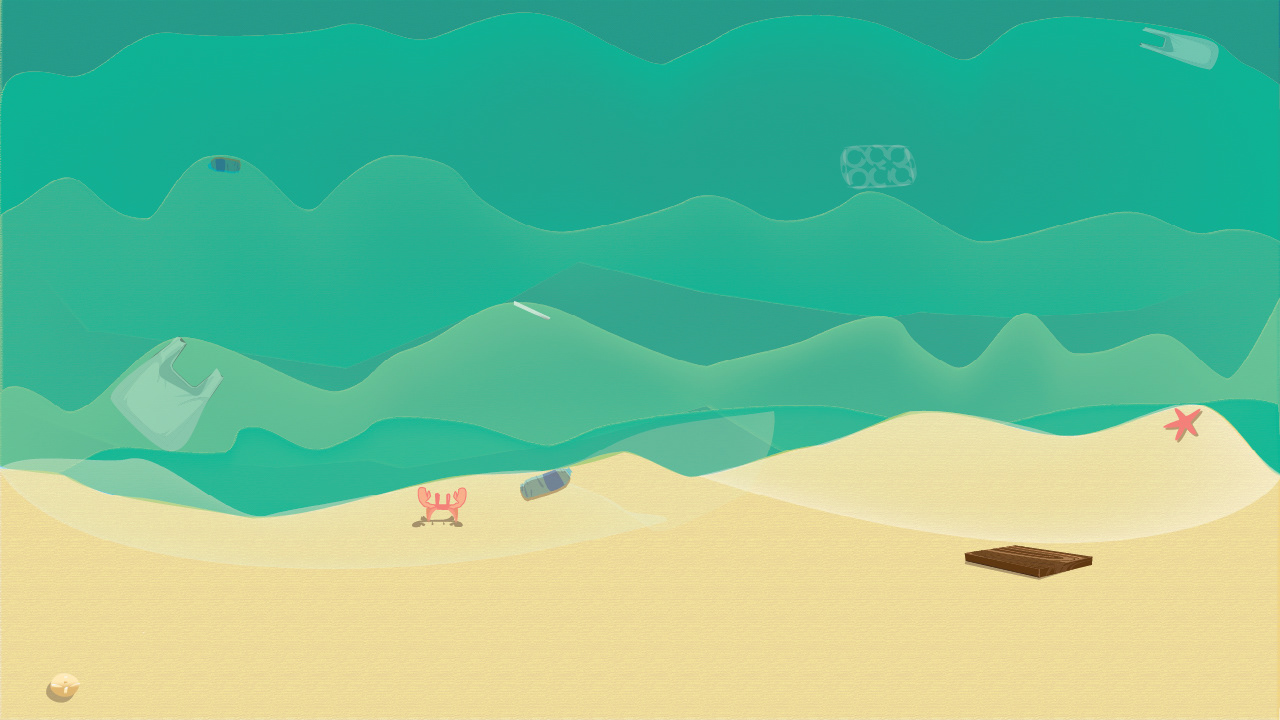
Beach scene
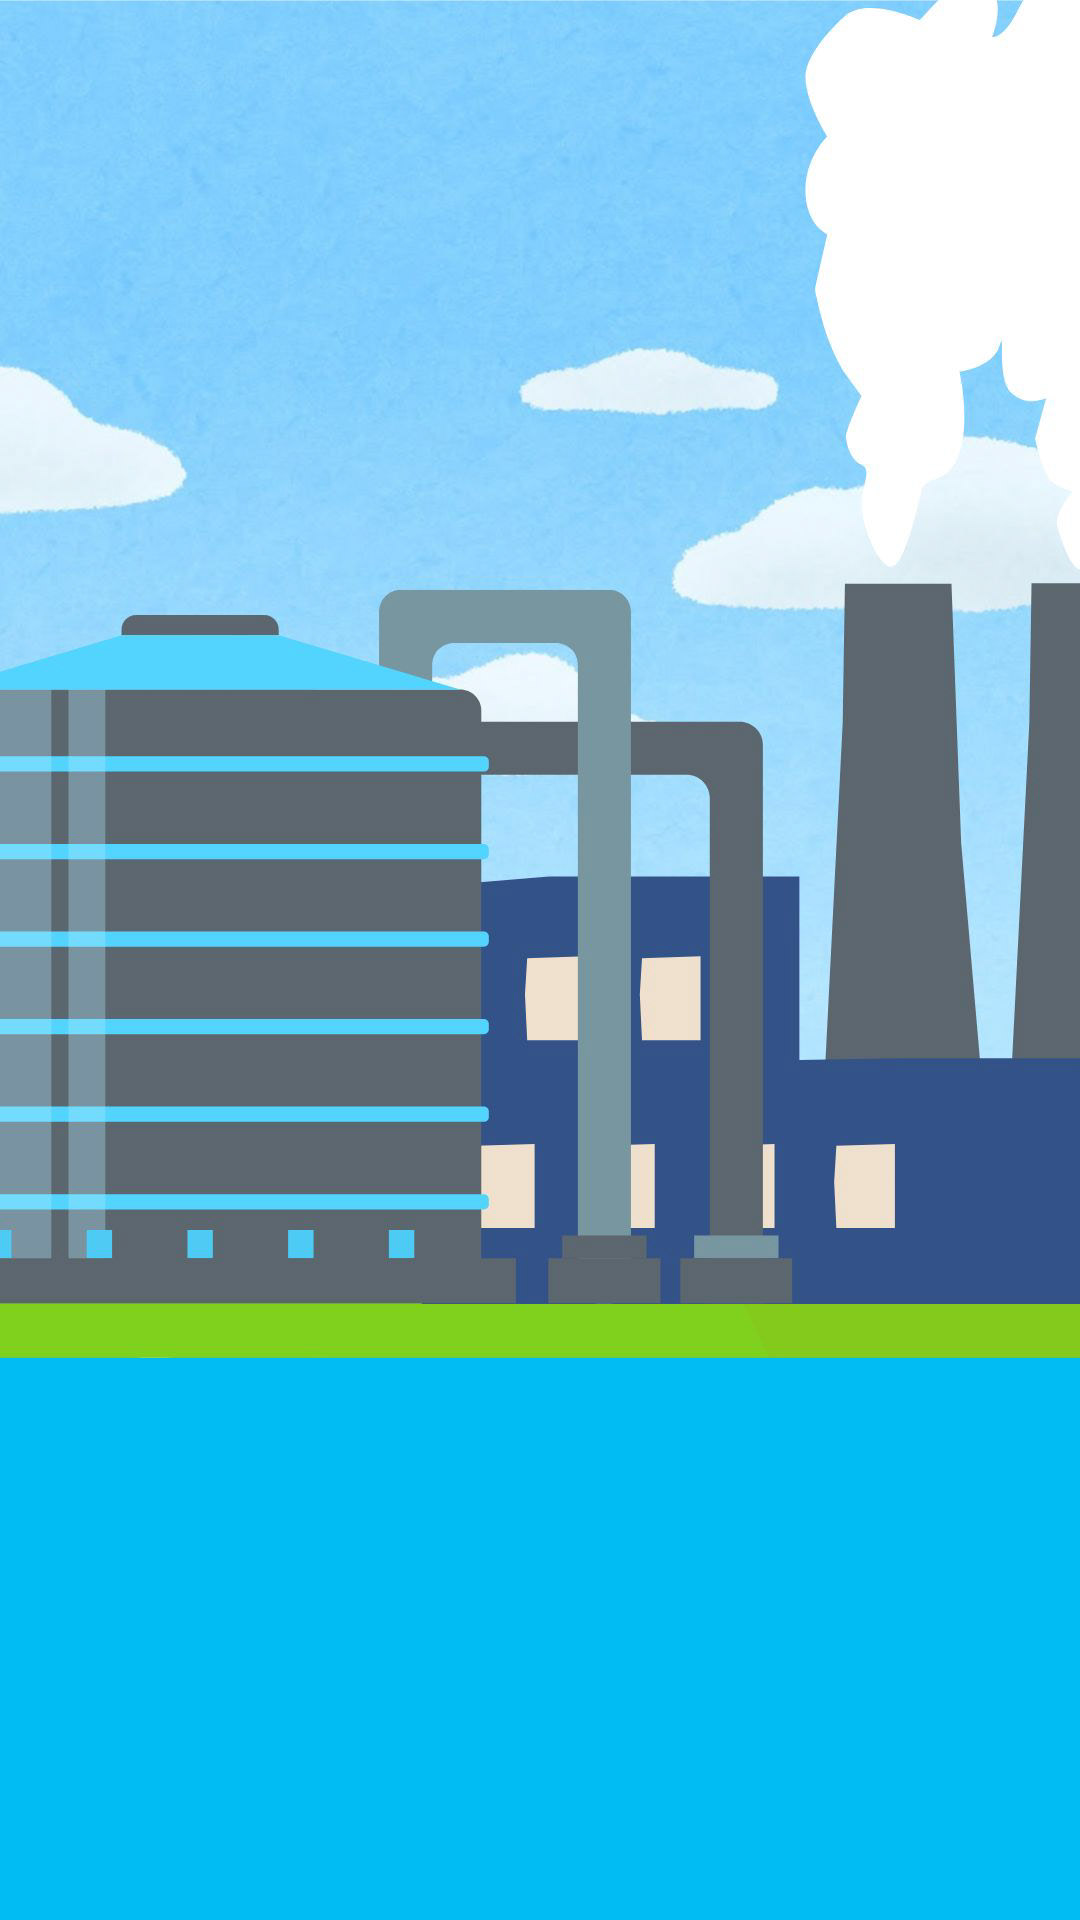
Factory scene

Lakeside scene
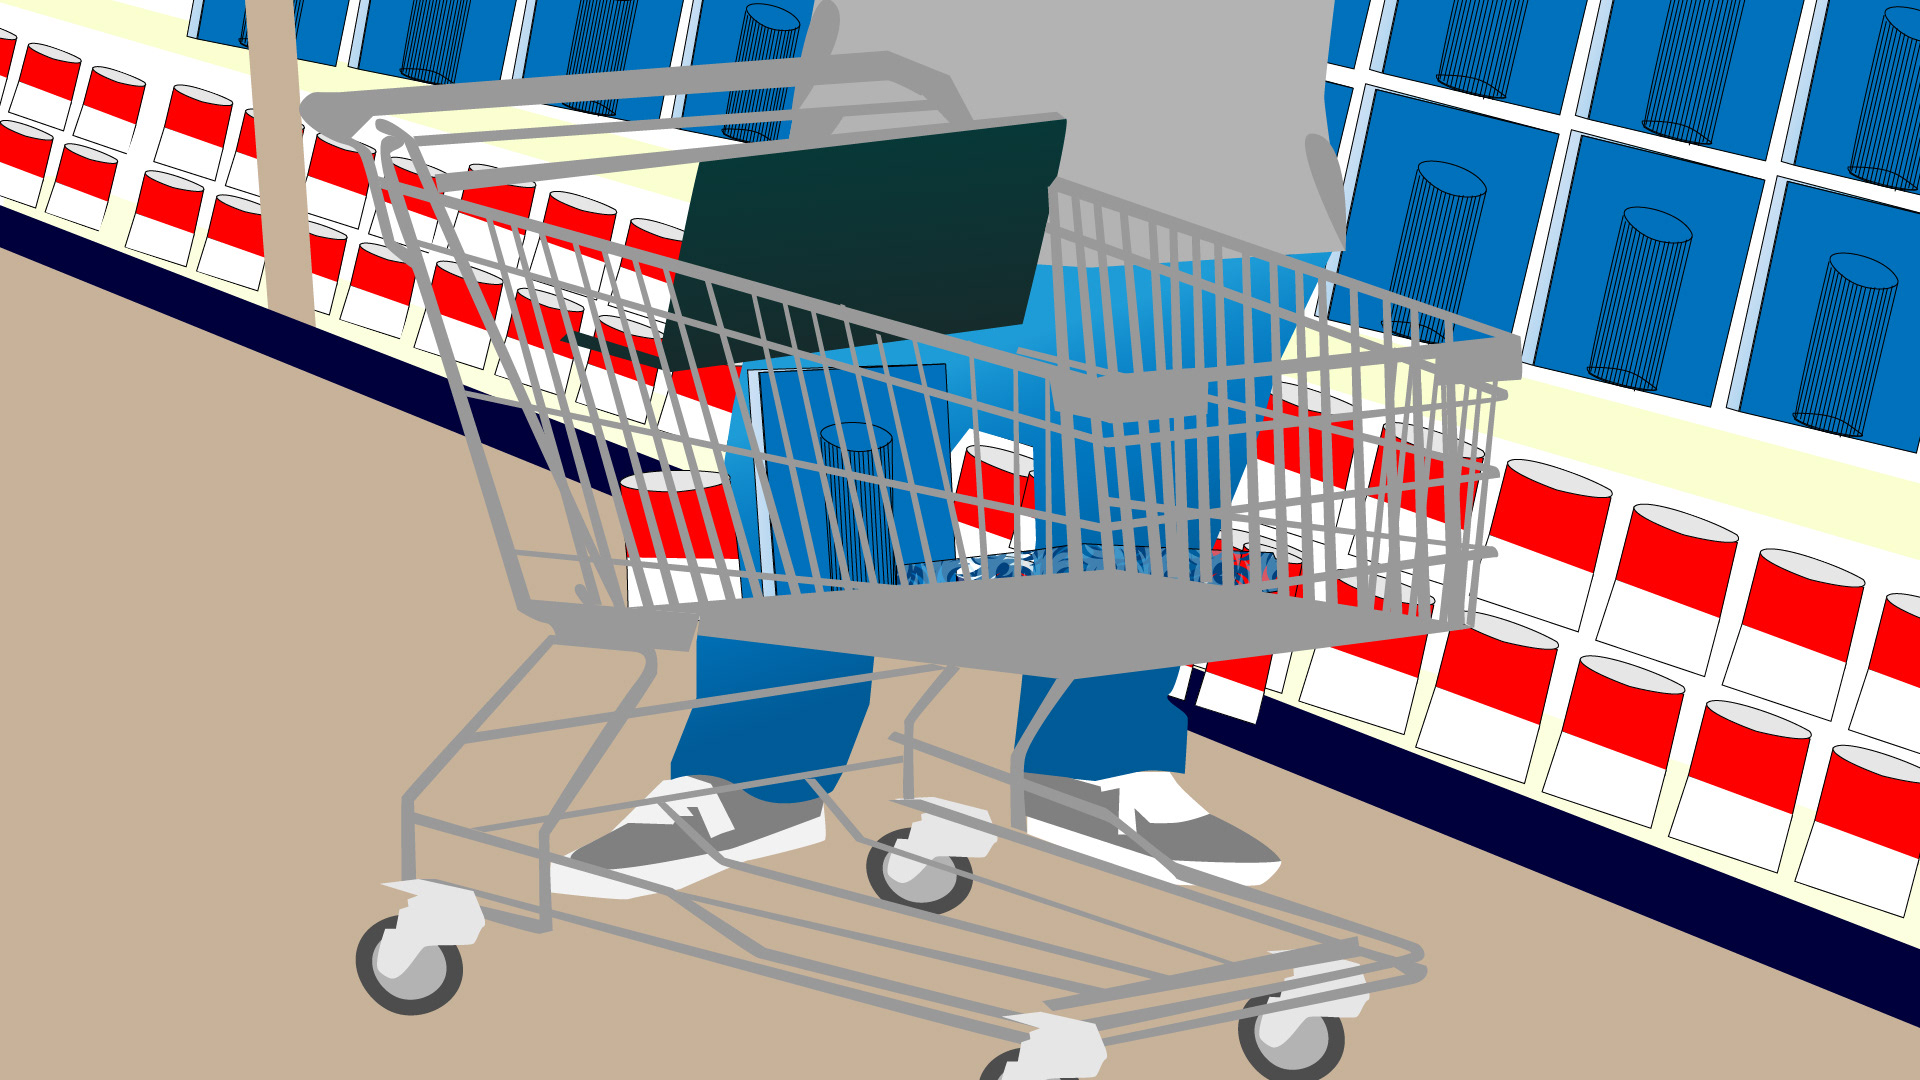
Shopping scene
Original assets
Revision

Earth
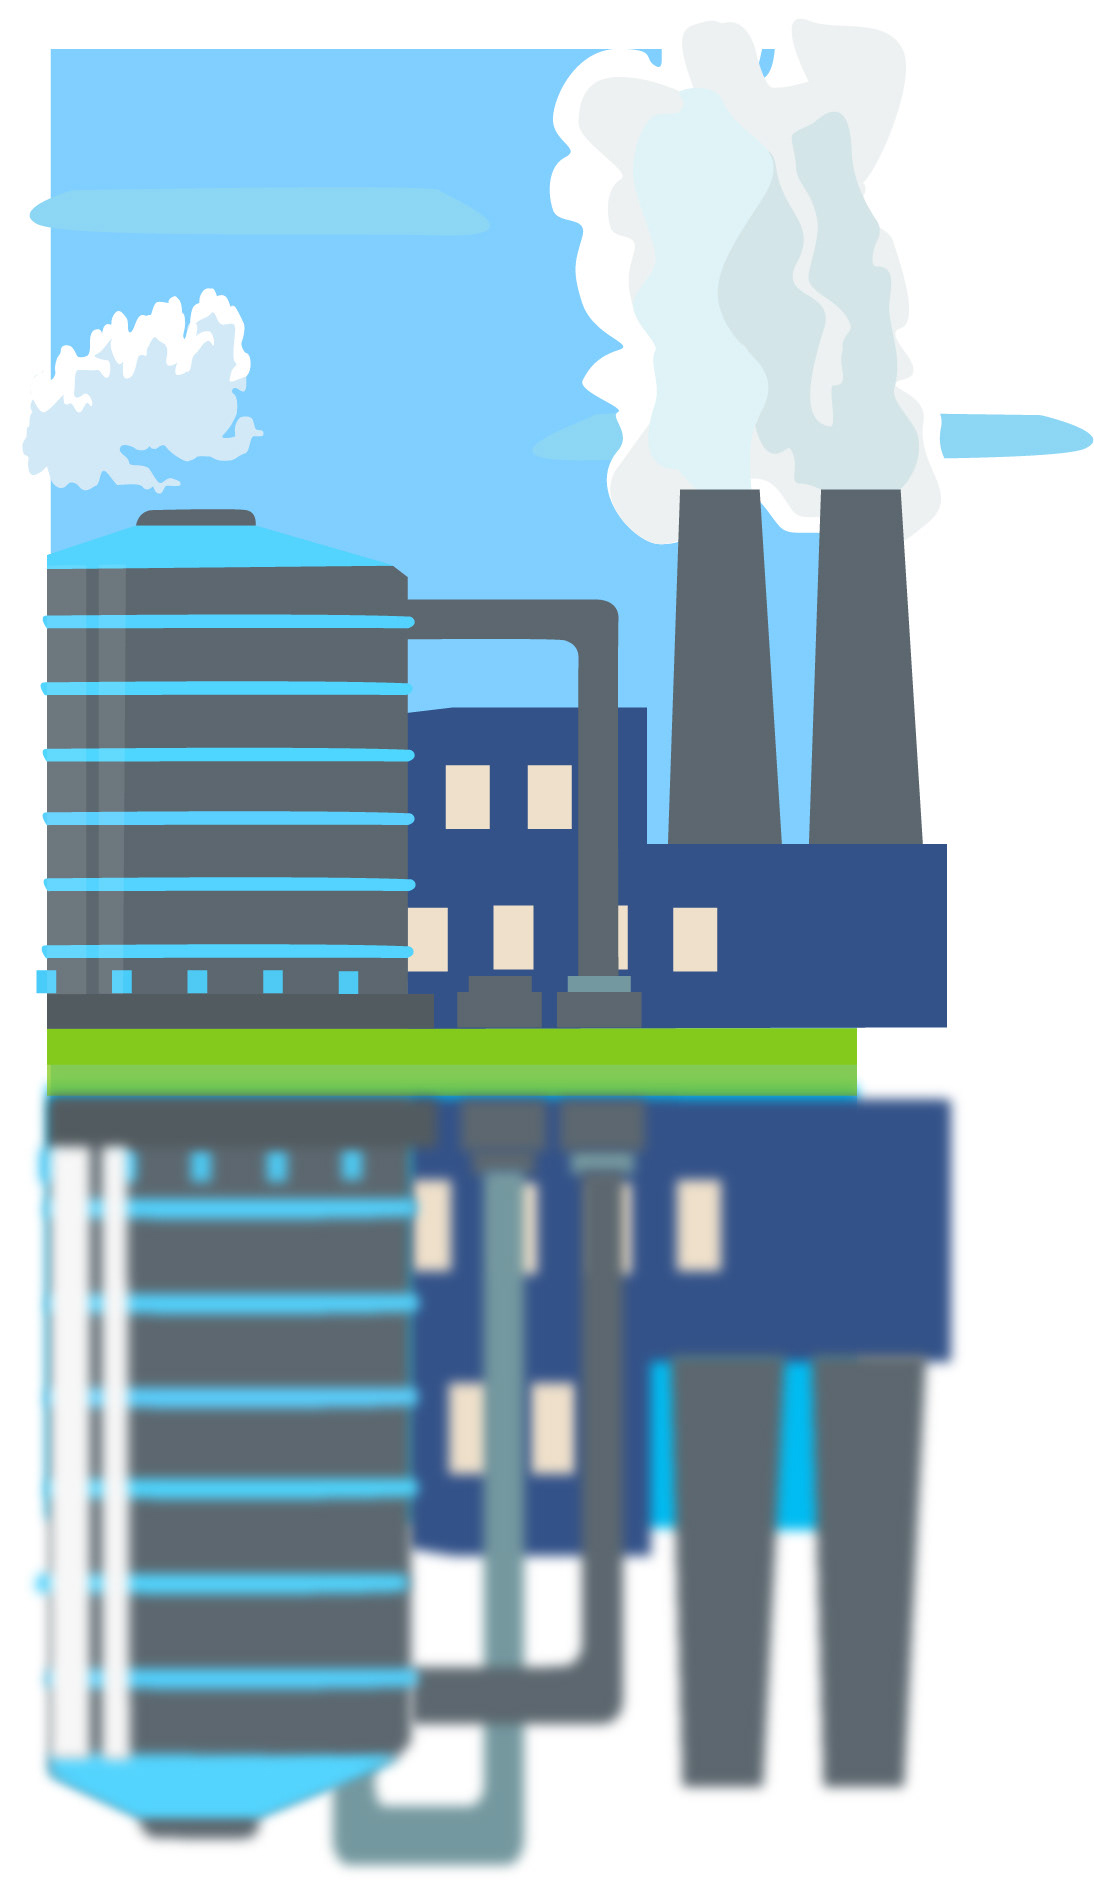
Factory Scene

Handshake
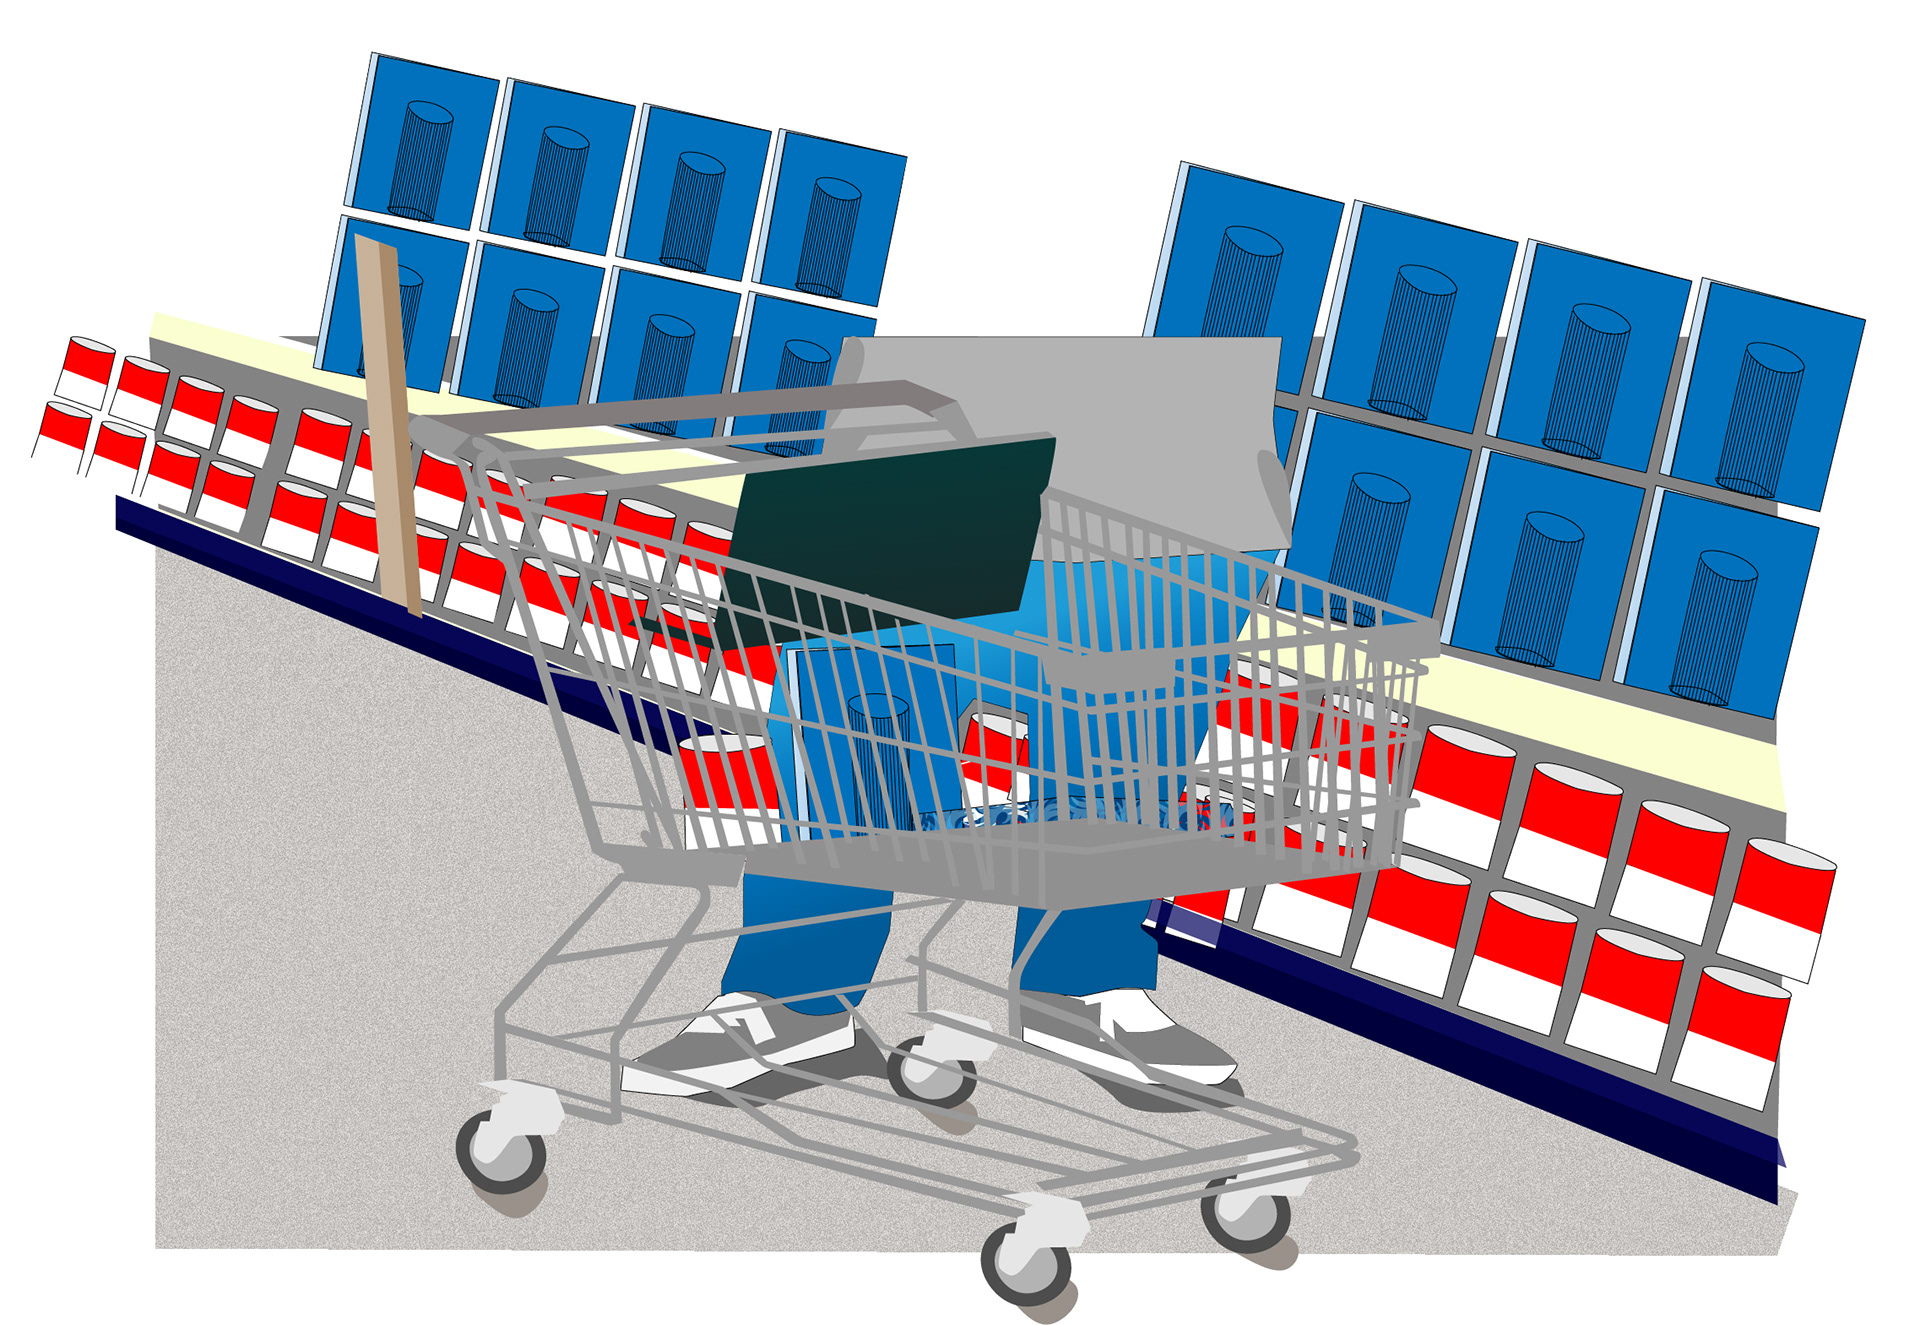
Shopping scene

Lakeside scene
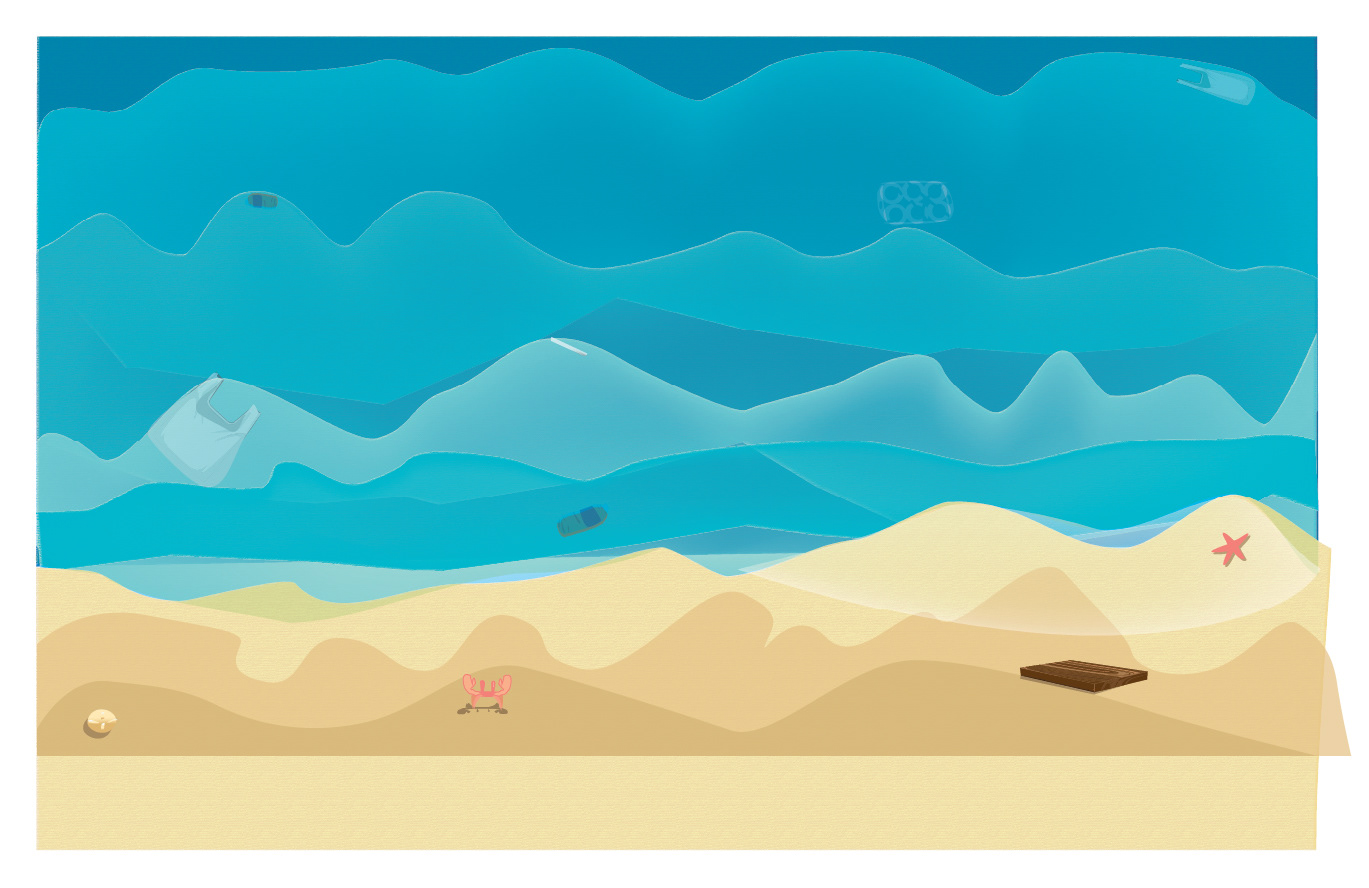
Beach scene
Re-edited assets
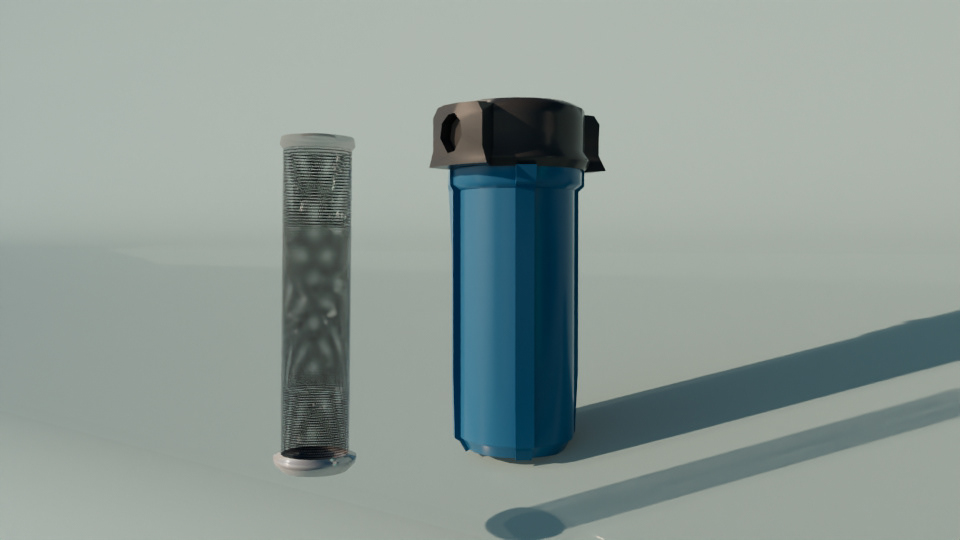
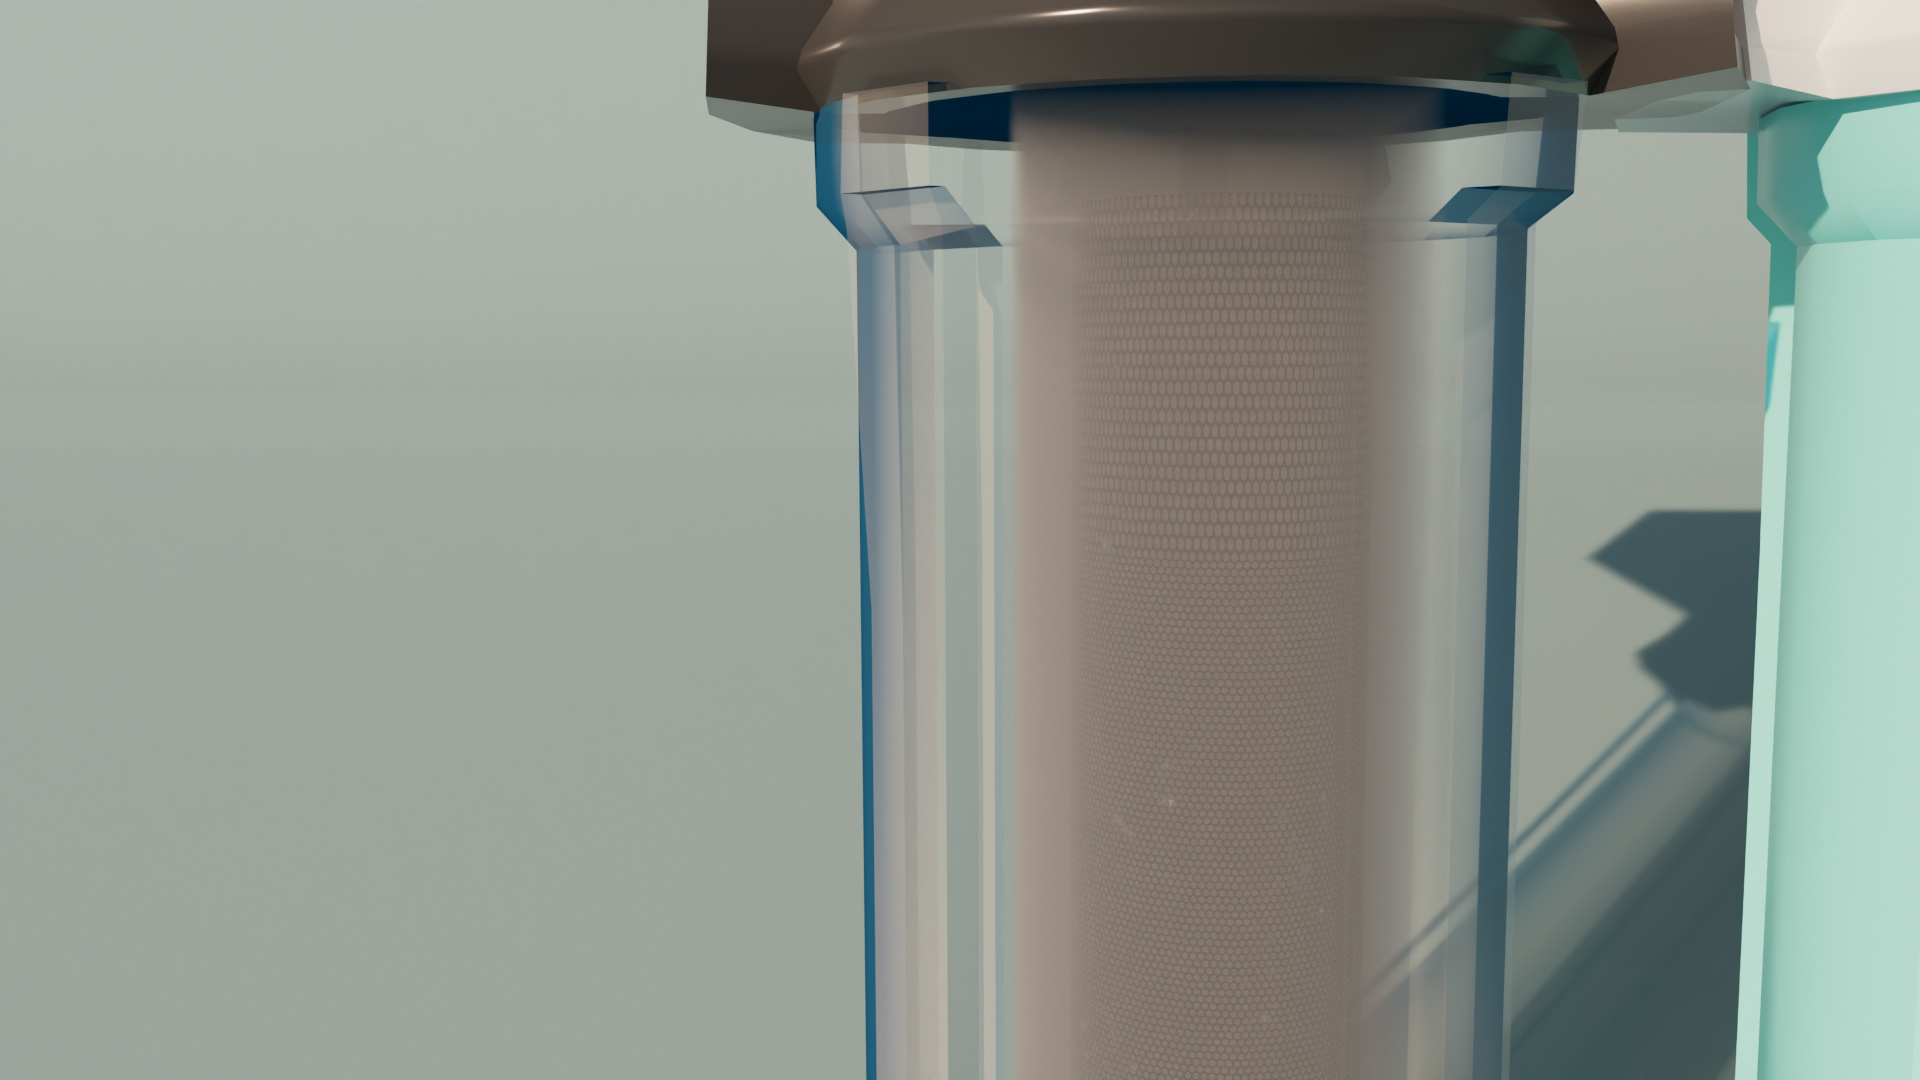
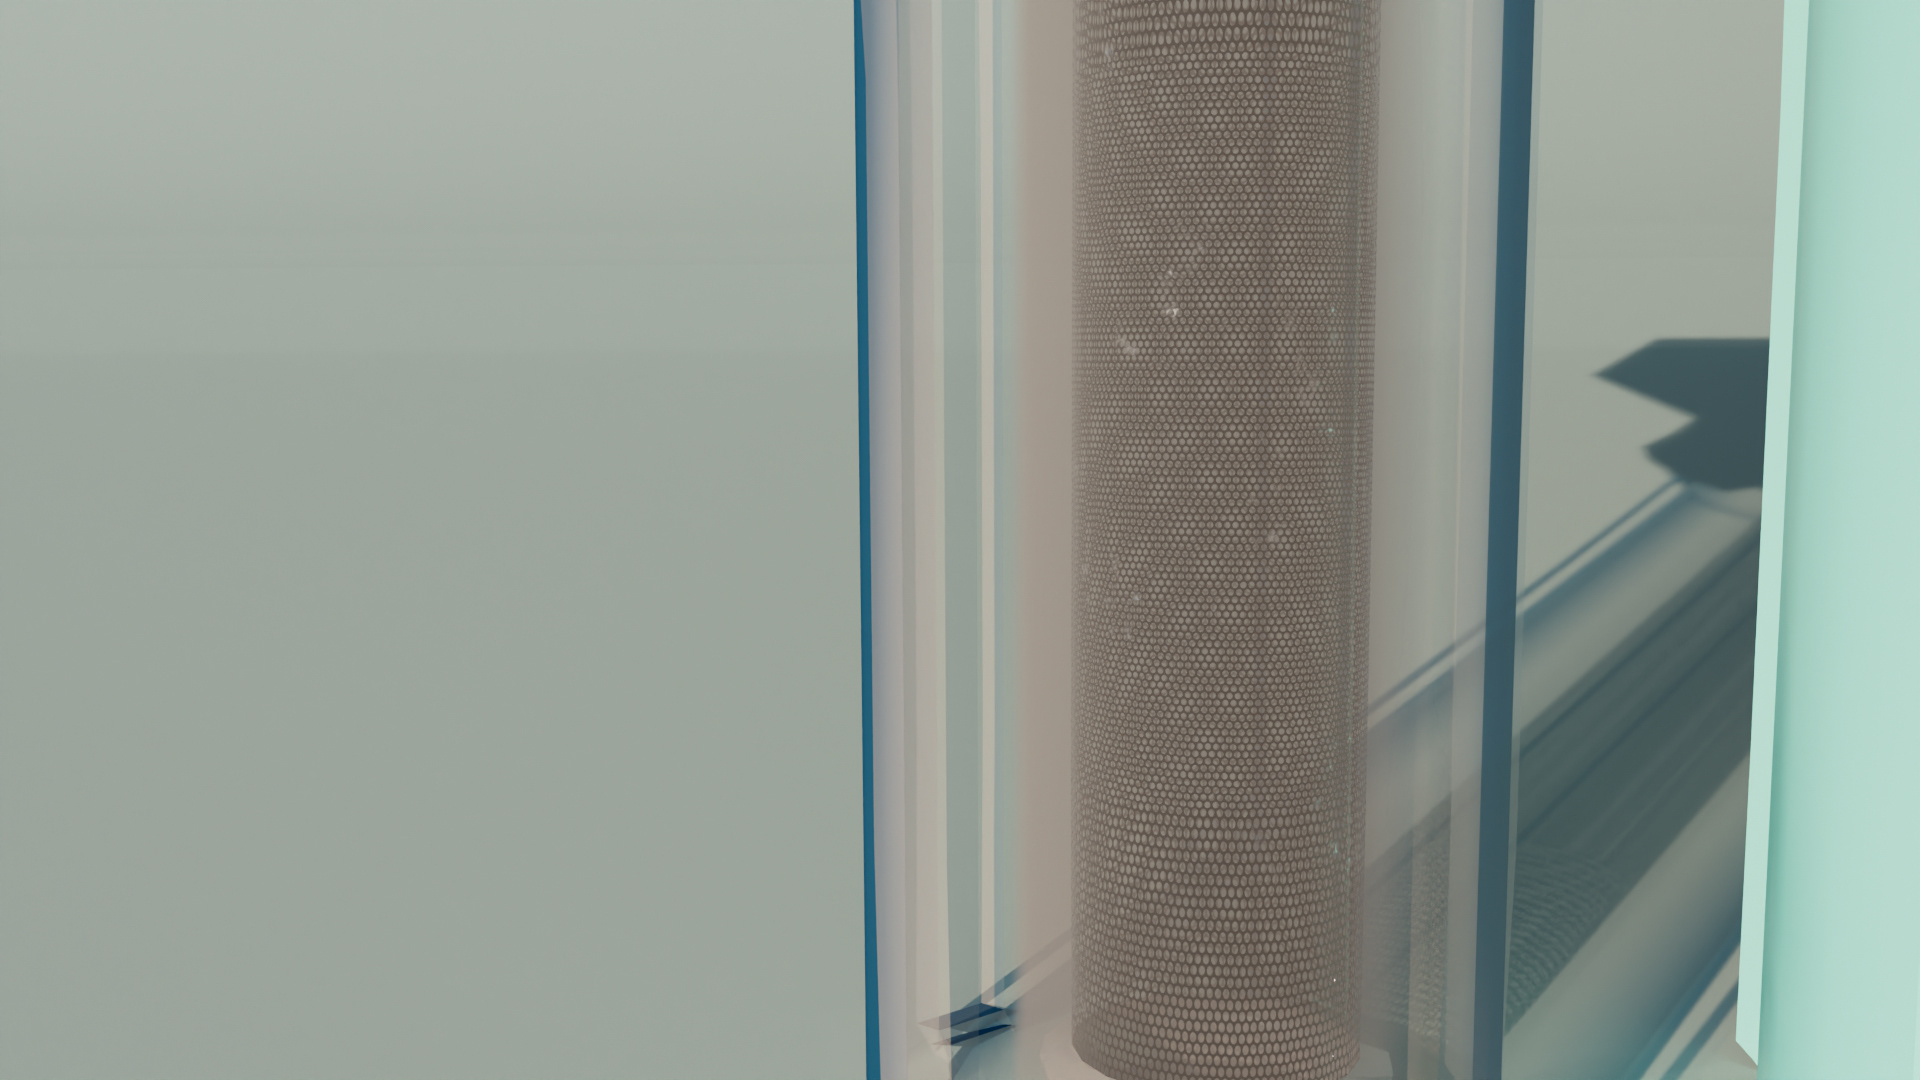
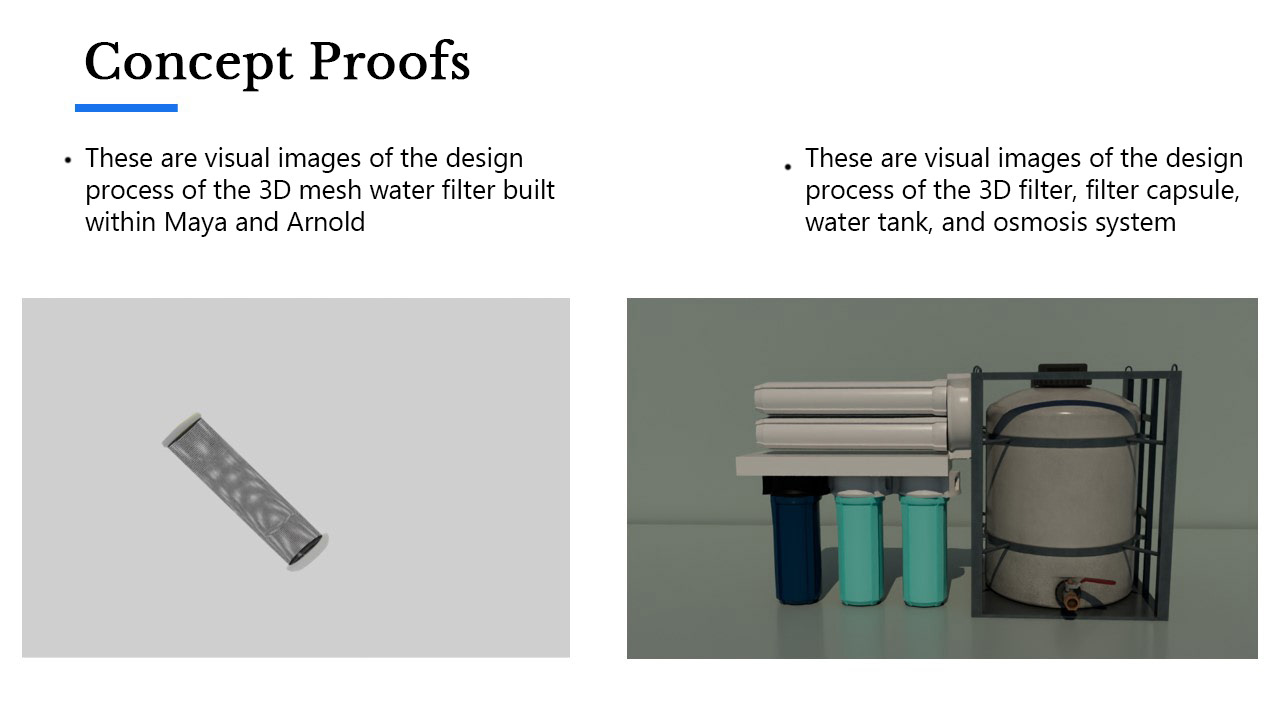
The next portion was creating the permeable mesh filter in my chosen 3D software, Maya and Arnold, as my main software. I started off with modeling the filter and applying a texture to create a realistic looking filter and did a simple spin animation. I did go back and re-edit this model to include better lighting, camera angles, and better rendering resolution.
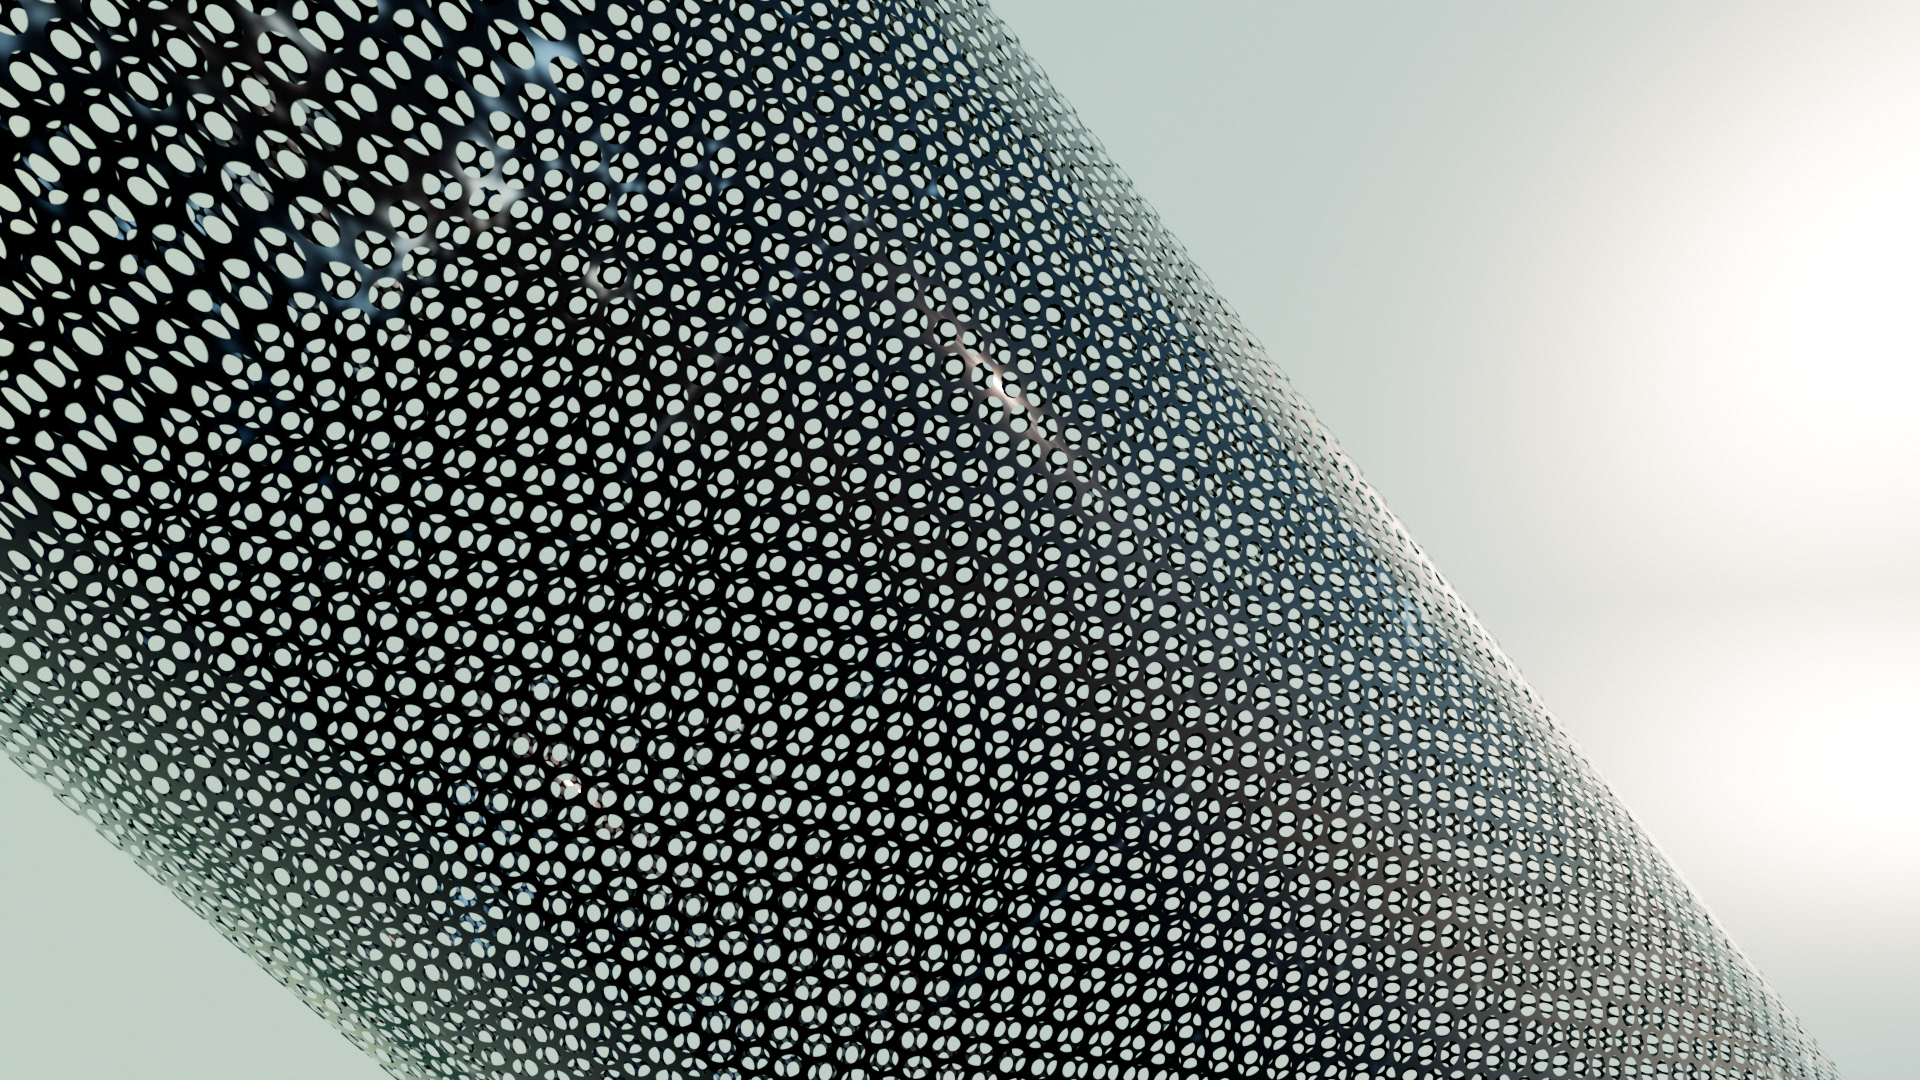
Filter close up

filter original shot
3D Filter
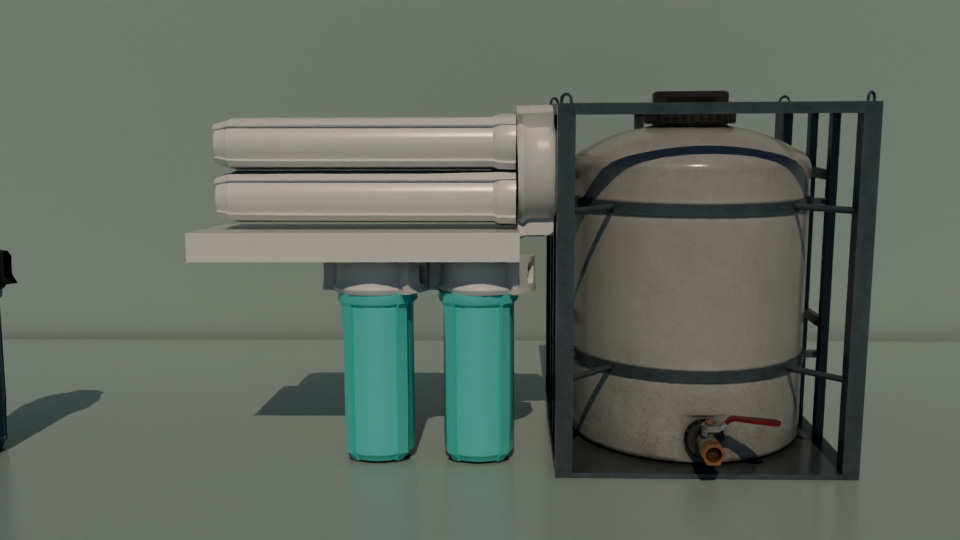
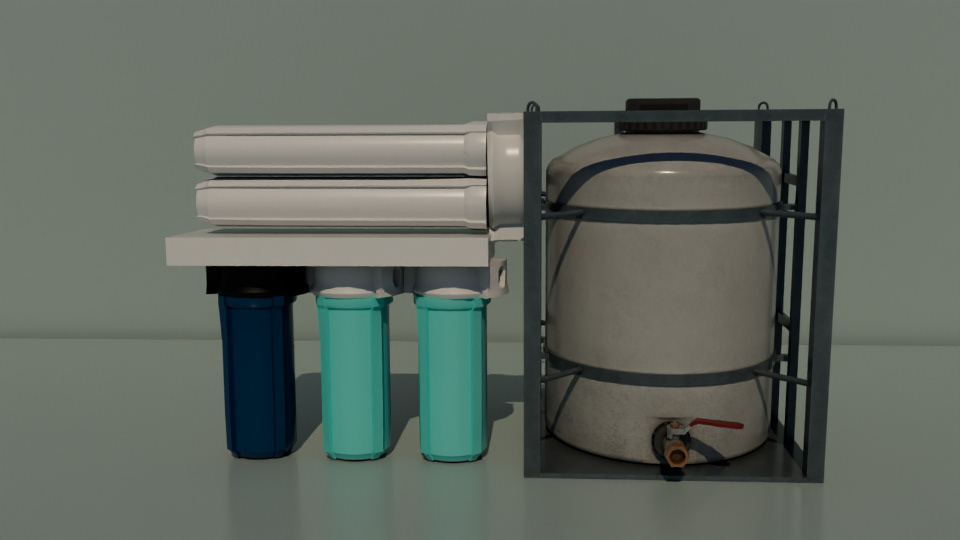
After the filter, I moved onto creating the full demonstration- the filter would go into the capsule, then the capsule would attach to an osmosis powered system connected to a water tank. I modeled everything first, then added texturing and lighting, and then rendered the animation.

Original demo
I then want back into the program to update textures, put in an HDRI lighting, take out the hard plain, and create a finished product. I also created new scenes featuring an x ray shader to display the water effects inside the filter as if it were working.
Filter and capsule

Osmosis system
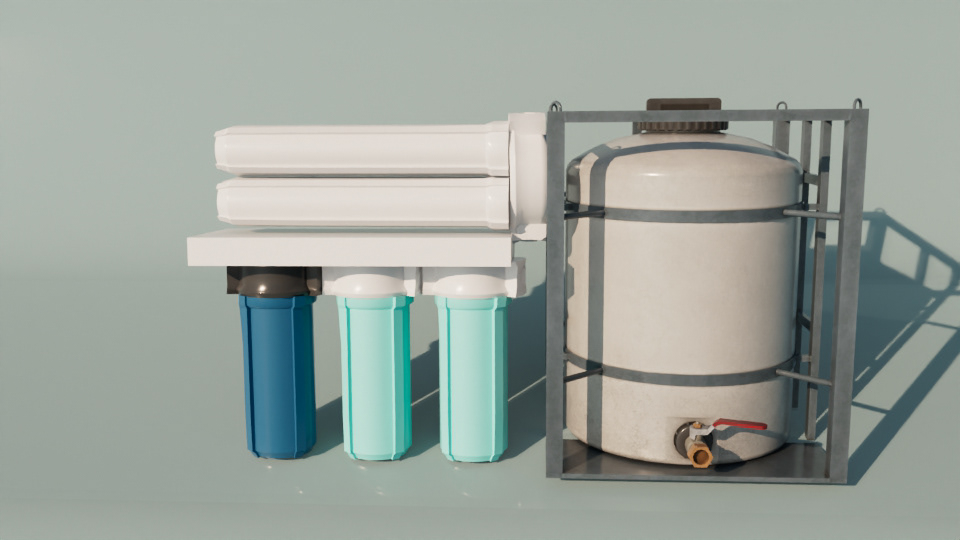
Full working system
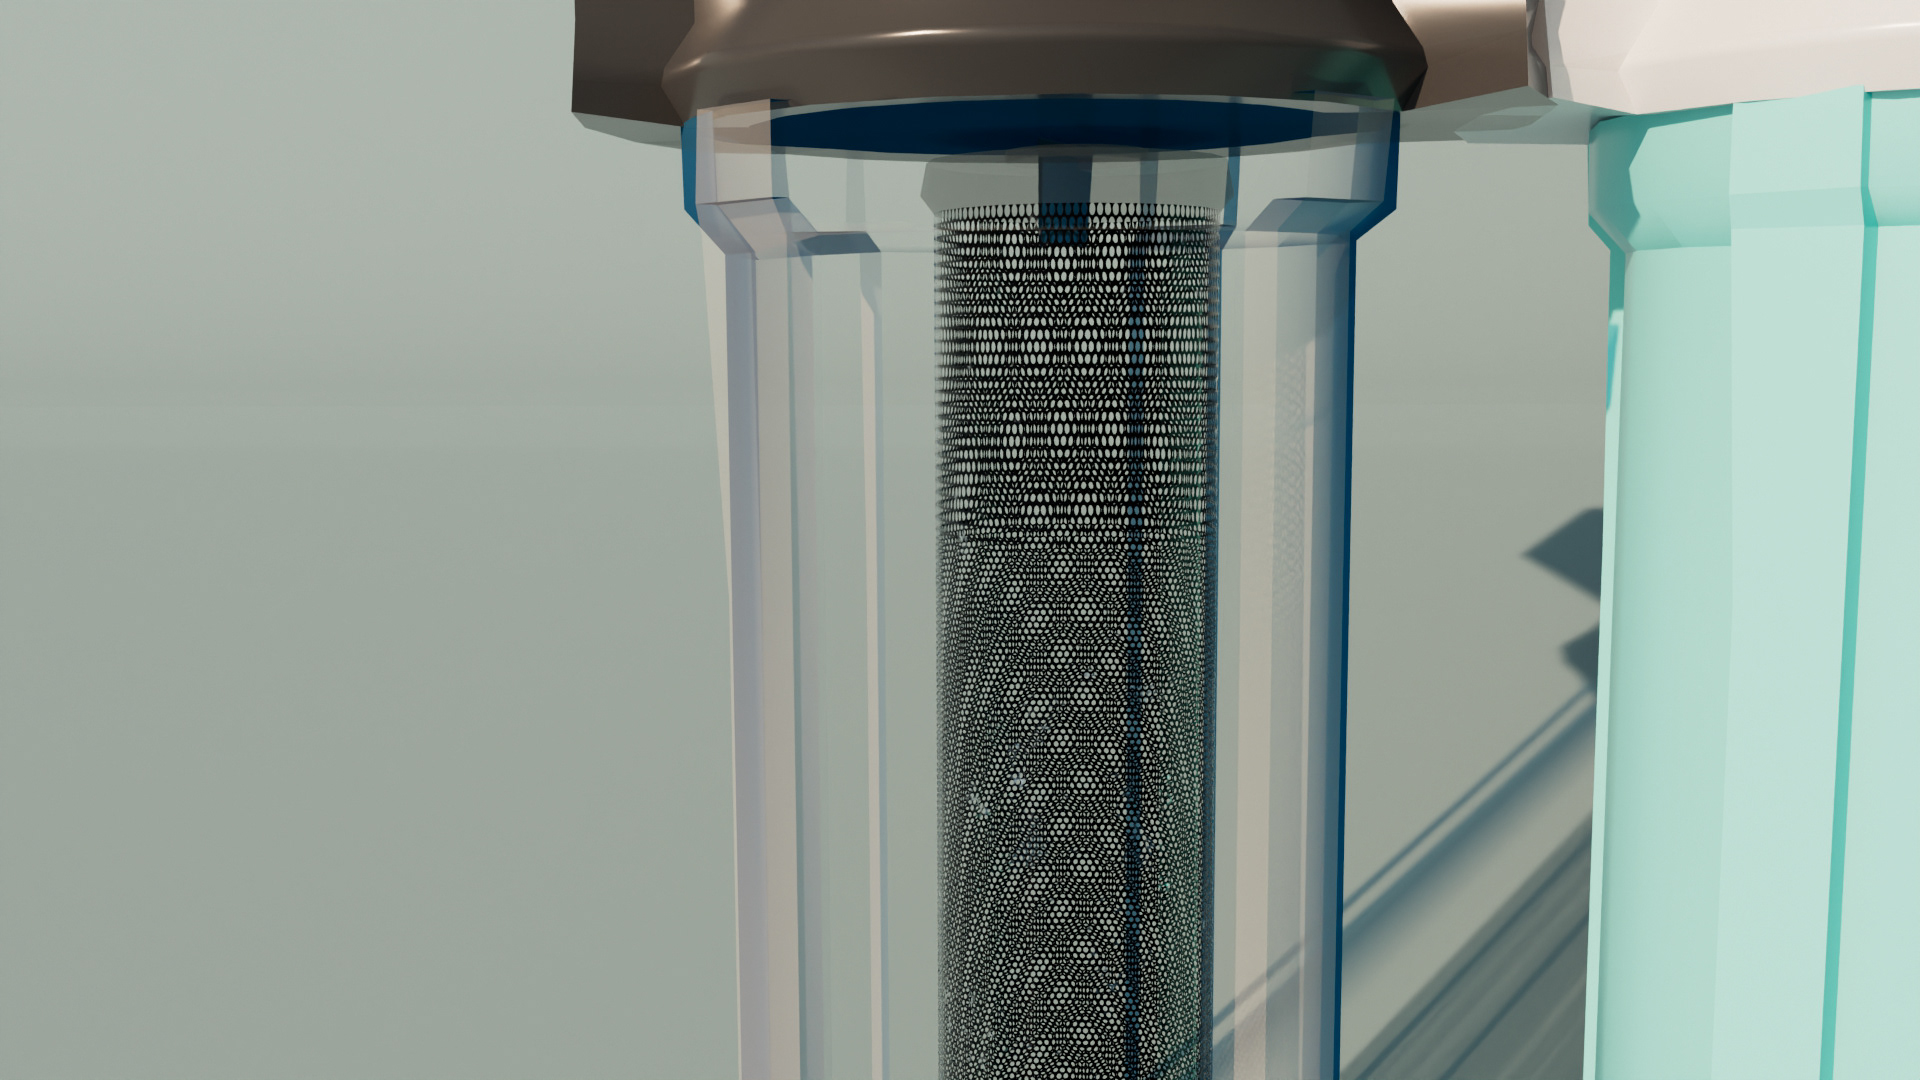
X-ray camera
Cloudy water demo
Working filter demo
Newly edited demo
Final Product
After re-editing all the cameras with the new appropriate lighting, textures, shaders, and graphics, I then drafted a new script for the explainer portion of the video, along with sound design such as water drop sound effects and my own self-created music score. Then it was time for the final render.
"Permeable Mesh Filter Explainer" After Effects 2025, 1920 x 1080
After Revising the designs, polishing all the assets, updating the sound design and appearance, the video was fully completed. The next step was to create a stellar power point presentation to display the full research, design process, and final product. I came away with so much learning and experience such as new skill sin Maya with shaders, lighting, and overall industry level modeling, animations, and graphic illustrations.
Presentational Material
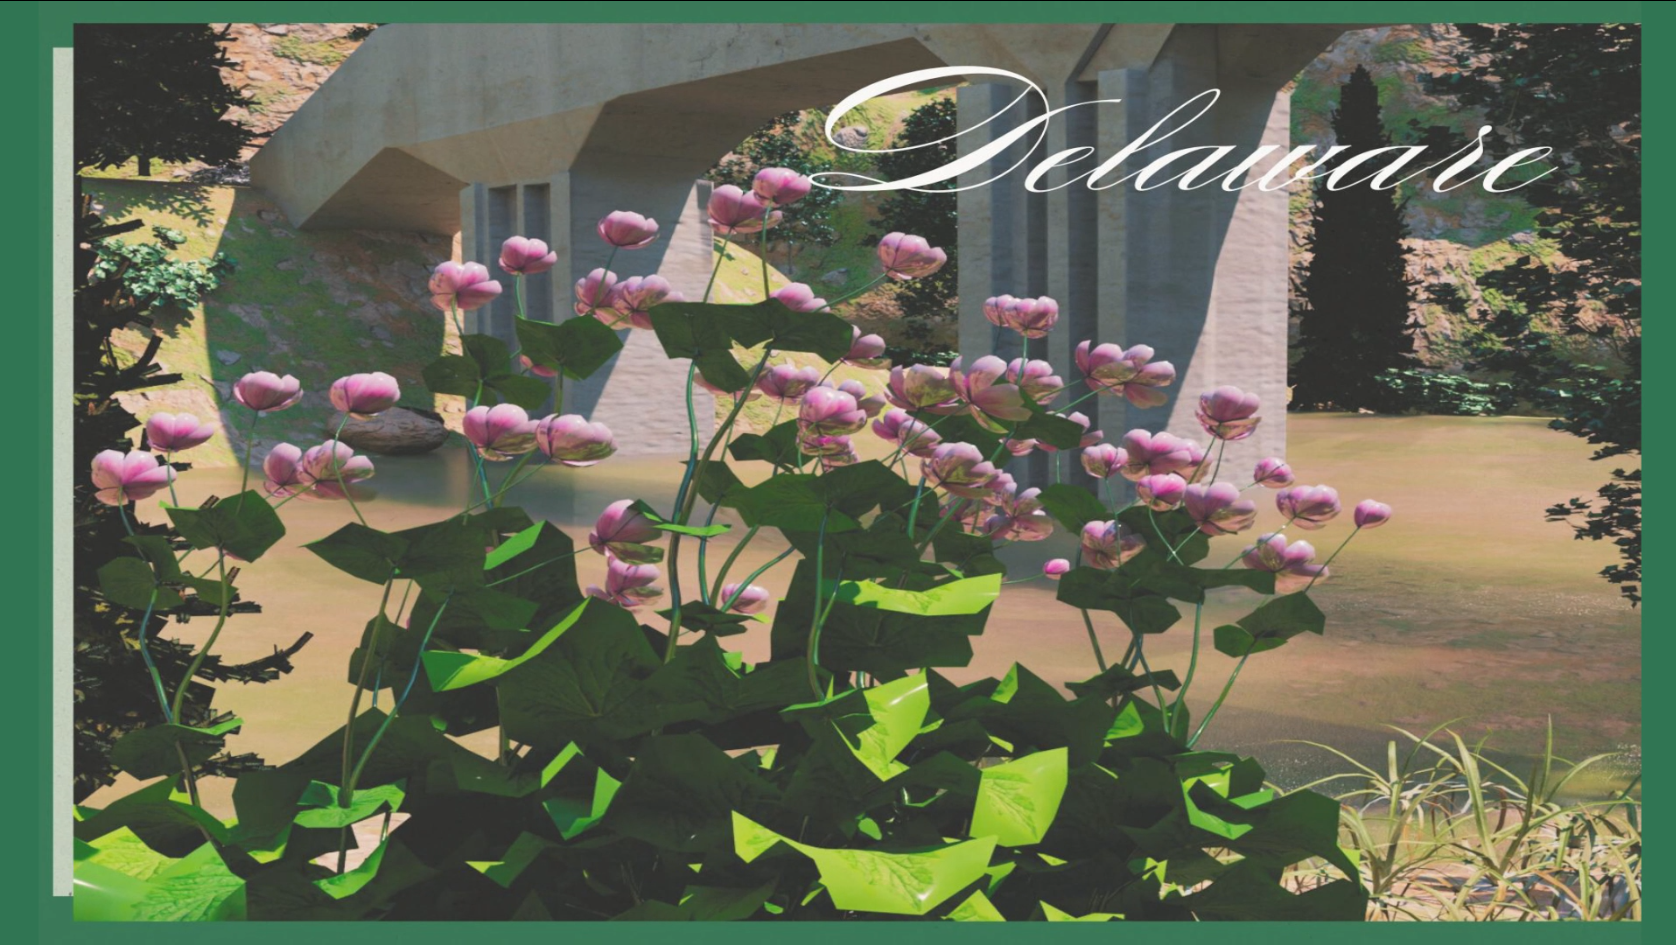
Pitch Cover
Summary
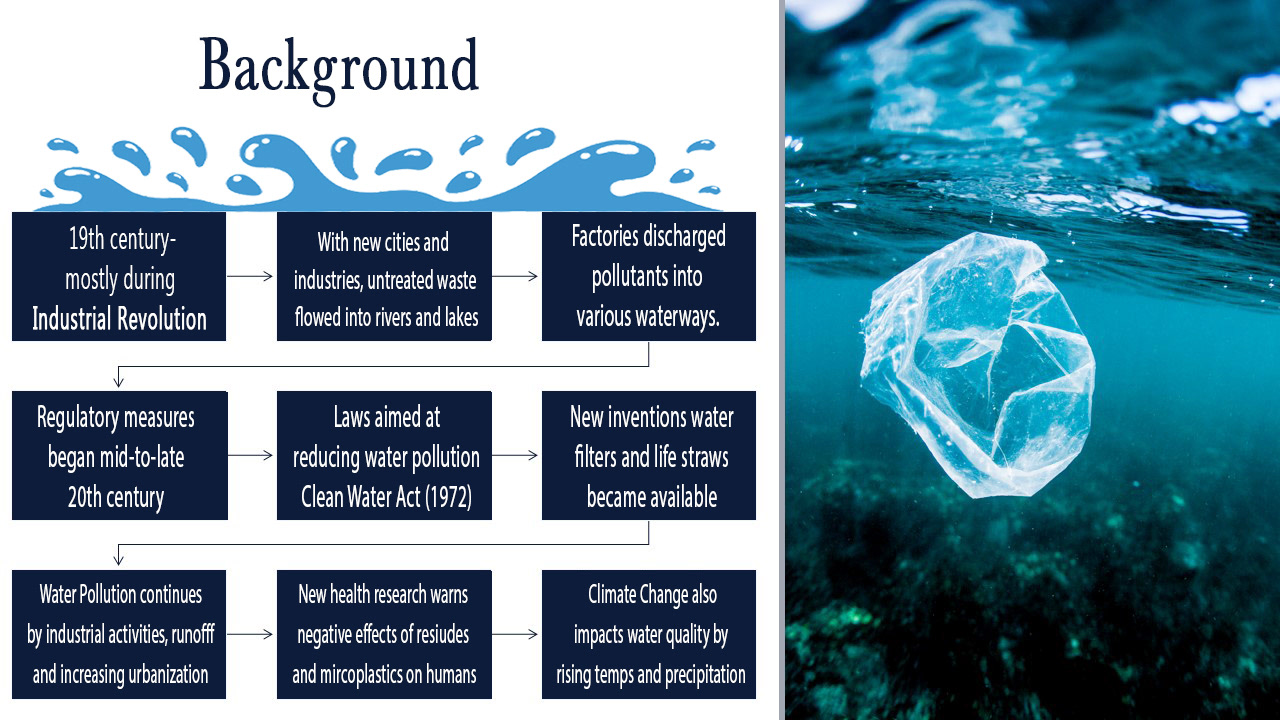
Background
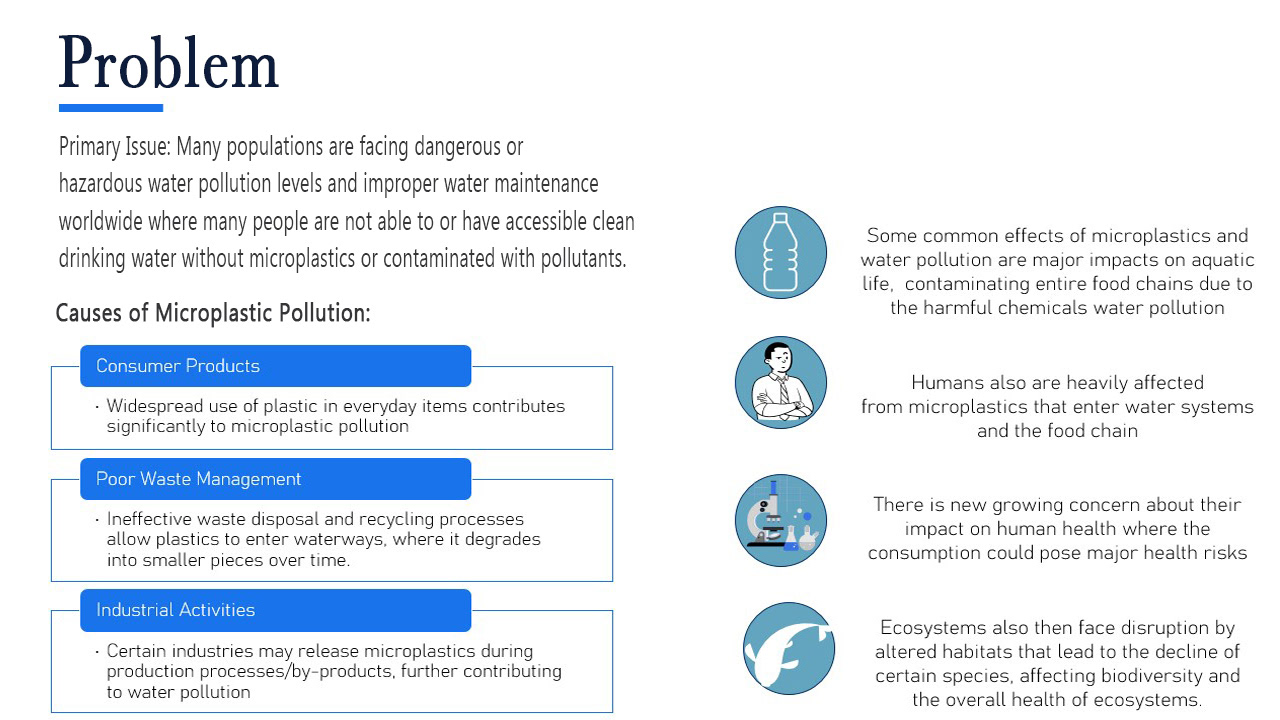
Problem
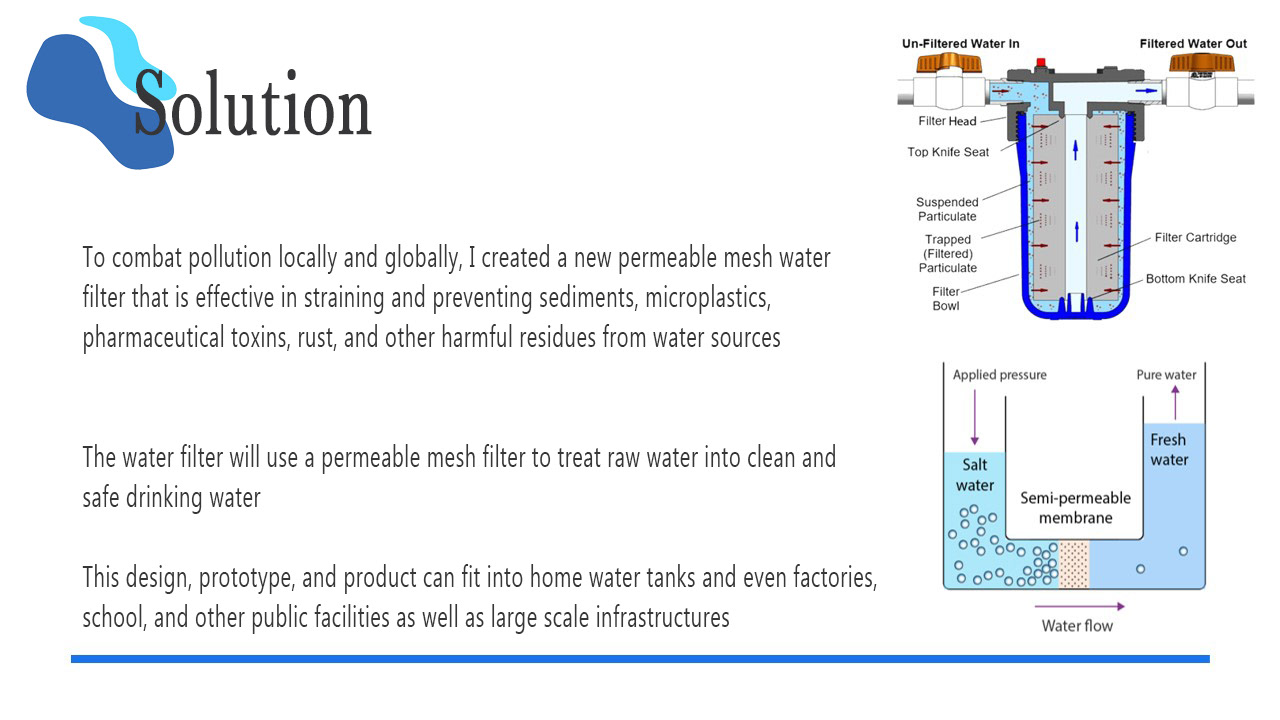
Solution
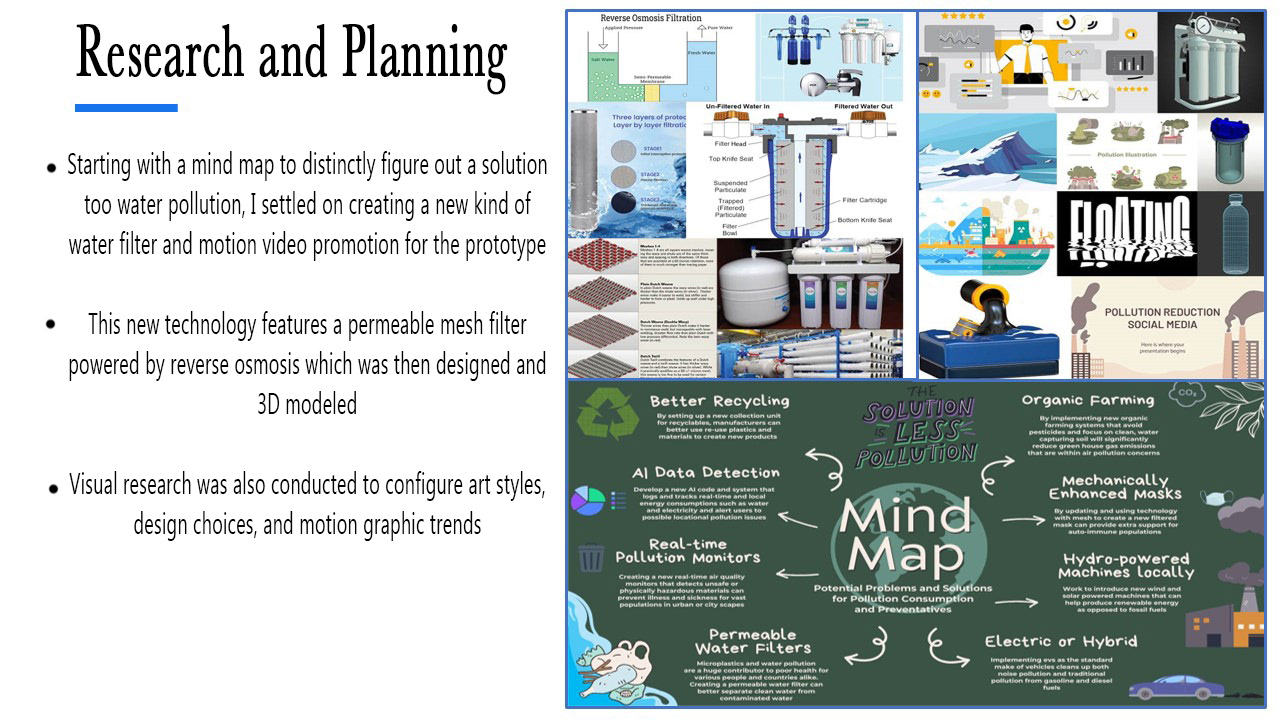
Research

Storyboard
Proofs
Proofs 2
Proofs 3

Visualization
Methods
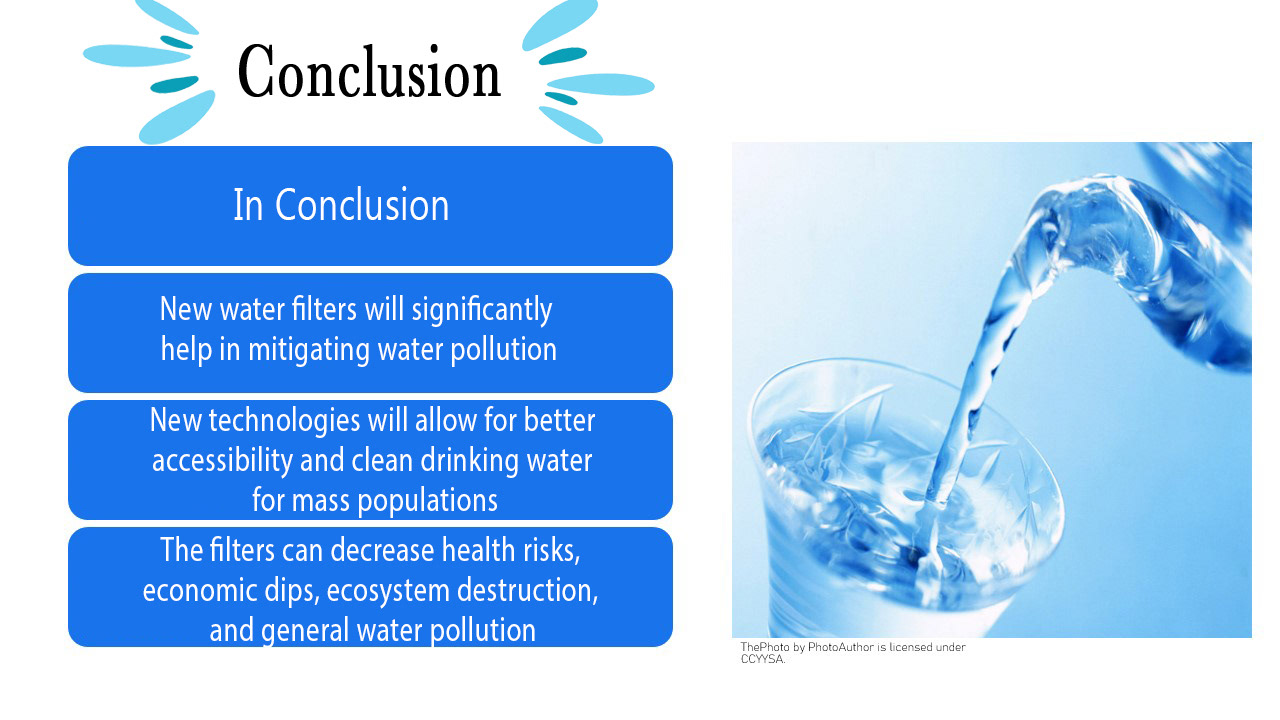
Conclusion